

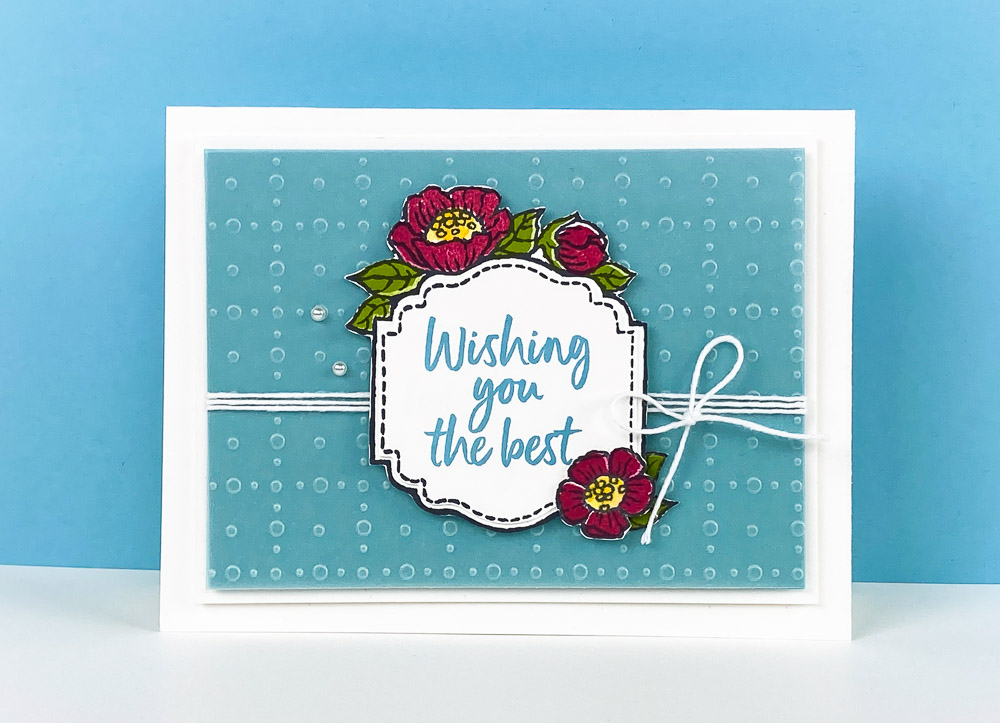
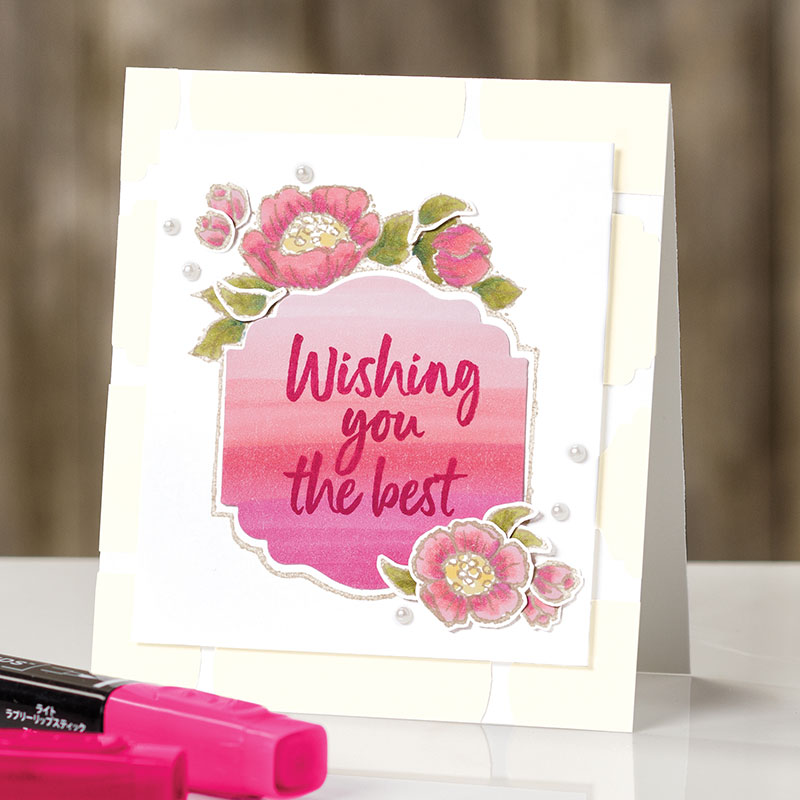
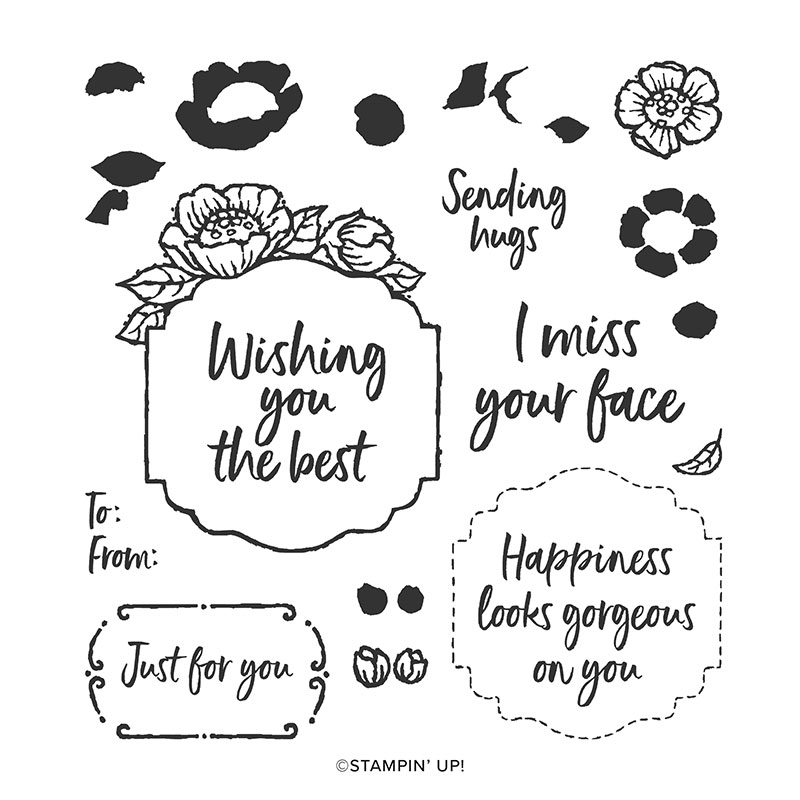
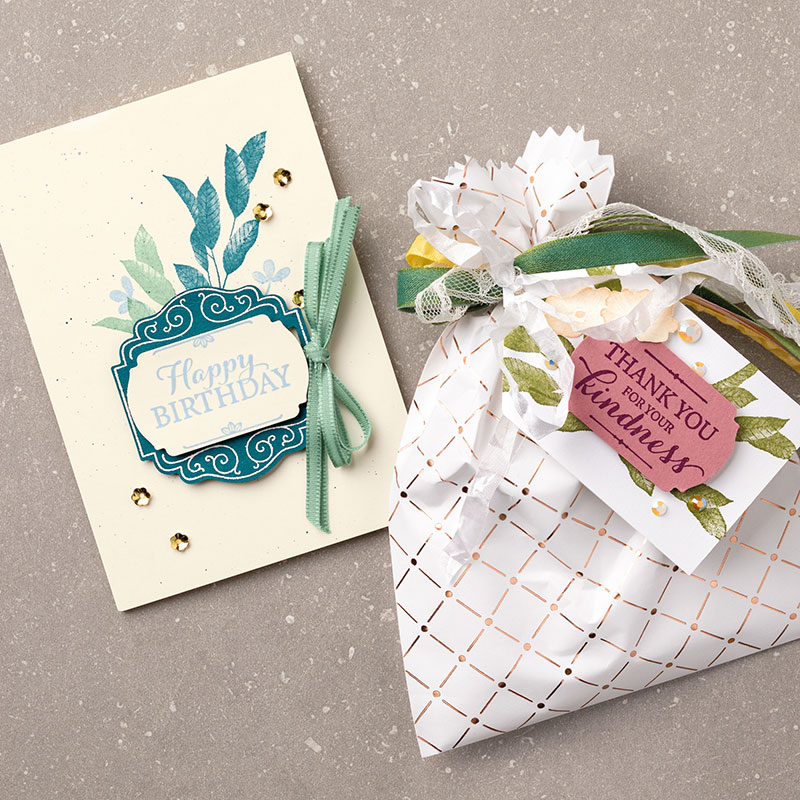
The Stampin’ Up! Tags In Blooms Stamp Set is LOVELY!! You could create a tag or card you make using the Tags in Bloom Stamp Set and brighten someones day. I think today’s card does just that with its bright and cheerful colors and beautiful flowers.
This Two-Step Stampin’ Up! Stamp Set lets you layer images to create more depth and interest. Yay!! I love that!! All you have to do is stamp the outline flower image in one color, then stamp the corresponding solid flower image over it with a different color. Our photopolymer clear stamps make it easy to align the images.
1. Cut a 5-1/2″ x 8-1/2″ piece of Whisper White Cardstock and fold it in half. This is your card base.
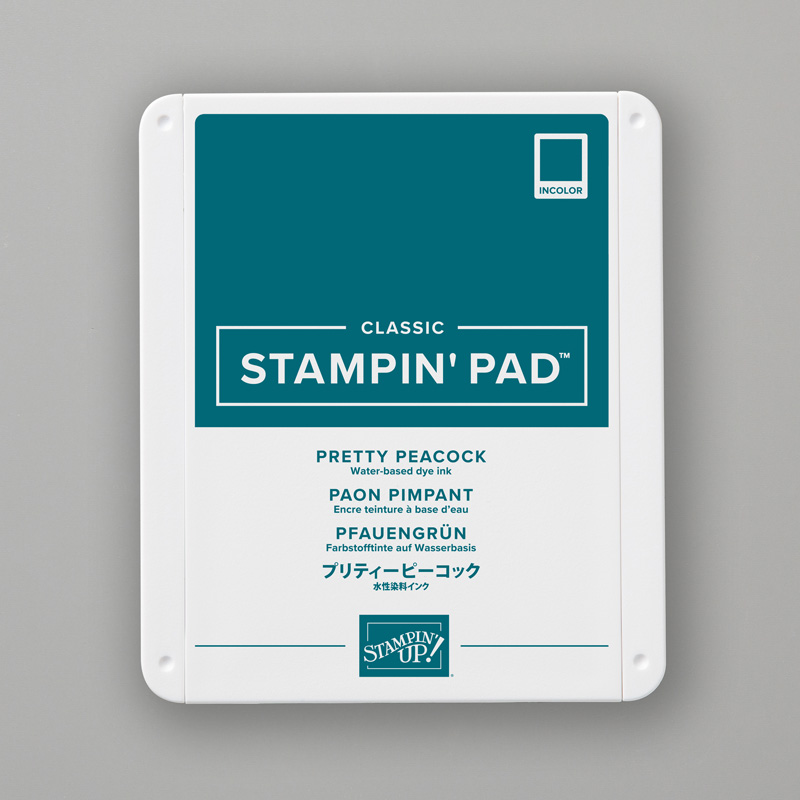
2. Cut a 4-3/4″ x 3-1/2″ piece of Pretty Peacock Cardstock.
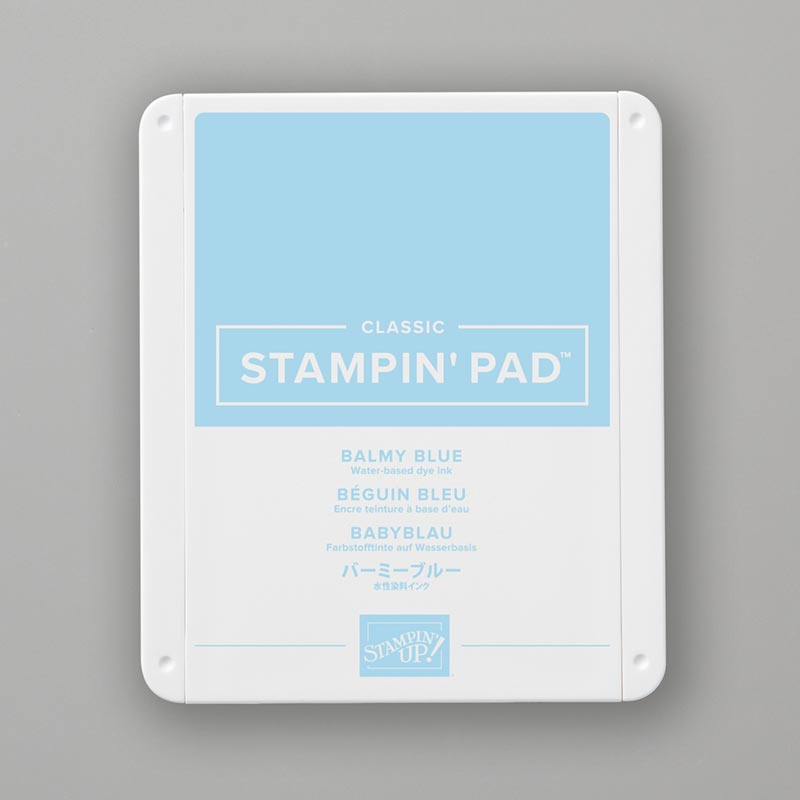
3. Cut a 4-1/2″ x 3-1/4″ piece of Balmy Blue Cardstock.
4. Adhere the Balmy Blue Cardstock to the top of the Pretty Peacock Cardstock using a few stampin dimensionals.
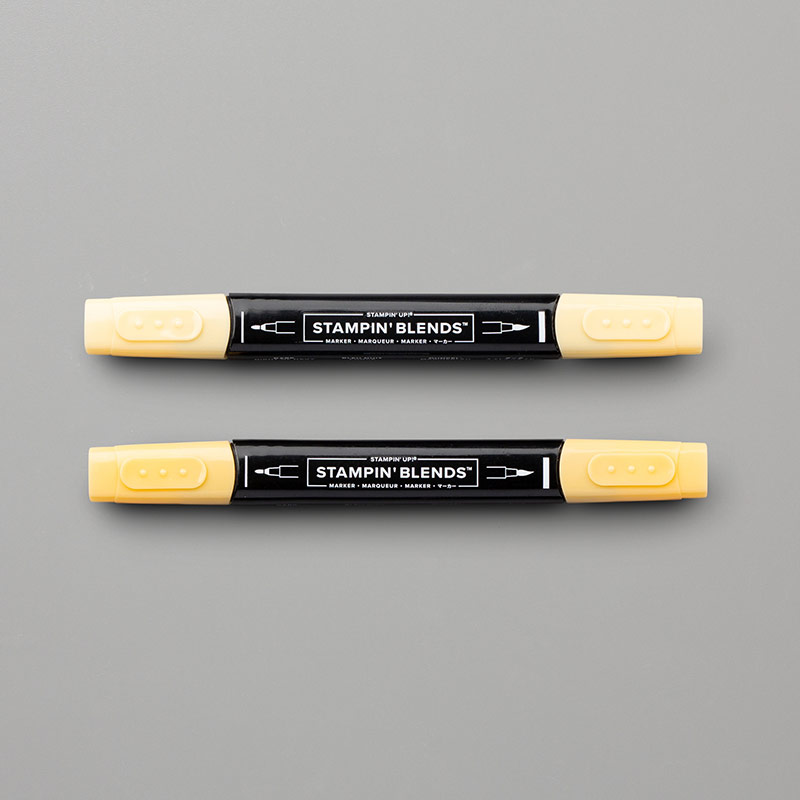
5. Cut a 4-1/4″ x 3″ piece of So Saffron Cardstock. This piece is for your stamped image.
6. Cut a 2-5/8″ x 3″ piece of Whisper White Cardstock. This piece is for your image.
Tip: Stamp your main image, color and cut it out before stamping your Crushed Curry background. You’ll need main image for placement.
8. Stamp the flower that has the Label Me Lovely border, in Pretty Peacock, on scrap paper. Be sure to stamp the small flower too.
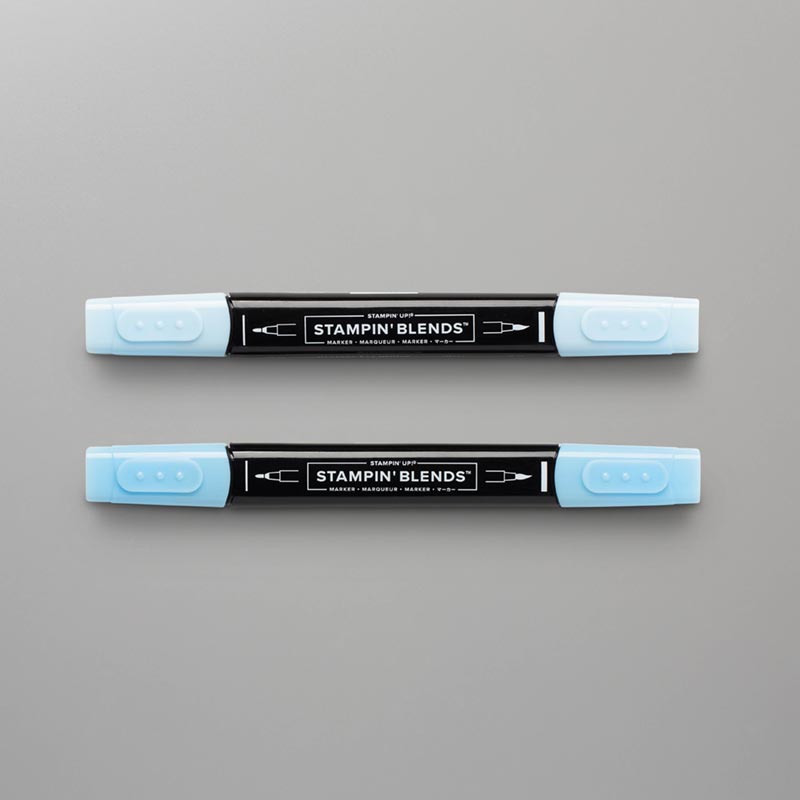
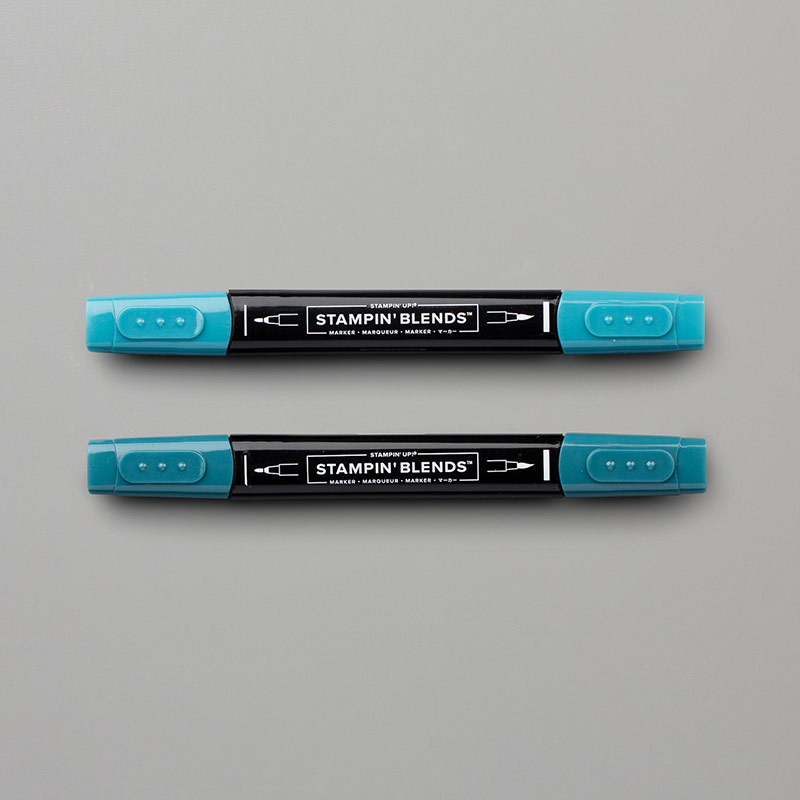
9. Use a Balmy Blue Stampin’ Blend to color the flowers. Then add accents using Pretty Peacock Stampin’ Blend to add highlights.
Tip: This is a two-step stamp set so you can easy stamp the image border and use the second flower to add color.
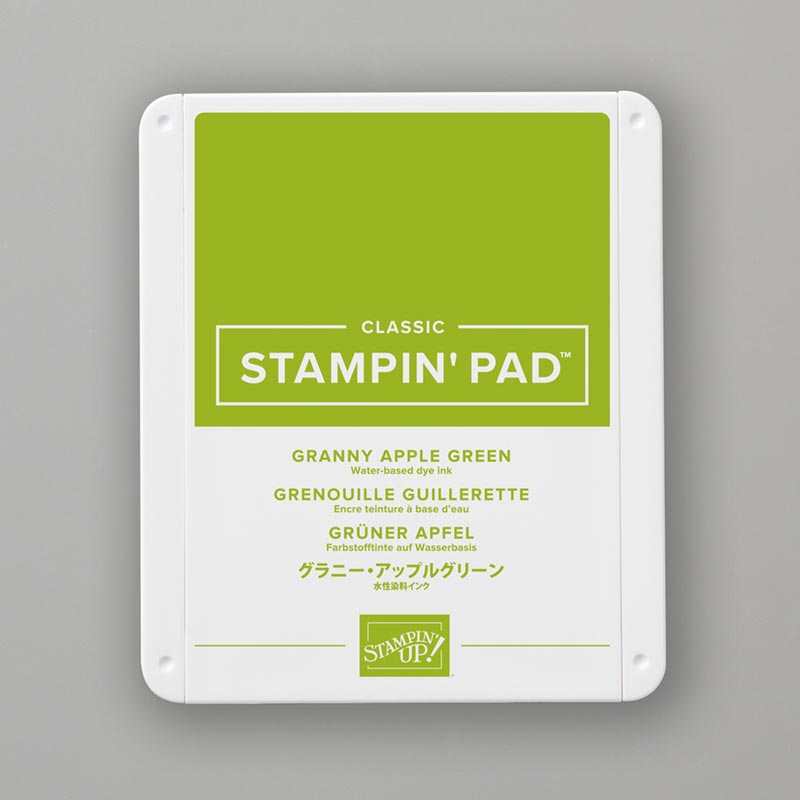
10. Use your two-step stamp along with Granny Apple Green Ink to add color to the leaves.
11. Hand cut out the entire image and be sure to hand cut out the small flower too.
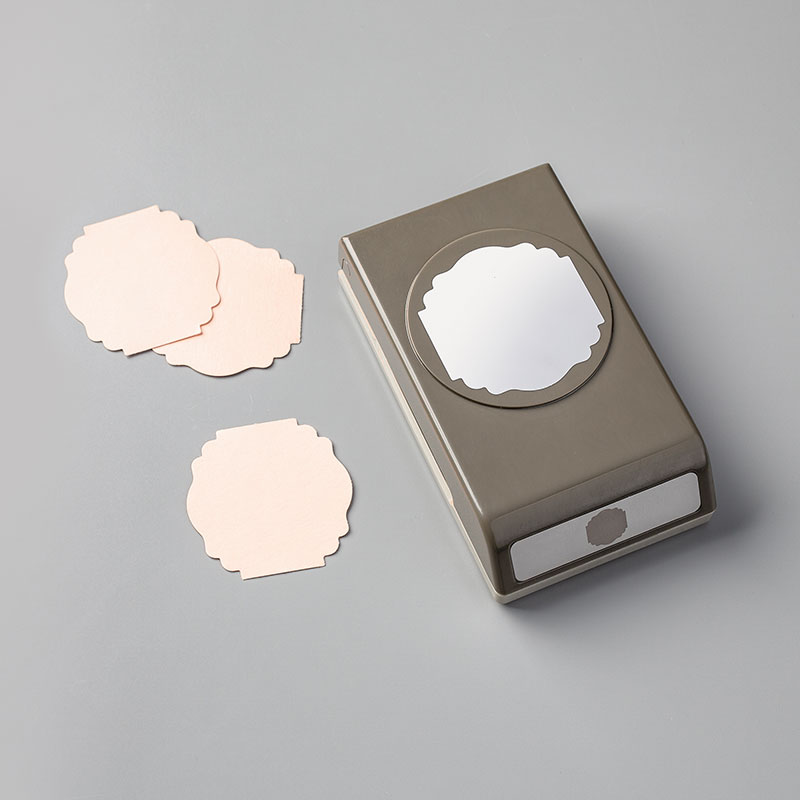
12. Stamp the dotted border, in Granny Apple Green Ink, on scrap paper. Use the Stampin’ Up! Label Me Lovely Punch to punch out the image.
13. Center and adhere the dotted line border to the top of your Pretty Peacock Image.
13. In Pretty Peacock Ink center and stamp your sentiment inside the dotted border.
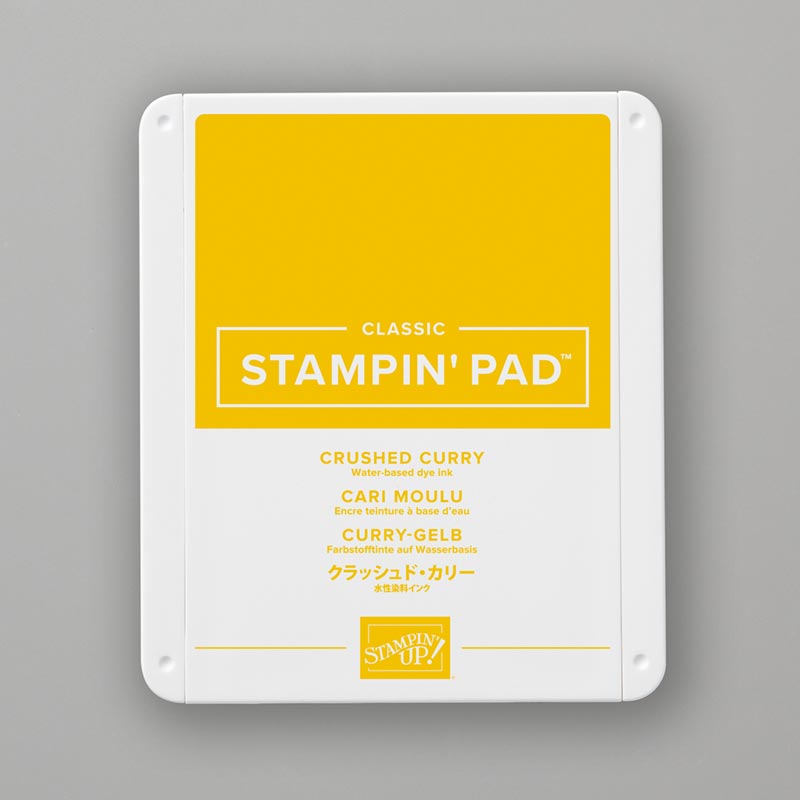
14. Next, position your image on your So Saffron Cardstock. Then stamp the flower images in Crushed Curry.
15. Once you’ve stamped your back ground you’ll center and adhere your colored image.
16. Center and adhere your So Saffron Cardstock to the top of the Balmy Blue Cardstock.
17. Center and adhere your layered Pretty Peacock Mat to the top of your card base.
18. To embellish this card I added Iridescent Sequins.

#147105
#147087
#150083
#147095
#146982
#105118
#150880


Love the cards Brandy. Thank you for the video. All the directions are below the video which makes it easy.
I click on the the directions and copy to my Word program and keep them in a loose leaf 3 hole punch.
Voila! easy peasy!!!
Thank you so much for great video. I love the stamp set and your creativity when putting it together is amazing. The colors are spectacular. Thanks again for sharing.
Thank you for all the ideas, Brandy. I just received this set and die and now I will begin using it. I am staying home and taking care. Hope you and your family are doing the same. Love you. Carla
I was just looking at this stamp set today! Your card is so darn cute…they all are!! I agree with Lovett….love your videos and thanks so much for doing them!
Thank you Brandi, the card is lovely.? love your tutorials. Have a blessed day
Hi Brandy,
That is really amazing how you take that stamp set and make such a lovely card.. thank you for all you do .
Thanks Brandy, for all the thought & time you put into making your tutorials for us. I do have a question, how can I refurbish my blender brush – it’s completely dry?? Thanks for all you do.