

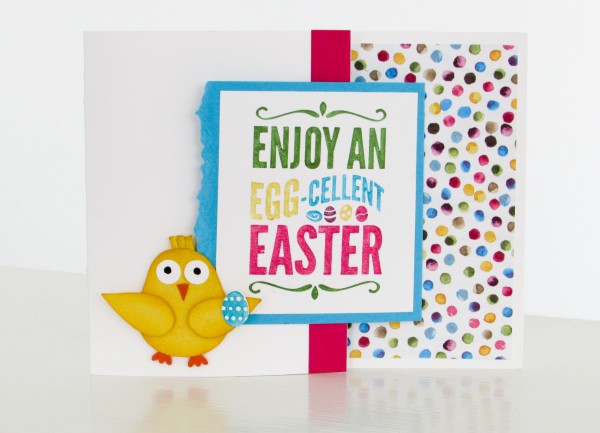
Hope you’re having an Egg-cellent Easter!!
This fun Stampin’ Up! Punch Art Chick will make you smile. He’s easy and fun to make and very colorful too!!
Base
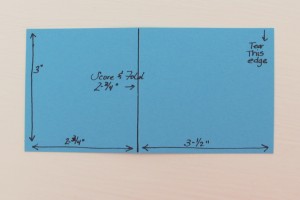
1. Cut a 4-1/4″ x 8-3/4″ and score the long edge at 3-1/4″. Prep the score line and fold. This is the base of your card.
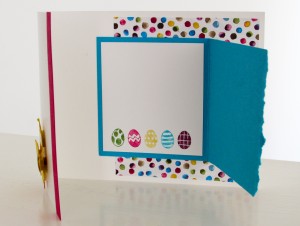
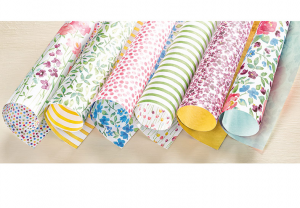
2. Cut a 3-1/2″ x 4″ piece of designer series paper and glue it to the far right side of the inside of your card.
3. Cut a 3″ x 6″ piece of Tempting Turquoise Cardstock. Score the 6″ side at 2-3/4″. Fold and prep your tempting Turquoise cardstock.
Tip: One side will measure longer. This is the side you will tear.
4. Using adhesive to glue your Tempting Turquoise Cardstock to the inside of your card so that it opens to the right.
 Tip: Be sure the crease of your Tempting Turquoise Cardstock is approx. 1-1/4″ from the right side of the base of your card. This way you will have room on the left side for your punch art chick when the card is closed.
5. Cut (2) 2-1/2″ x 2-3/4″ pieces of Whisper White Cardstock to glue on the front of your Tempting Turquoise and on the inside of your card. You will stamp your images on these pieces.
6. Cut a 4-1/4″ x 1/2 piece of Melon Mambo Cardstock and glue it to the front edge of your card.
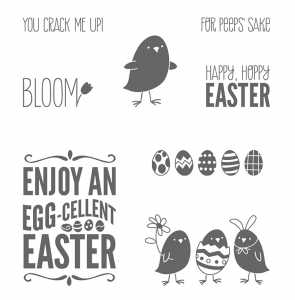
Color Your Images

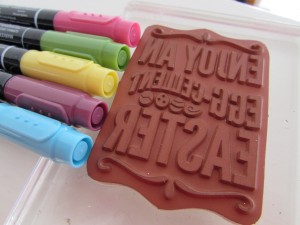
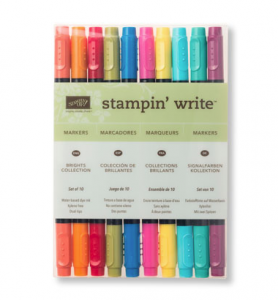
1. Color your image using Stampin’ Up Stampin Write Markers! The colors I used areTempting Turquoise, Daffodil Delight, Wild Wasabi, Rich Razzleberry and Melon Mambo.
Tip: Huff on your image before stamping it on your cardstock.
2. Do the same for your eggs on the inside of your card. Color and stamp an additional  Tempting Turquoise egg that you can cut out and adhere to your Punch Art Chick.
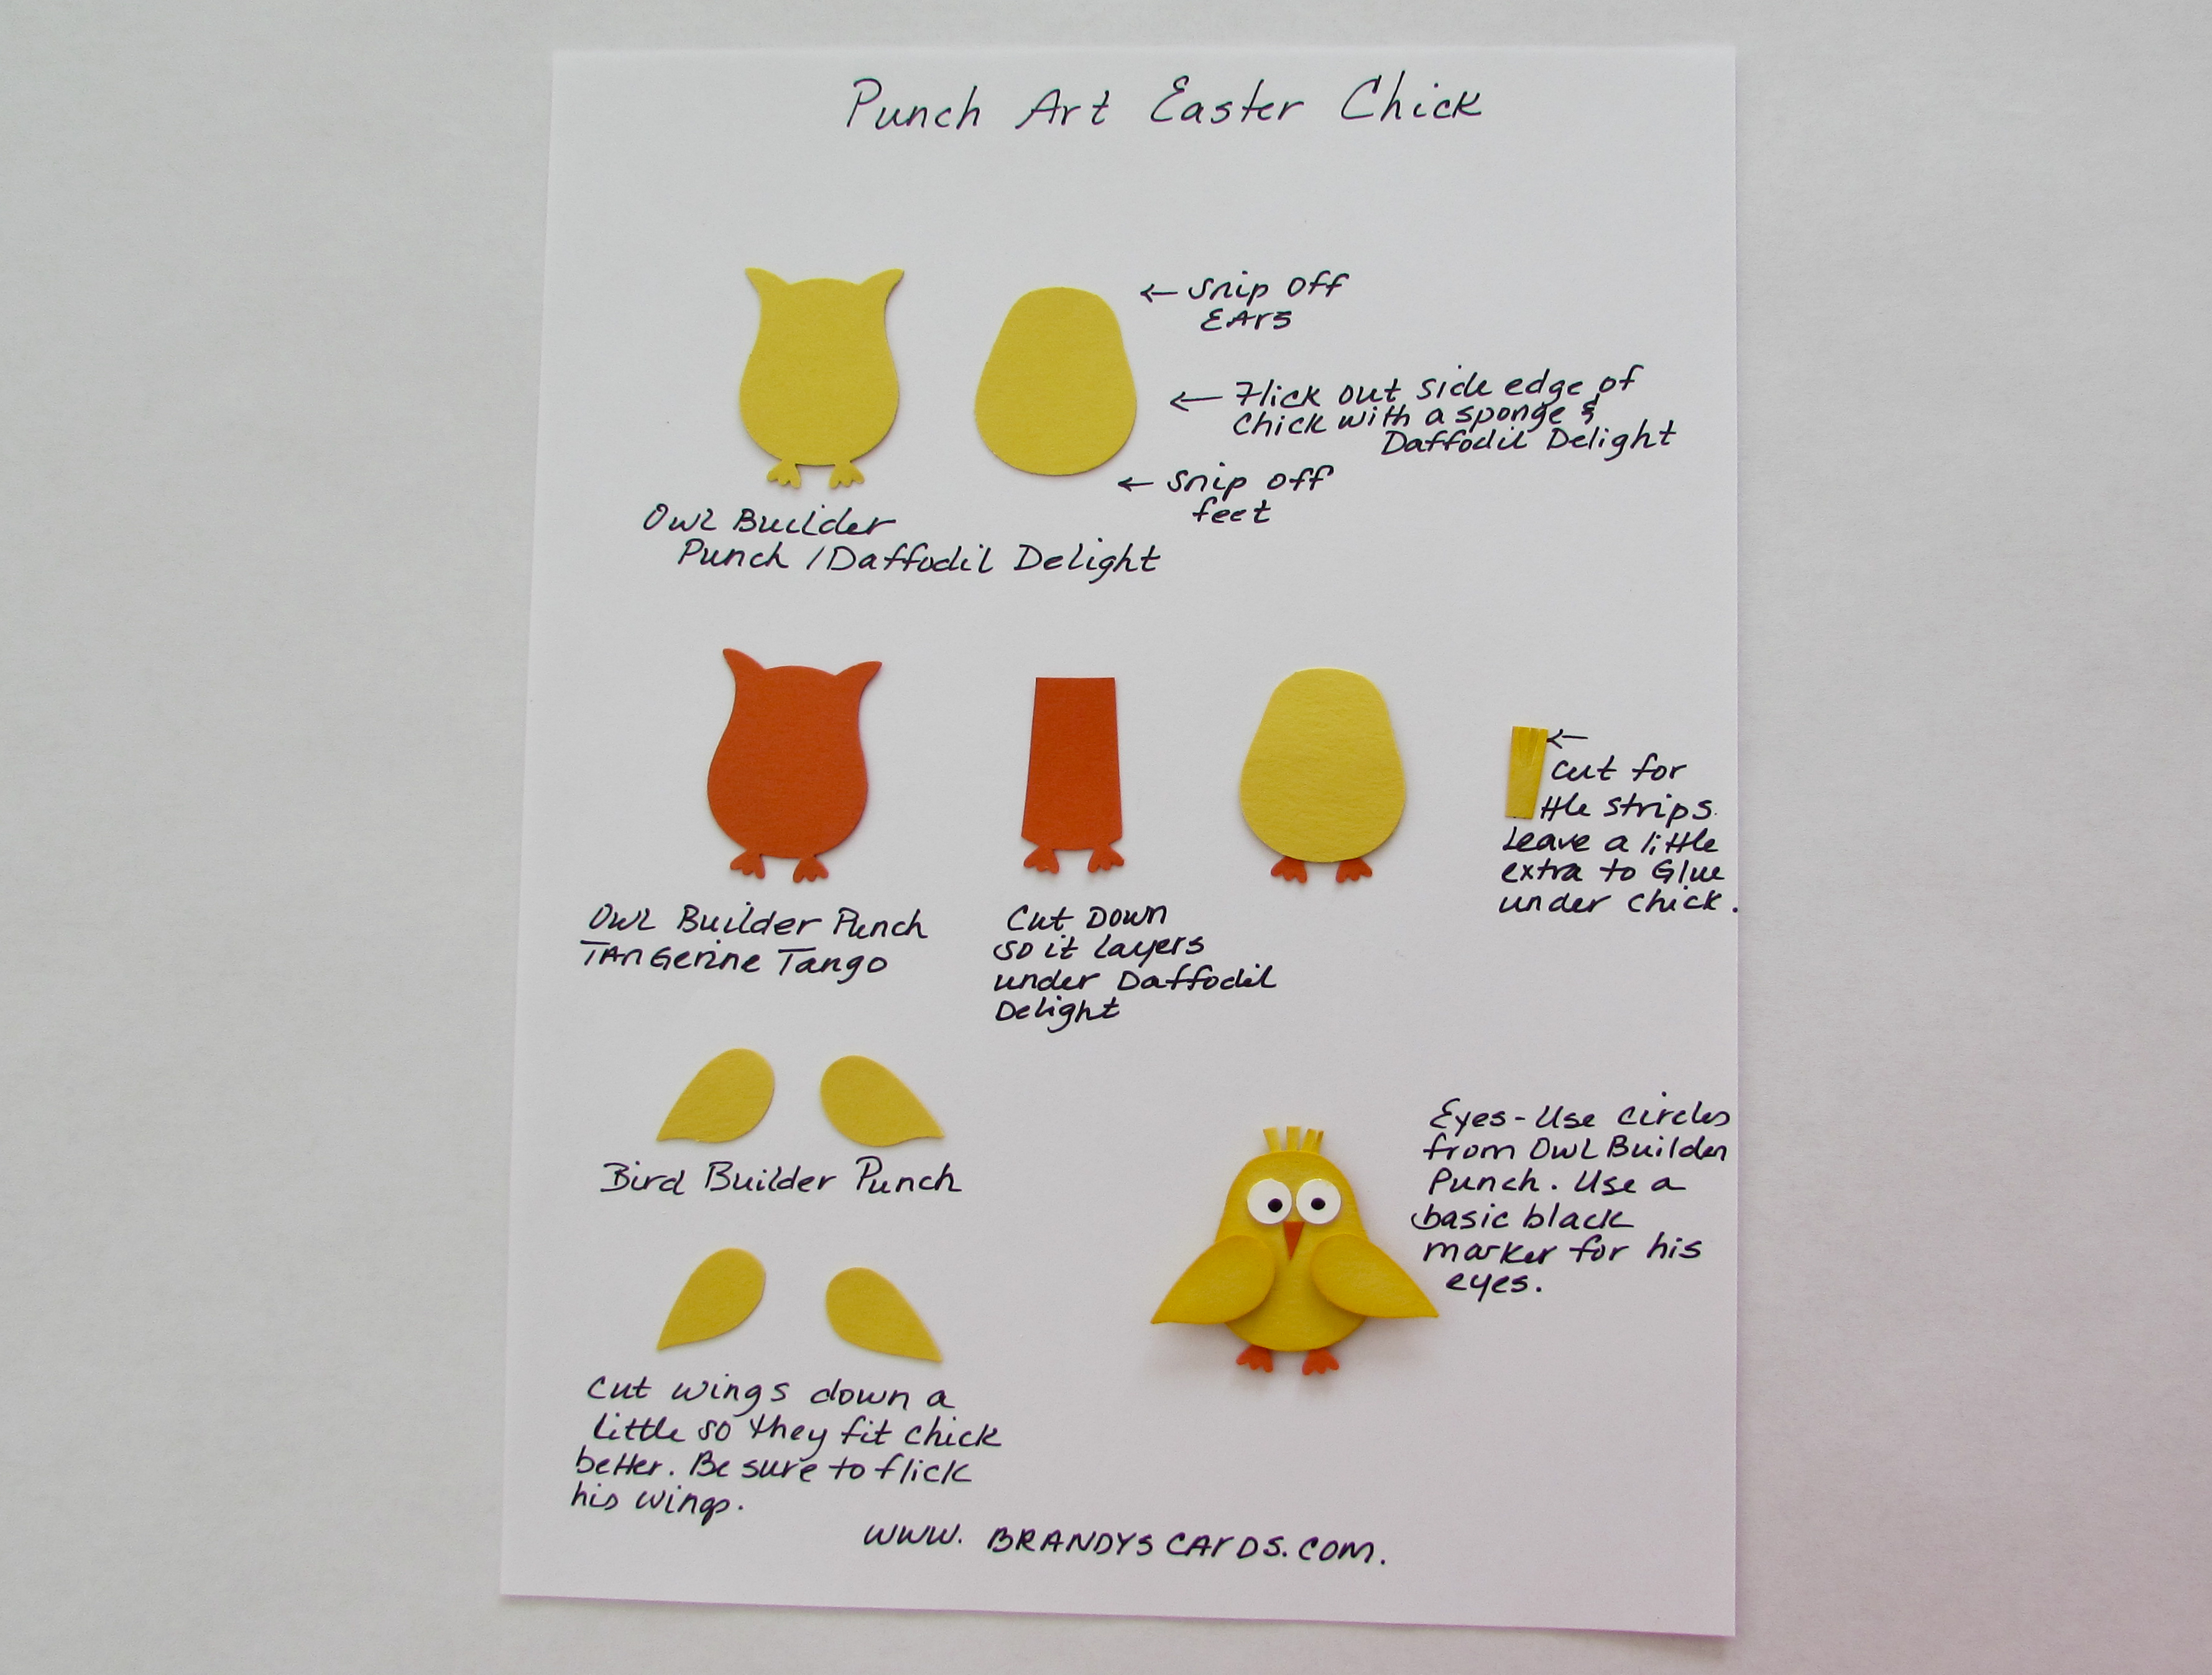
Punch Art Chick
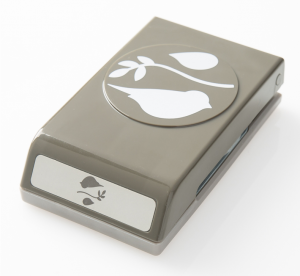
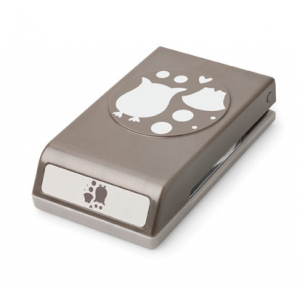
1. Use the Owl Builder Punch to punch out (2) Owls…. one in Daffodil Delight and the other in Tangerine Tango.
2. Trim off the ears and feet from you Daffodil Delight Owl.
3. Trim you Tangerine Tango Owl so that you can use his feet under the Daffodil Delight Owl.
4. Use the Bird Builder Punch to punch out (2) Wings in Daffodil Delight.
Tip: Trim the wing down a little so they are smaller and fit better on your chick.
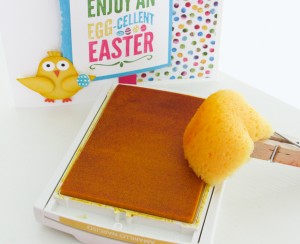 Tip: Use a Daffodil Delight Ink Pad and a Sponge to flick the edges of your Punch Art Chick. This will make the chick stand out a bit better.
5. Punch (2) White Circles using the Owl Builder Punch for his eyes.
Tip: Use a Basic Black marker to make the center of his eyes.
6. Use a piece of scrap Tangerine Tango for the beak.
7. Use pop dots to add his wings.
8. Cut a scrap of yellow cardstock and cut it in four strips for his spike tuff.
9. Be sure when you add Stampin’ Dimensionals to your check that you leave the right corner open. This way you can tuck your Tempting Turquoise cardstock under the chick to hold it down.

Catalog Request Form
If you are interested in receiving a Stampin’ Up catalog, please fill out the request form below. If you currently have a demonstrator, please ask your current demonstrator for the catalog, because I do have to pay for the catalogs and for shipping. However, if you don’t have a demonstrator and are interested in purchasing Stampin' Up products, I’d love the opportunity to share Stampin’ Up with you, answer any questions and earn your business.


Brandy, I always love your technique of tearing paper. I think it always gives the cards a distinctive look. Hope you don’t mind if I copy!