
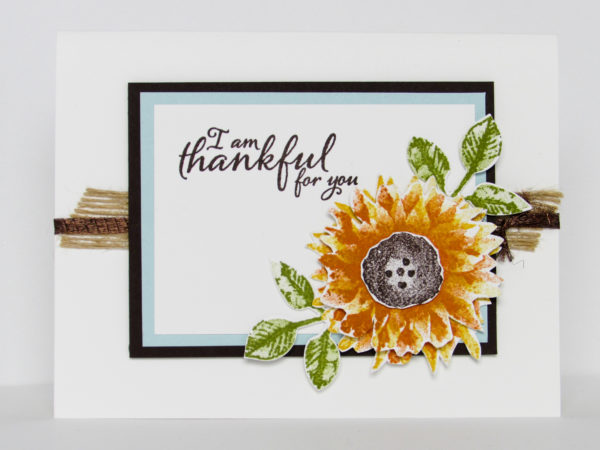
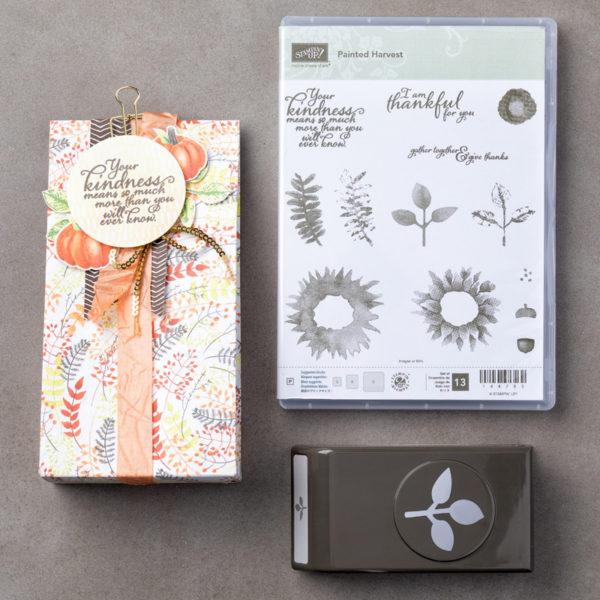
Today’s card was designed using the Stampin’ Up! Painted Harvest Stamp Set. This stamp set is a beauty!!
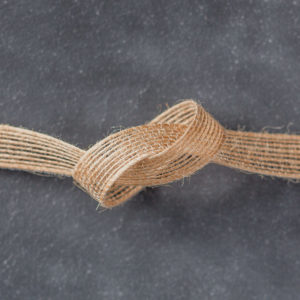
I wanted my card to have a rustic Fall feel, so I used the 5/8″ burlap ribbon along with the 1/4″ copper trim behind my image.
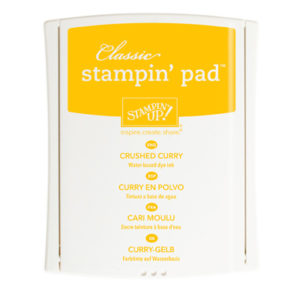
The sunflower was stamped in Crushed Curry and then accented with Tangerine Tango. It seems every flower I stamp turns out a bit different. I love that!!
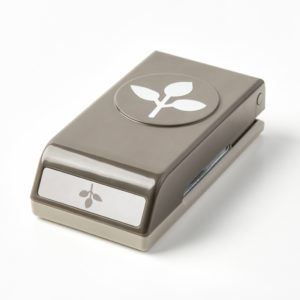
Did I mention how much I’m enjoying the new leaf punch that coordinates with this set? It’s Awesome!! Nothing, like stamping an adorable leaf and punching it out instantly.
I hope you enjoy my Stampin Up Painted Harvest video tutorial and projects. I love sharing my creations with you! Let me know if you need anything or if you have questions. I’m always happy to help.
Happy Fall Y’all!! Love, Brandy
Base
1. Cut an 8-1/2” x 5-1/2” piece of whisper white cardstock and fold it in half. This is your base.
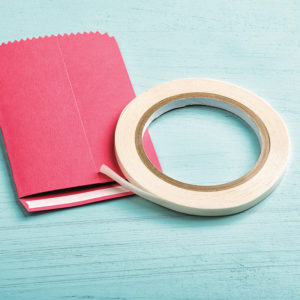
2. Use piece of tear and stick tape to add a 5-1/4” piece of 5/8” burlap ribbon.
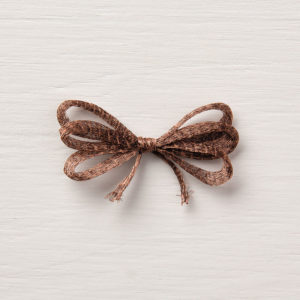
3. Next, wrap a piece of ¼” copper trim around your card and tie it in a knot.
Tip: The copper trim should lay on top of your burlap ribbon. Pick at the ends of the copper trim to create fraying.
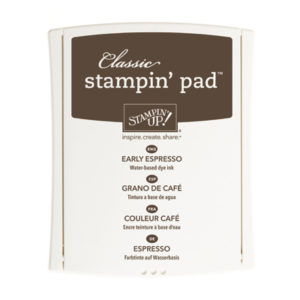
4. Cut a 4” x 3” piece of early espresso cardstock.
5. Cut a 3-3/4” x 2-3/4” piece of soft sky cardstock. Center and adhere this piece to your early espresso cardstock.
6. Cut a 3-1/2” x 2-1/2” piece of whisper white cardstock.
Tip: Stamp your sentiment before you center and adhere this piece to your soft sky cardstock.
7. Stamp your sentiment using early espresso ink. Center and adhere this piece to your soft sky cardstock.
8. Use a few dimensionals to pop, adhere your layering rectangles to your card.
Sunflower & Leaves
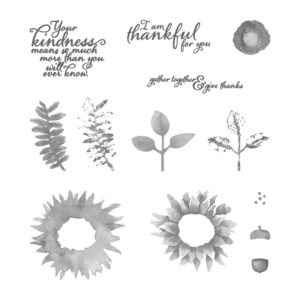
1. Use crushed curry ink to stamp your base sunflower on a scrap piece of whisper white cardstock.
Tip: Remember, the Stampin Up Painted Harvest Stamp Set is a 2 step stamp. Therefore, most images will require two steps to stamp.
2. Use tangerine tango ink to stamp the more detailed sunflower on top of the crushed curry sunflower.
3. Use paper snips to cut out the sunflower.
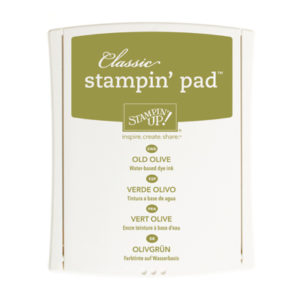
4. On a piece of scrap paper, use old olive ink to stamp your leaf.
Tip: The first leaf was stamped off and then the more detailed leaf was stamped on top of it full strength.
5. . Use the leaf punch to punch out your old olive leaves.
6. Now, stamp the center of the sunflower on scrap paper, in early espresso ink. Use paper snips to cut it out.
7. Lastly, start to layer your sunflower on your card. The leaves tuck underneath the sunflower and the sunflower center is adhered with a mini glue dot.
Stampin’ Up! Supplies


Catalog Request Form
If you are interested in receiving a Stampin’ Up catalog, please fill out the request form below. If you currently have a demonstrator, please ask your current demonstrator for the catalog, because I do have to pay for the catalogs and for shipping. However, if you don’t have a demonstrator and are interested in purchasing Stampin' Up products, I’d love the opportunity to share Stampin’ Up with you, answer any questions and earn your business.


Love the new way you used the Painted Harvest. I’m going to try that later today. Love your creativity and all that you share.
Thank you!
Thank you Brandy.
I love your design, it’s just so lovely. Thank you for the card. I do love sunflowers. Take care…
Love this card Brandy as always, great design and love the tutorials as well, Hugssssss from Aussie 🙂
Such a beautiful card! I always enjoy your tutorials.
This is an absolutely lovely card. And thank you so much – always such good ideas and great suggestions.