

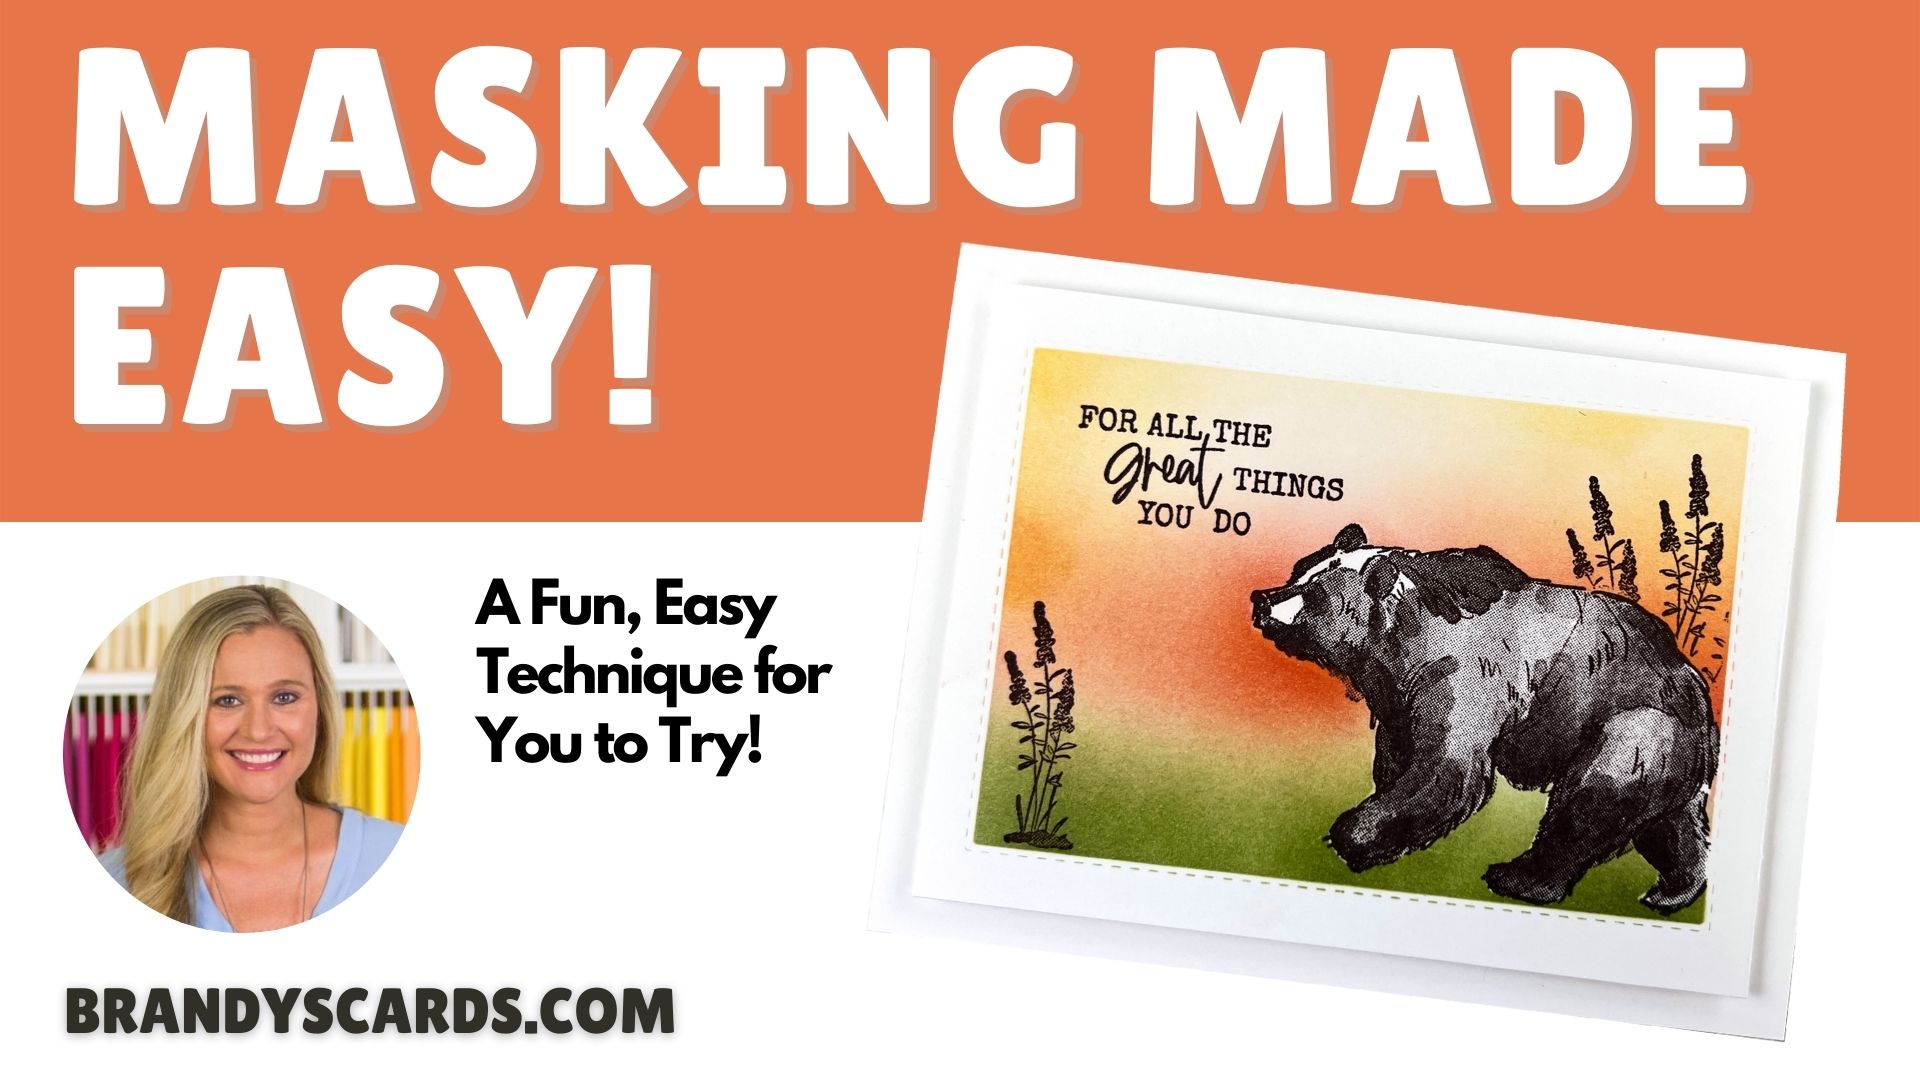
You can learn masking techniques in card making as a way to create an illusion that an image is behind another or to add color around the image without ‘disturbing’ the stamped image.
In today’s video I show you how I masked the bear so that I could stamp flowers that appear to be behind him. I also created a frame mask that I used as a way of protecting an area from ink while I was blending the sunset.
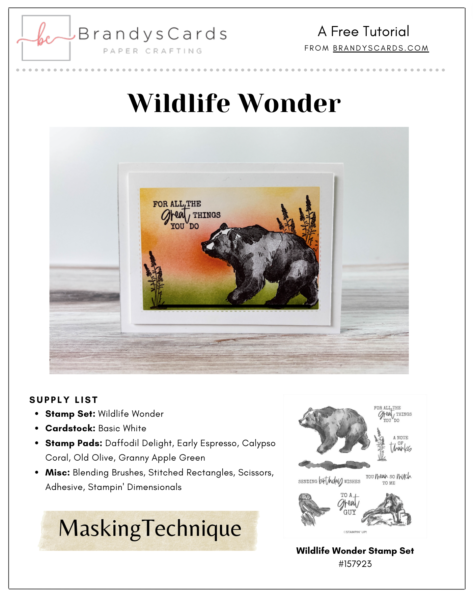
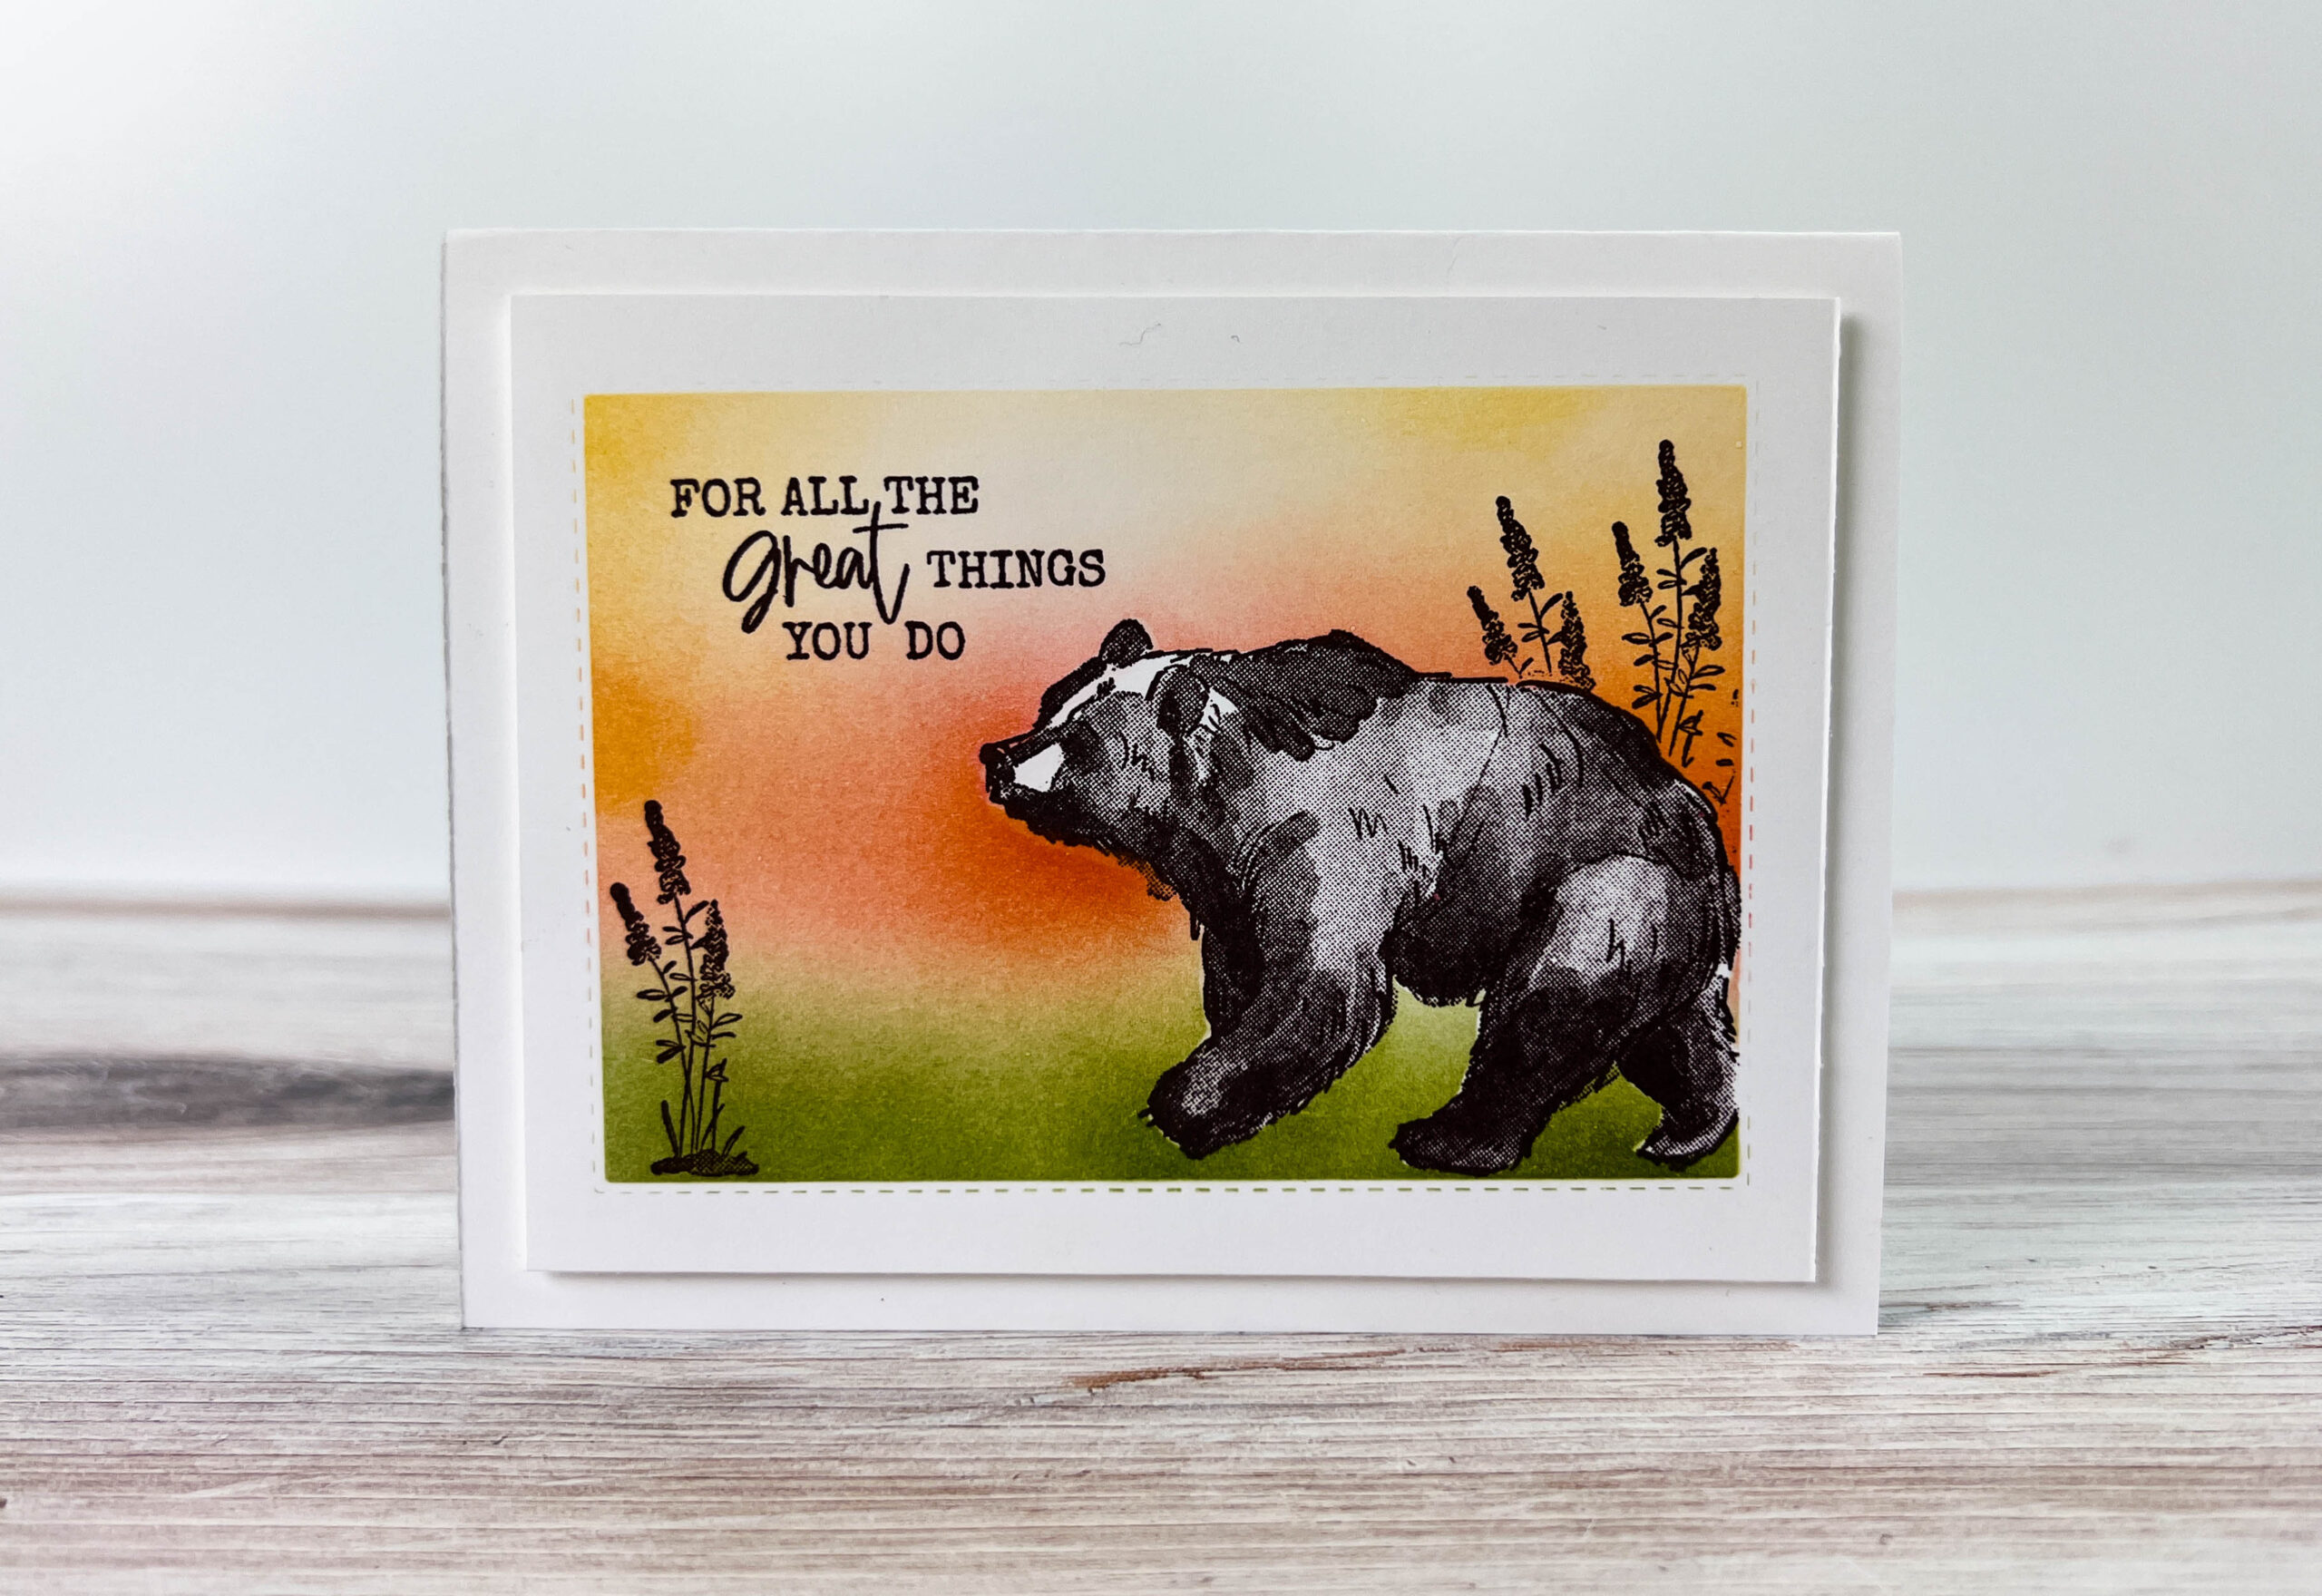
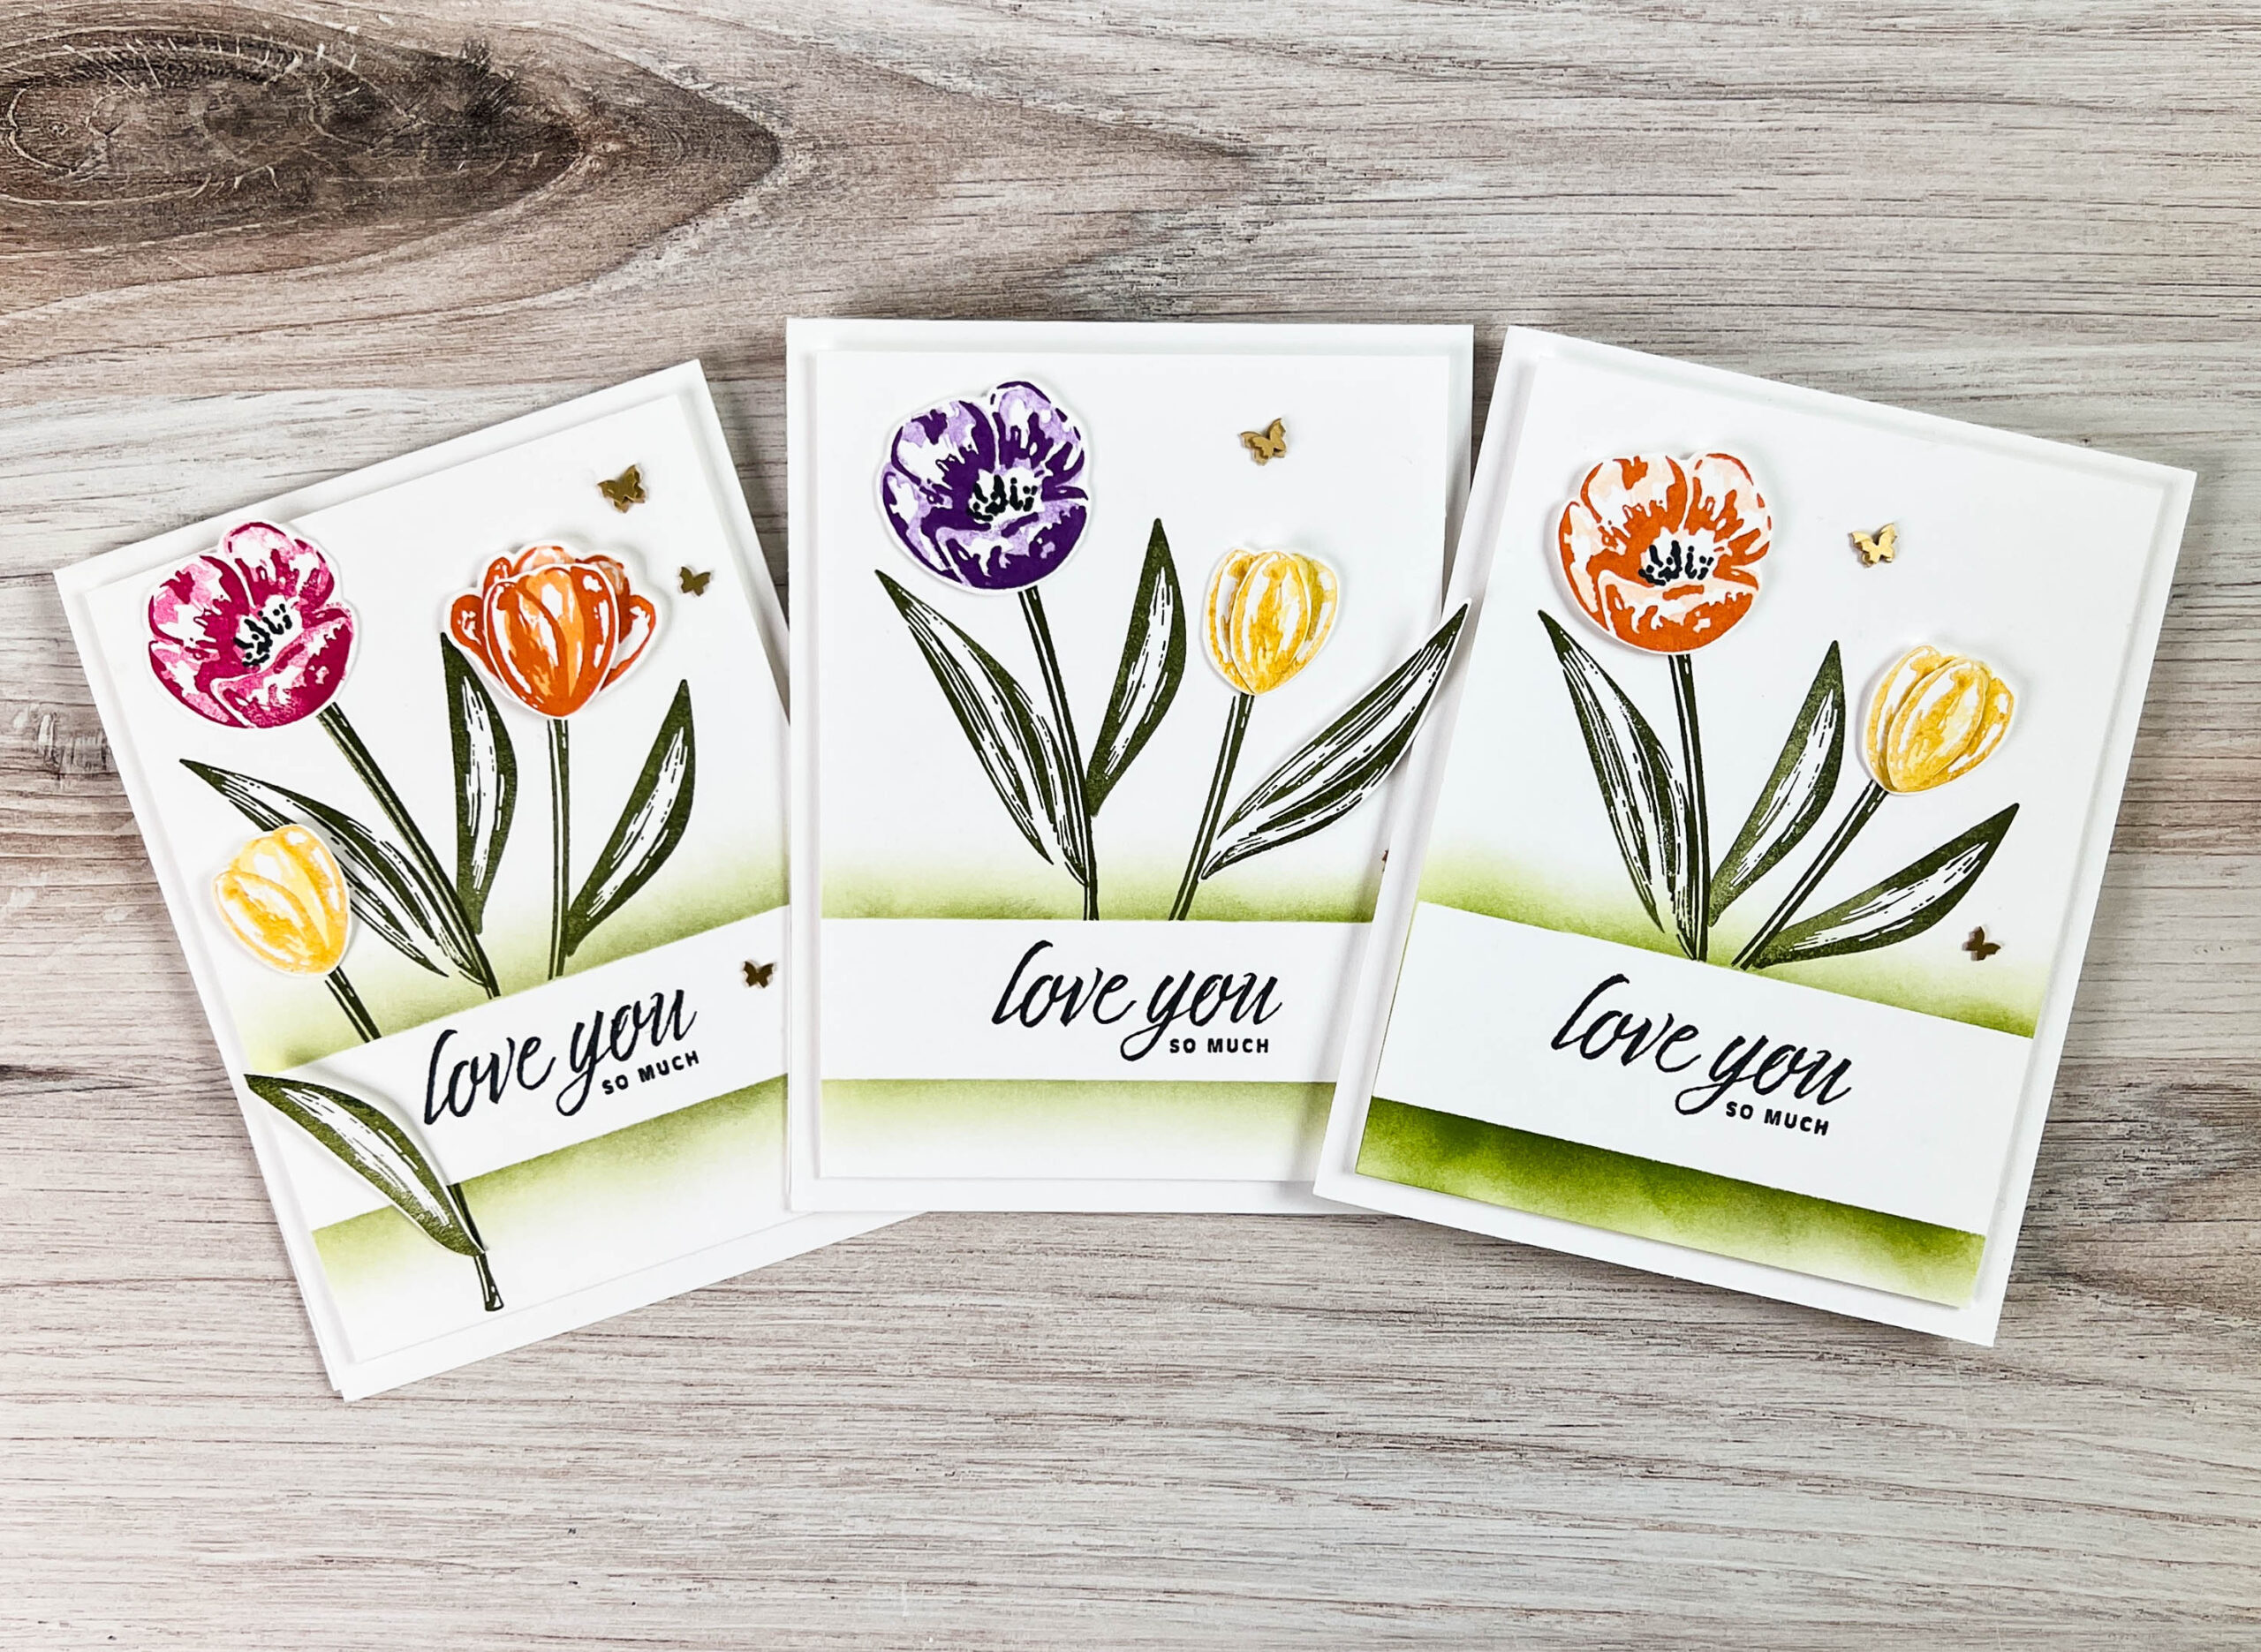
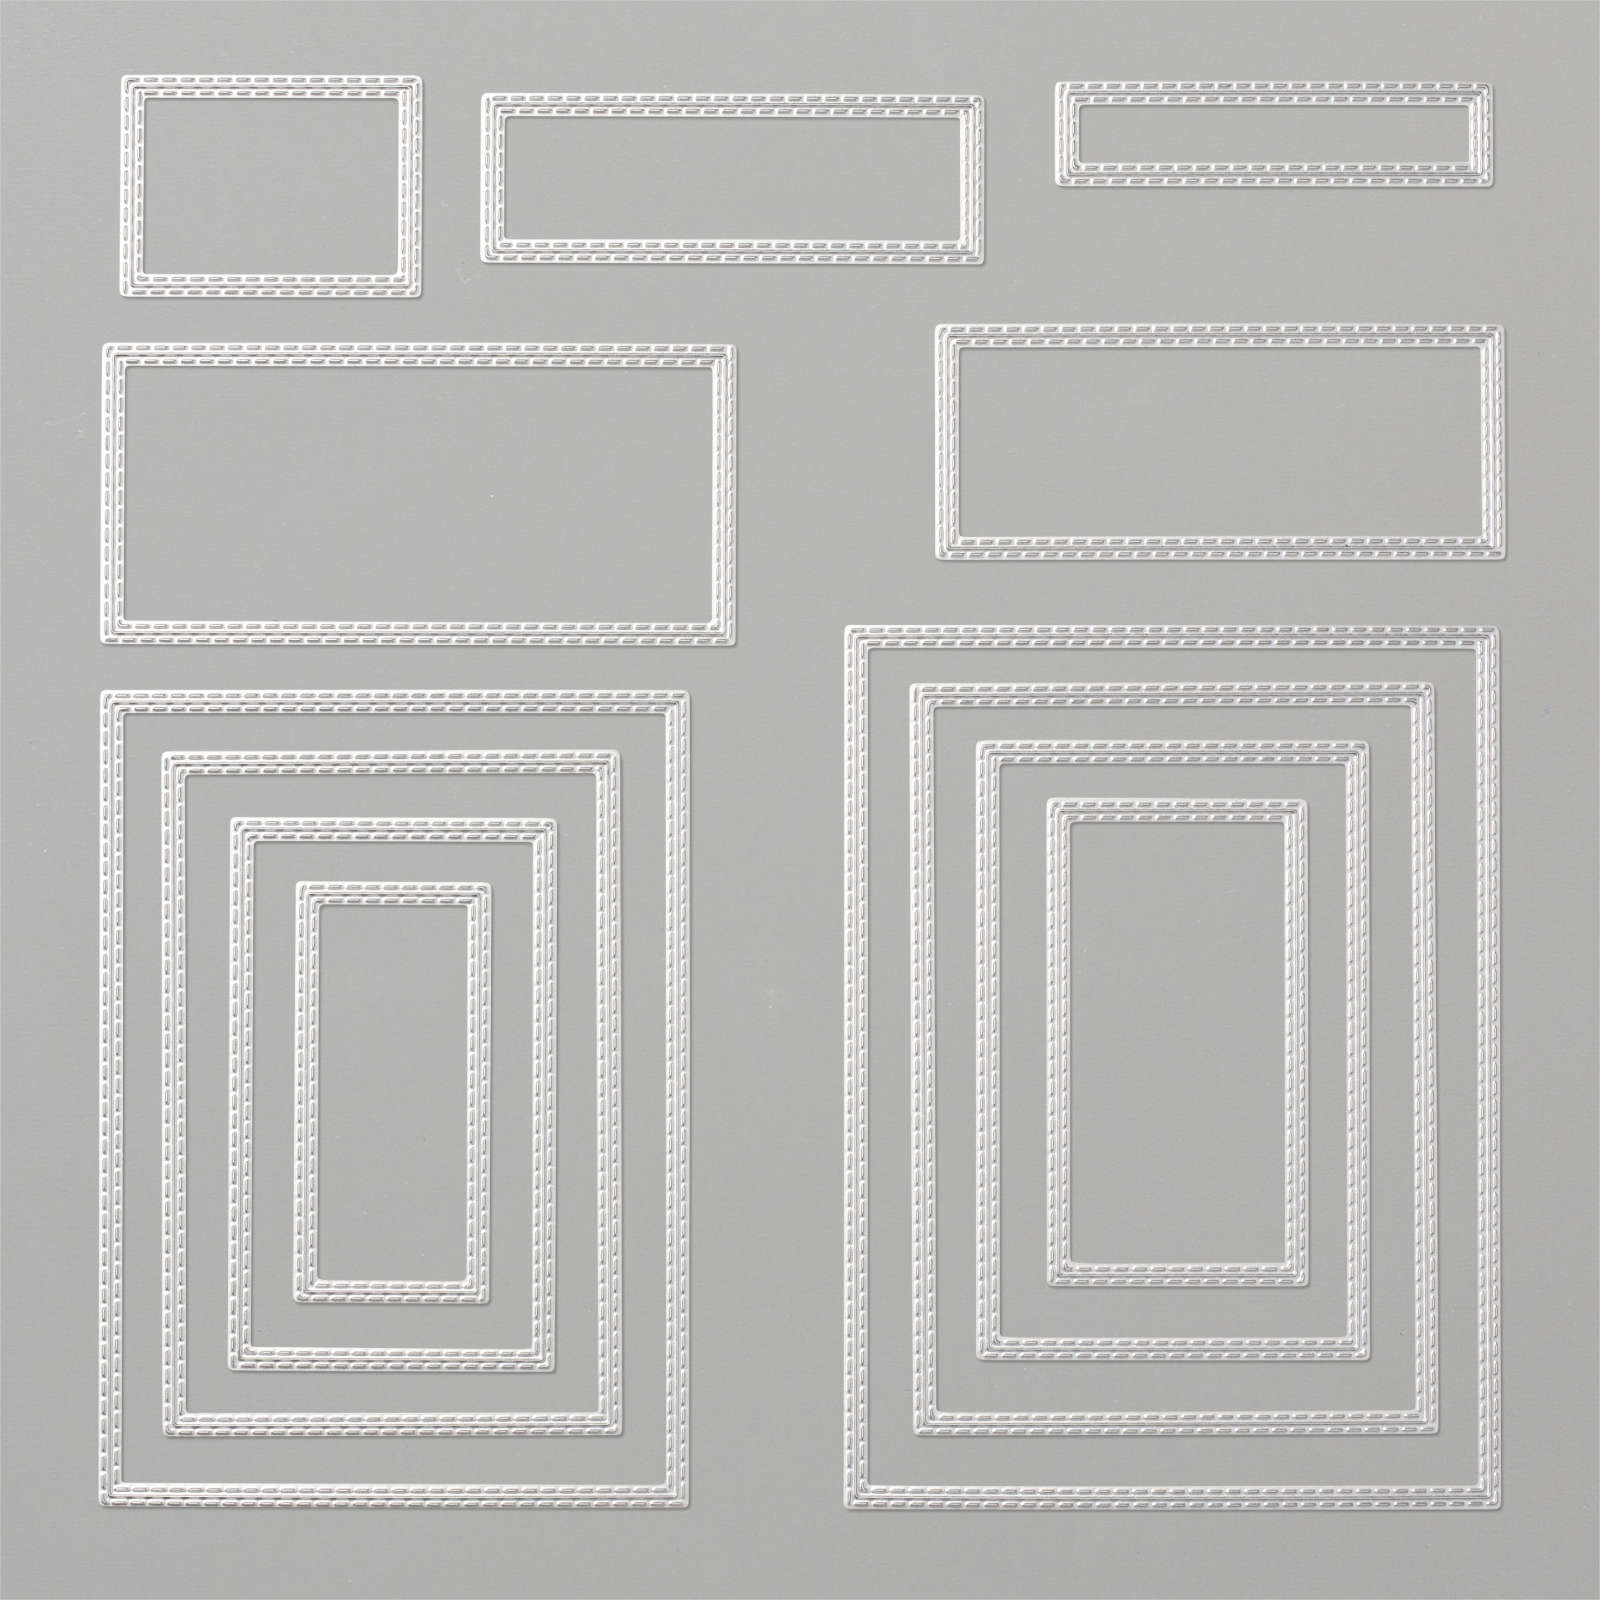
I used a stitched rectangle which allowed me to create a slight stitched edge around my scene. The stitched edge was created by blending the color over the stitched frame. I love how it turned out.
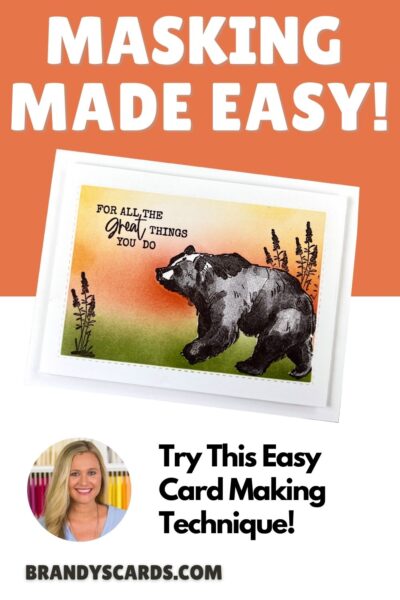
I hope you enjoy my video tutorial and are inspired to give this easy masking technique a try!! Thanks for stopping by. Brandy

PINTEREST-ING!
Follow me on Pinterest and save this masking technique to your favorite card making boards so you can quickly find the tutorial any time you need it!
1. Cut a 5-1/2″ x 8-1/2″ piece of Basic White cardstock. Score at 4-1/4″ and fold in half. This is your card base.
2. Cut a 5-1/2″ x 4-1/4″ piece of copy paper. Use a die to cut a frame.
3. Cut a 5-1/8″ x 3-7/8″ piece of Basic White cardstock. Center over the copy paper frame and use washi tape to hold it in place.
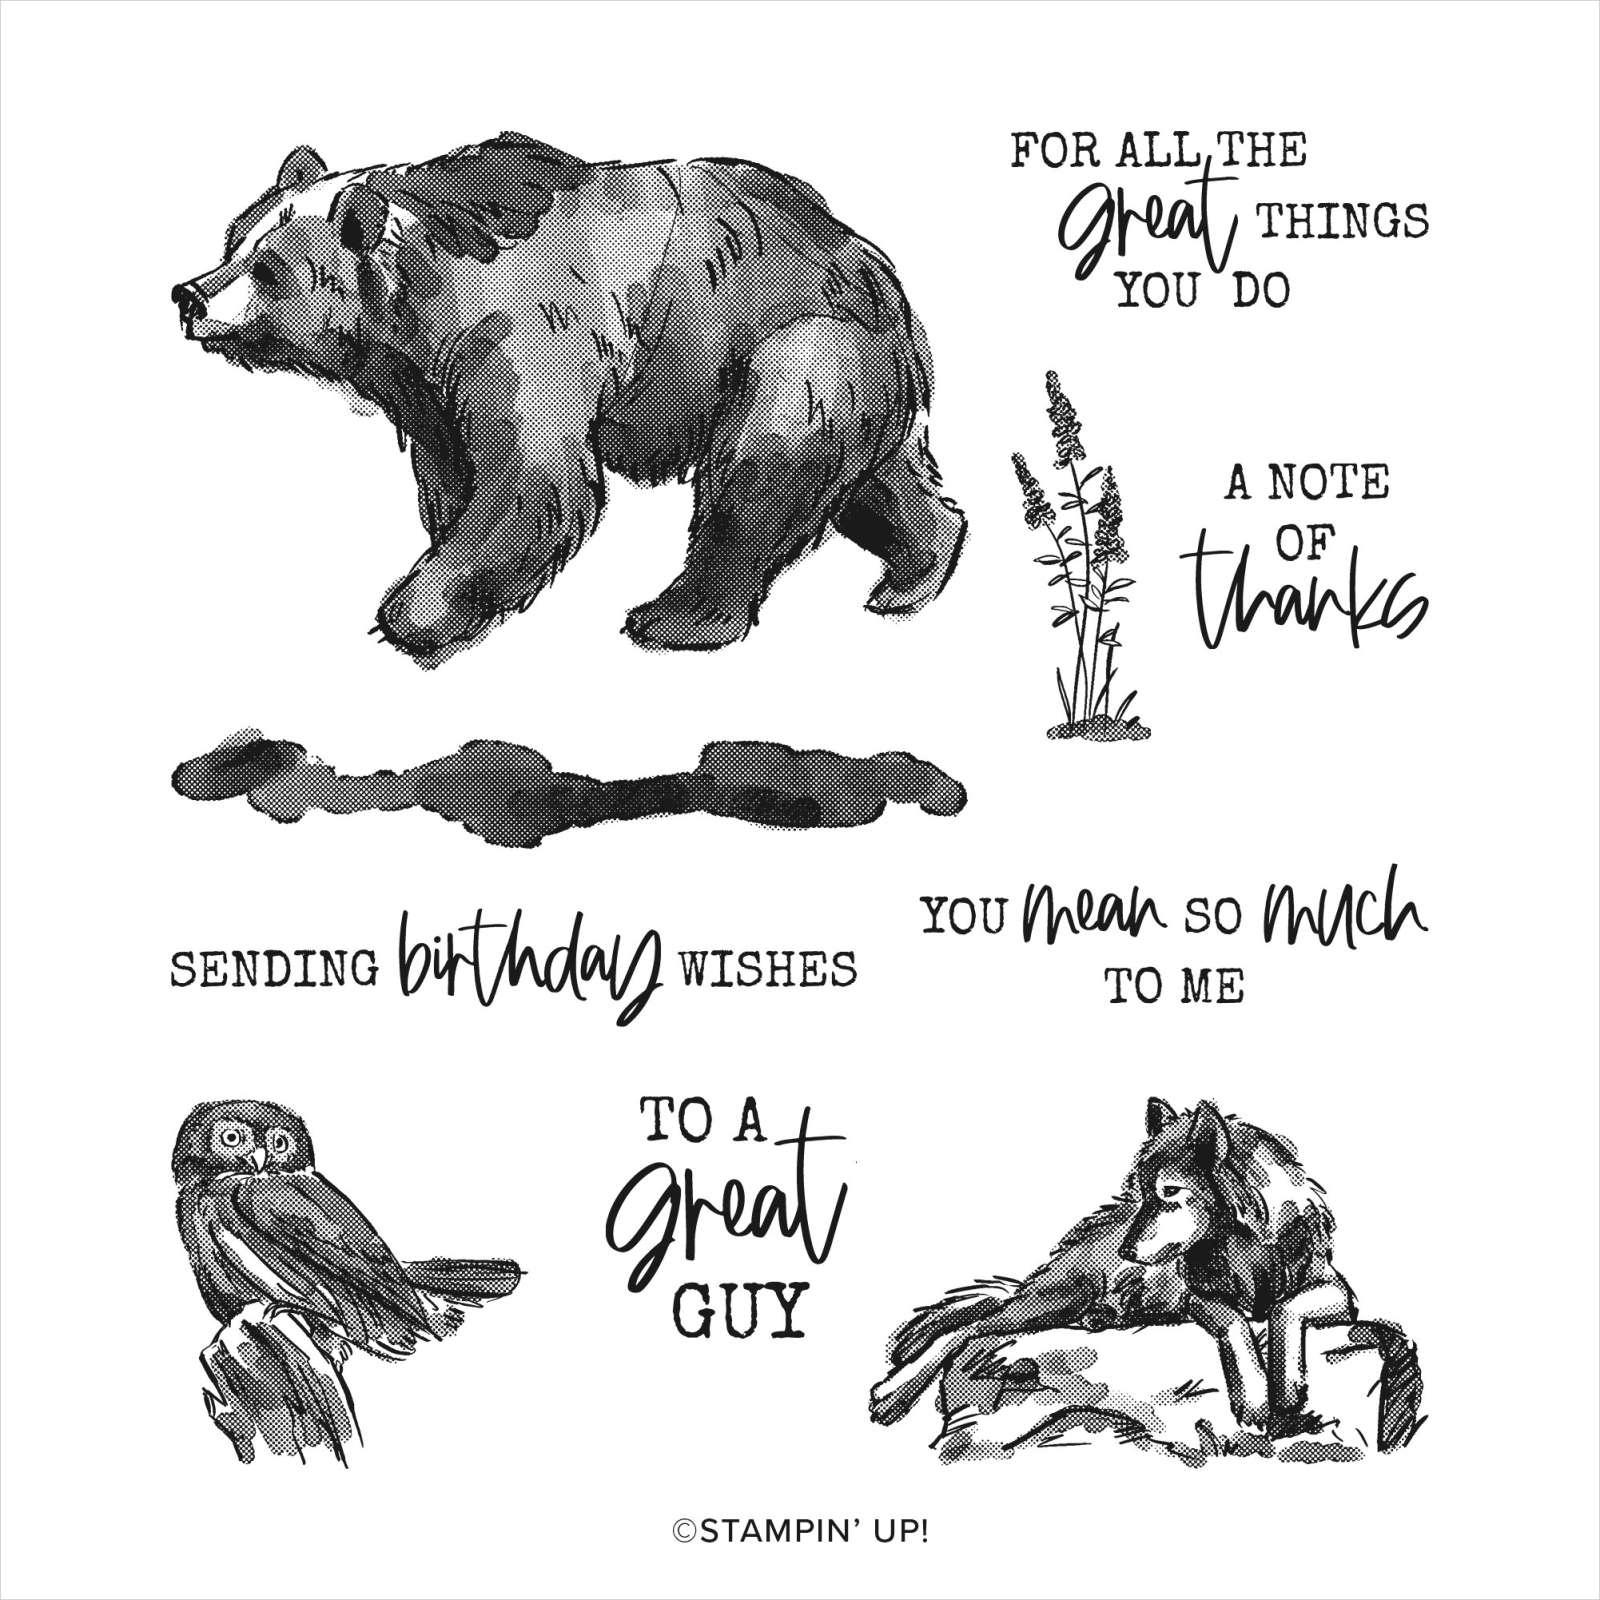
4. Create a mask for your bear by stamping it in Early Espresso on scrap copy paper. Cut it out.
Tip: Be sure to cut around the image as close as you can.
5. Stamp the bear, in the copy paper frame, in Early Espresso Ink.
6. Put the mask over the bear and stamp the plants in Early Espresso Ink. When you remove the mask they will appear like they are behind him.
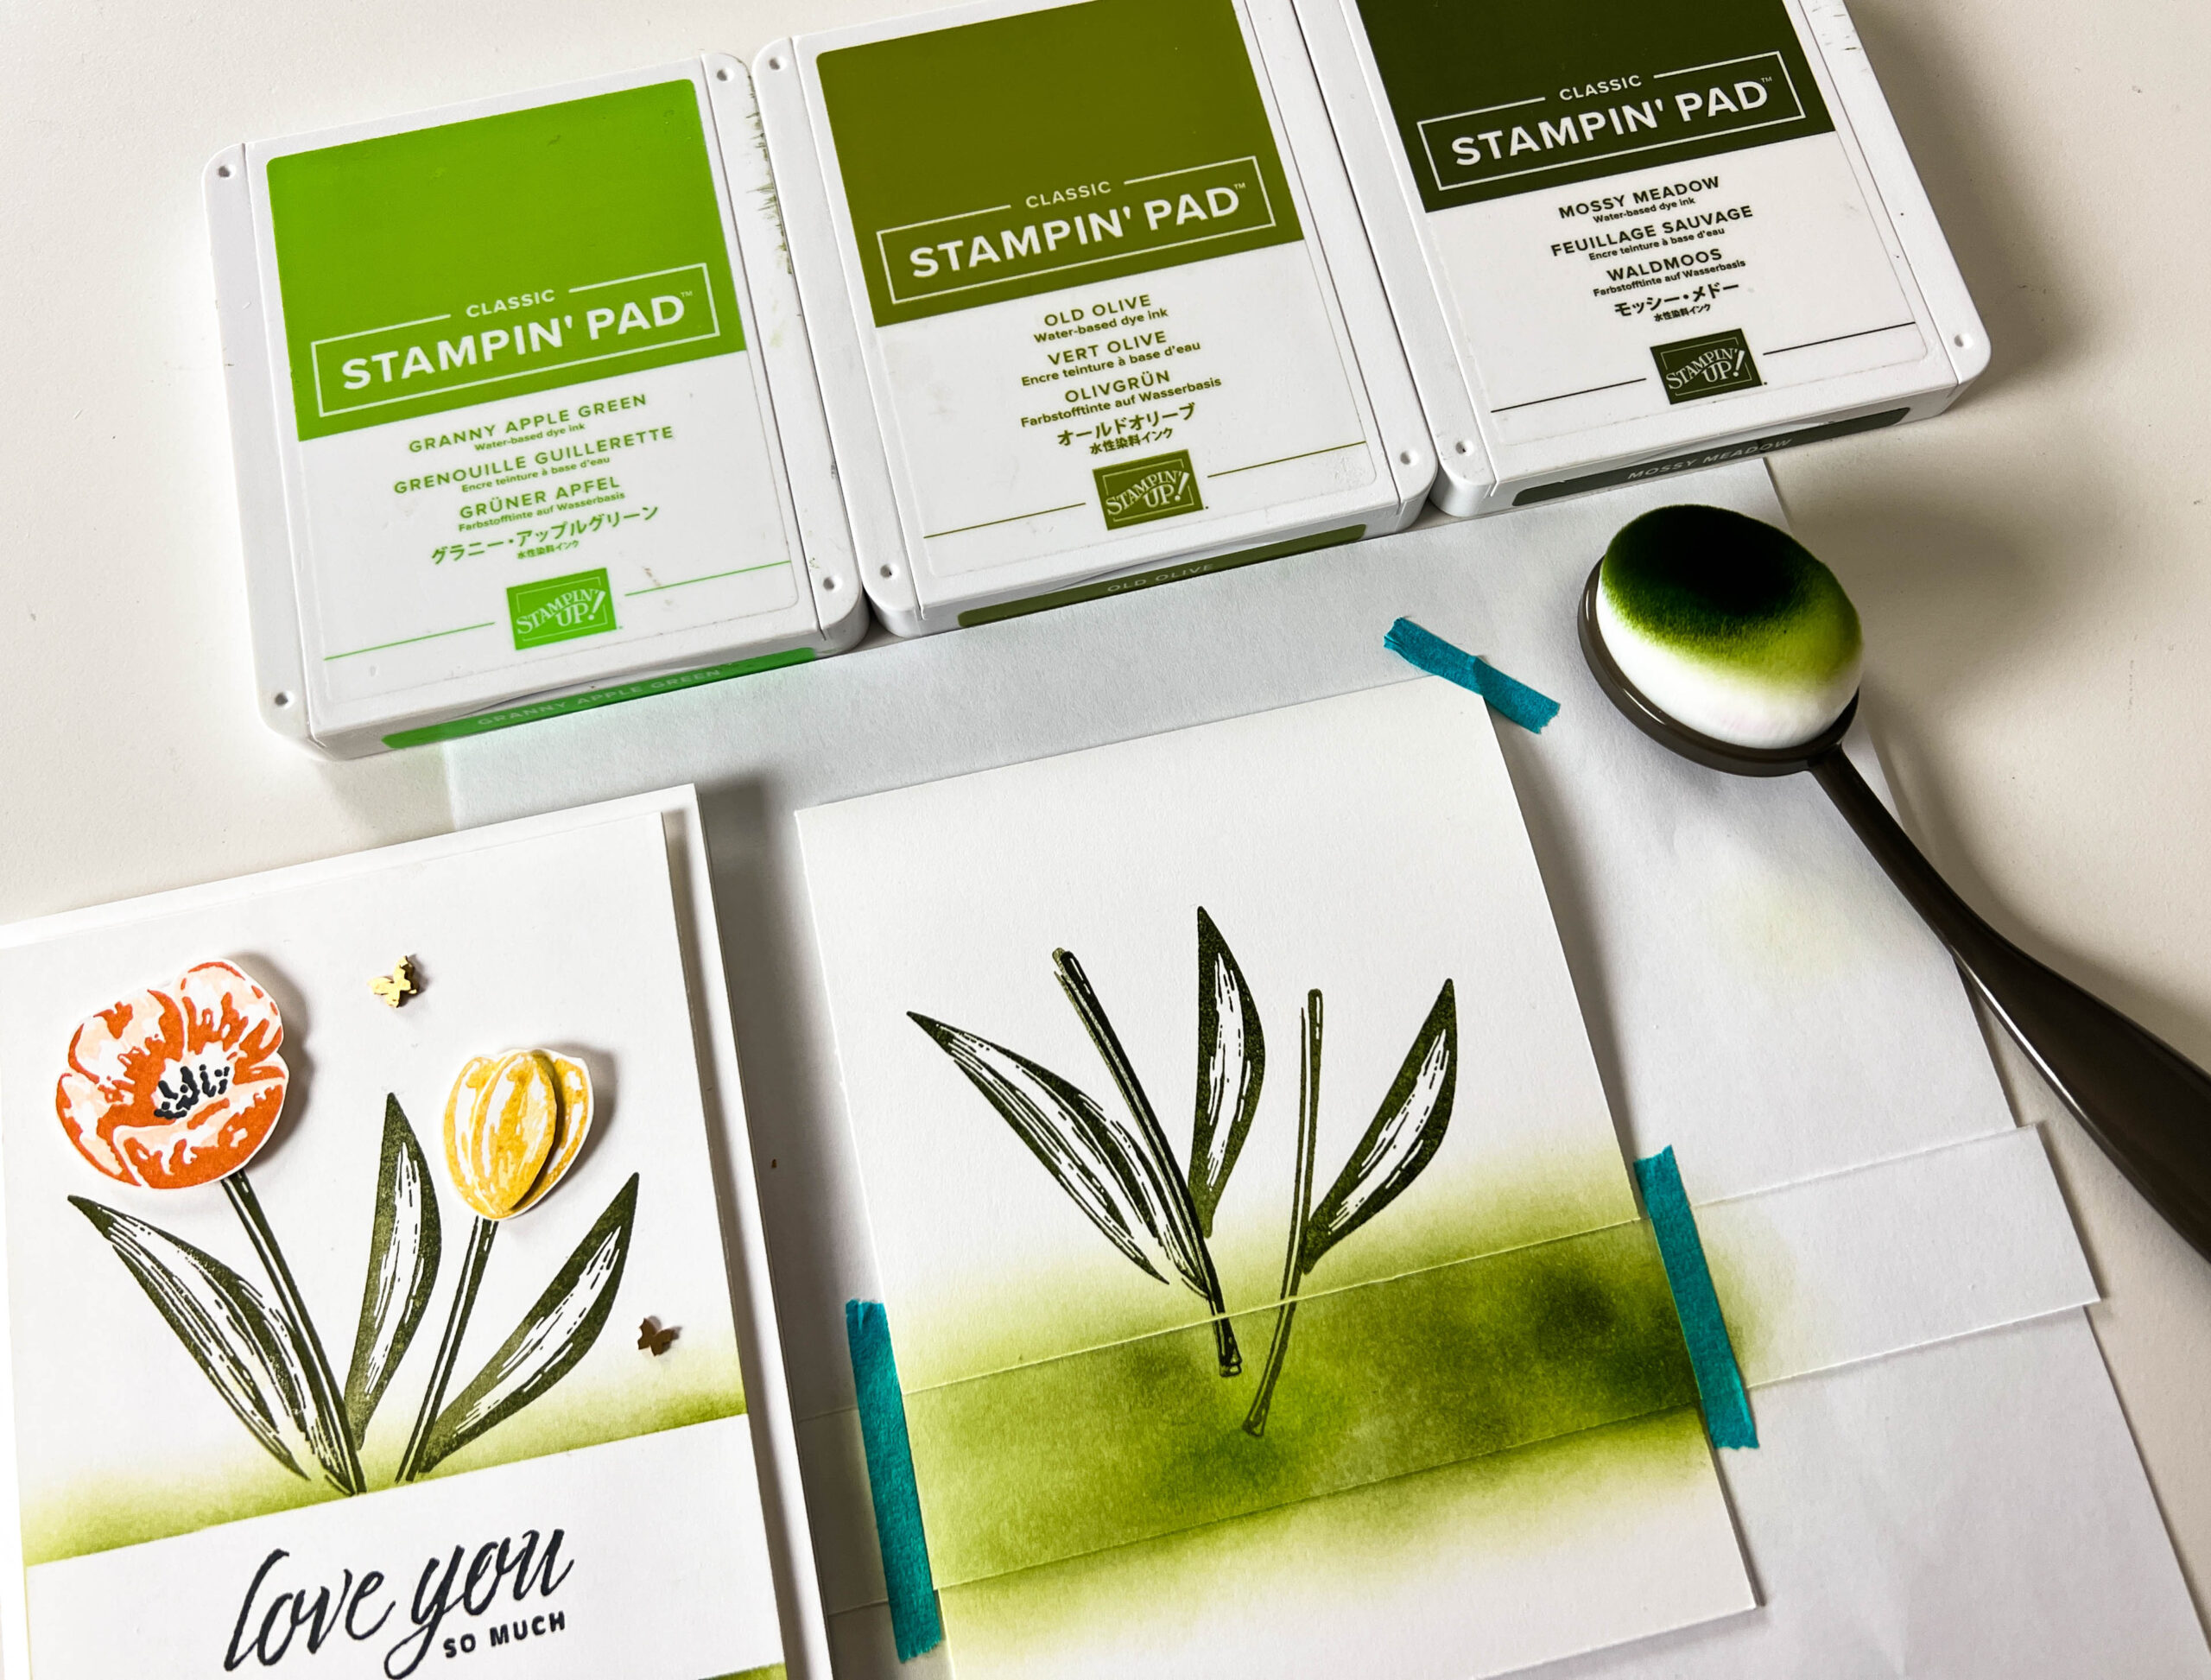
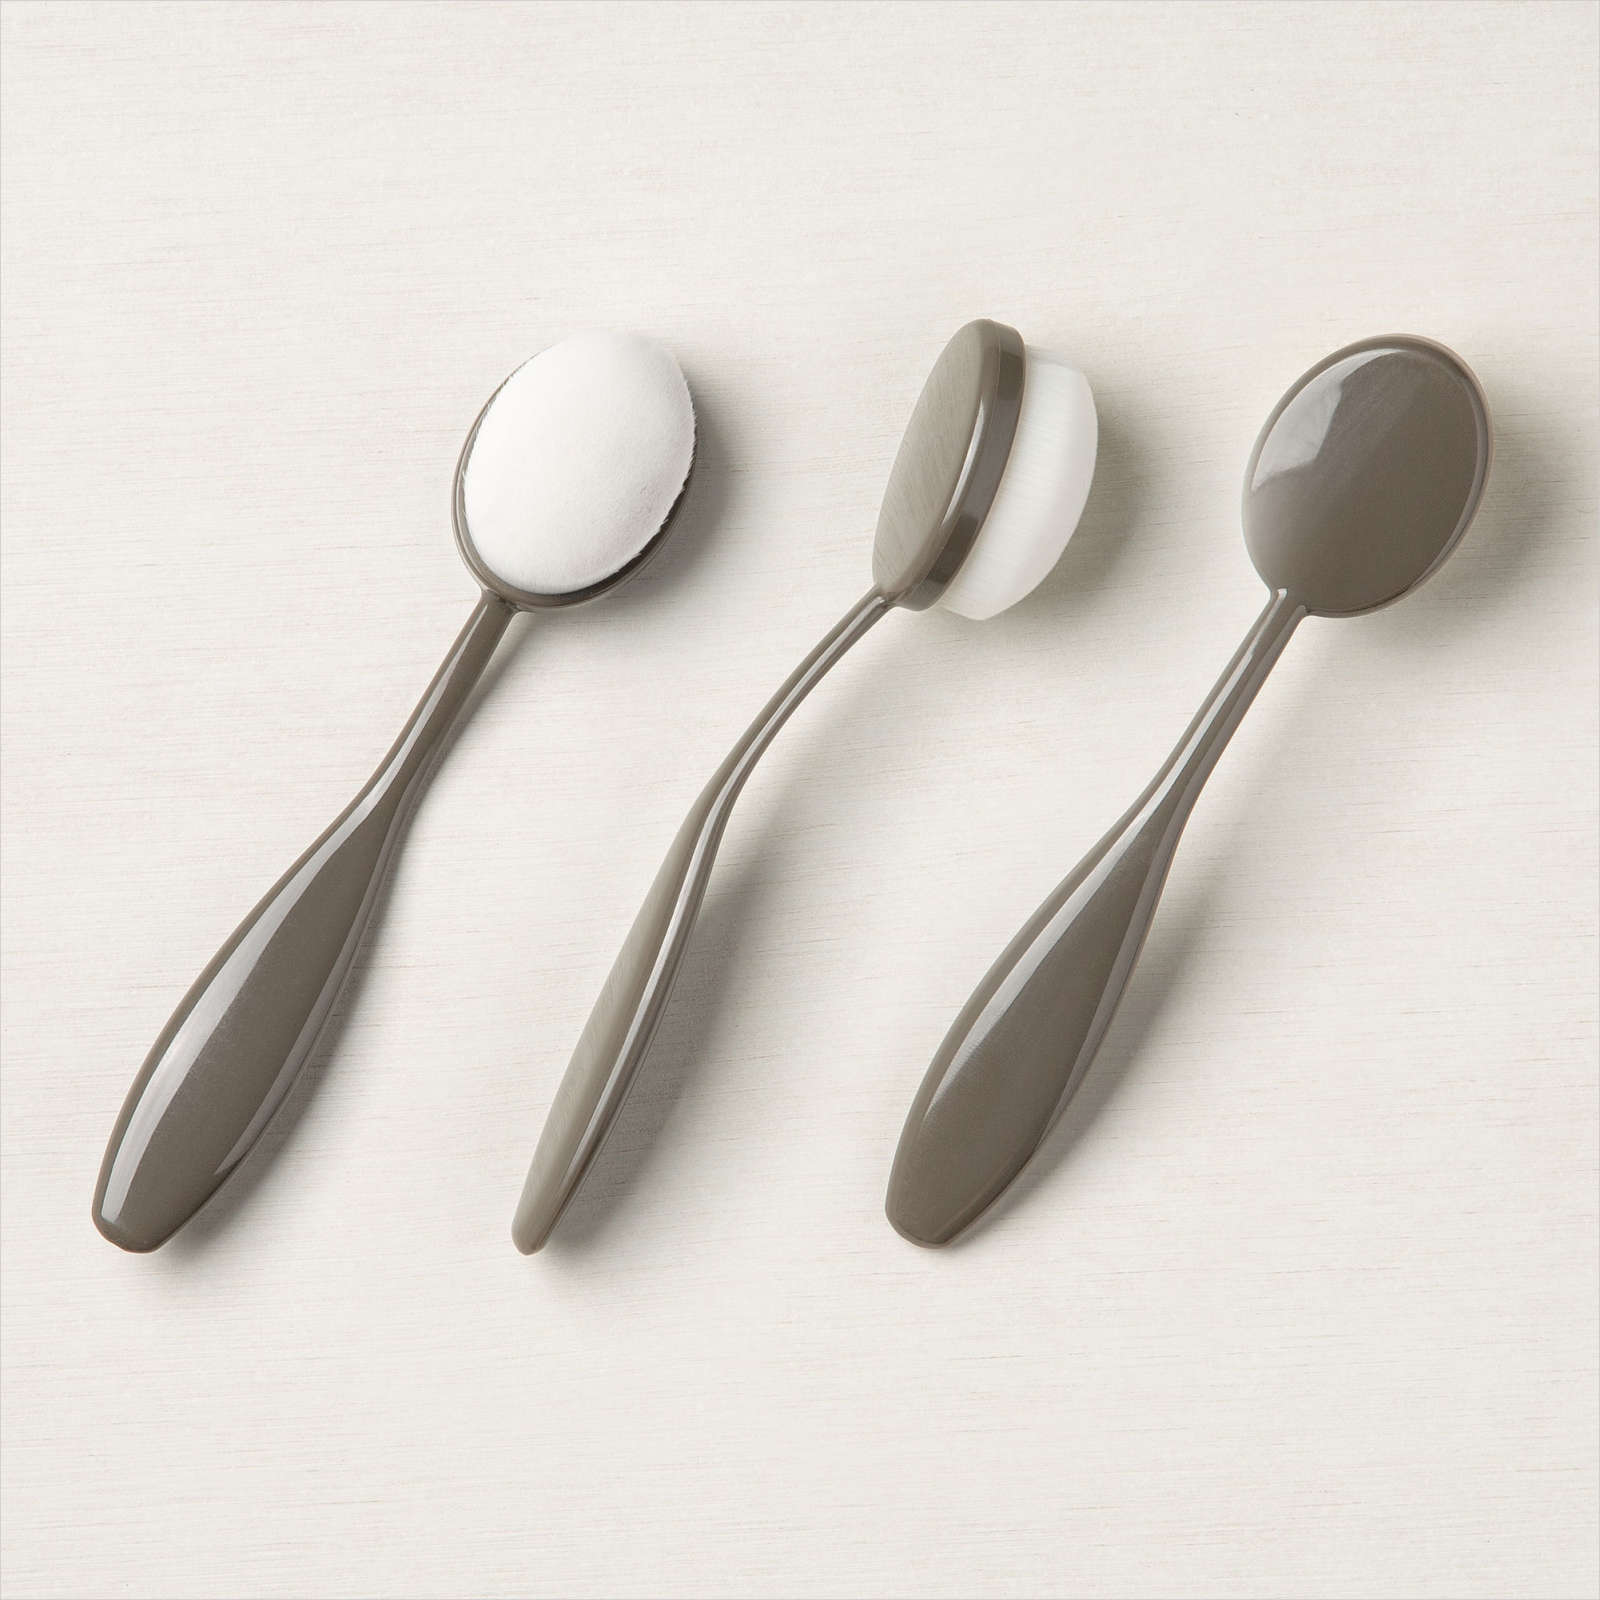
7. Use a blending tool to blend Granny Apple Green and Old Olive for the ground. Then, blend Calypso Coral and Daffodil Delight.
8. Stamp the sentiment in Early Espresso.
9. Take off the frame mask. Center and adhere to the card front.
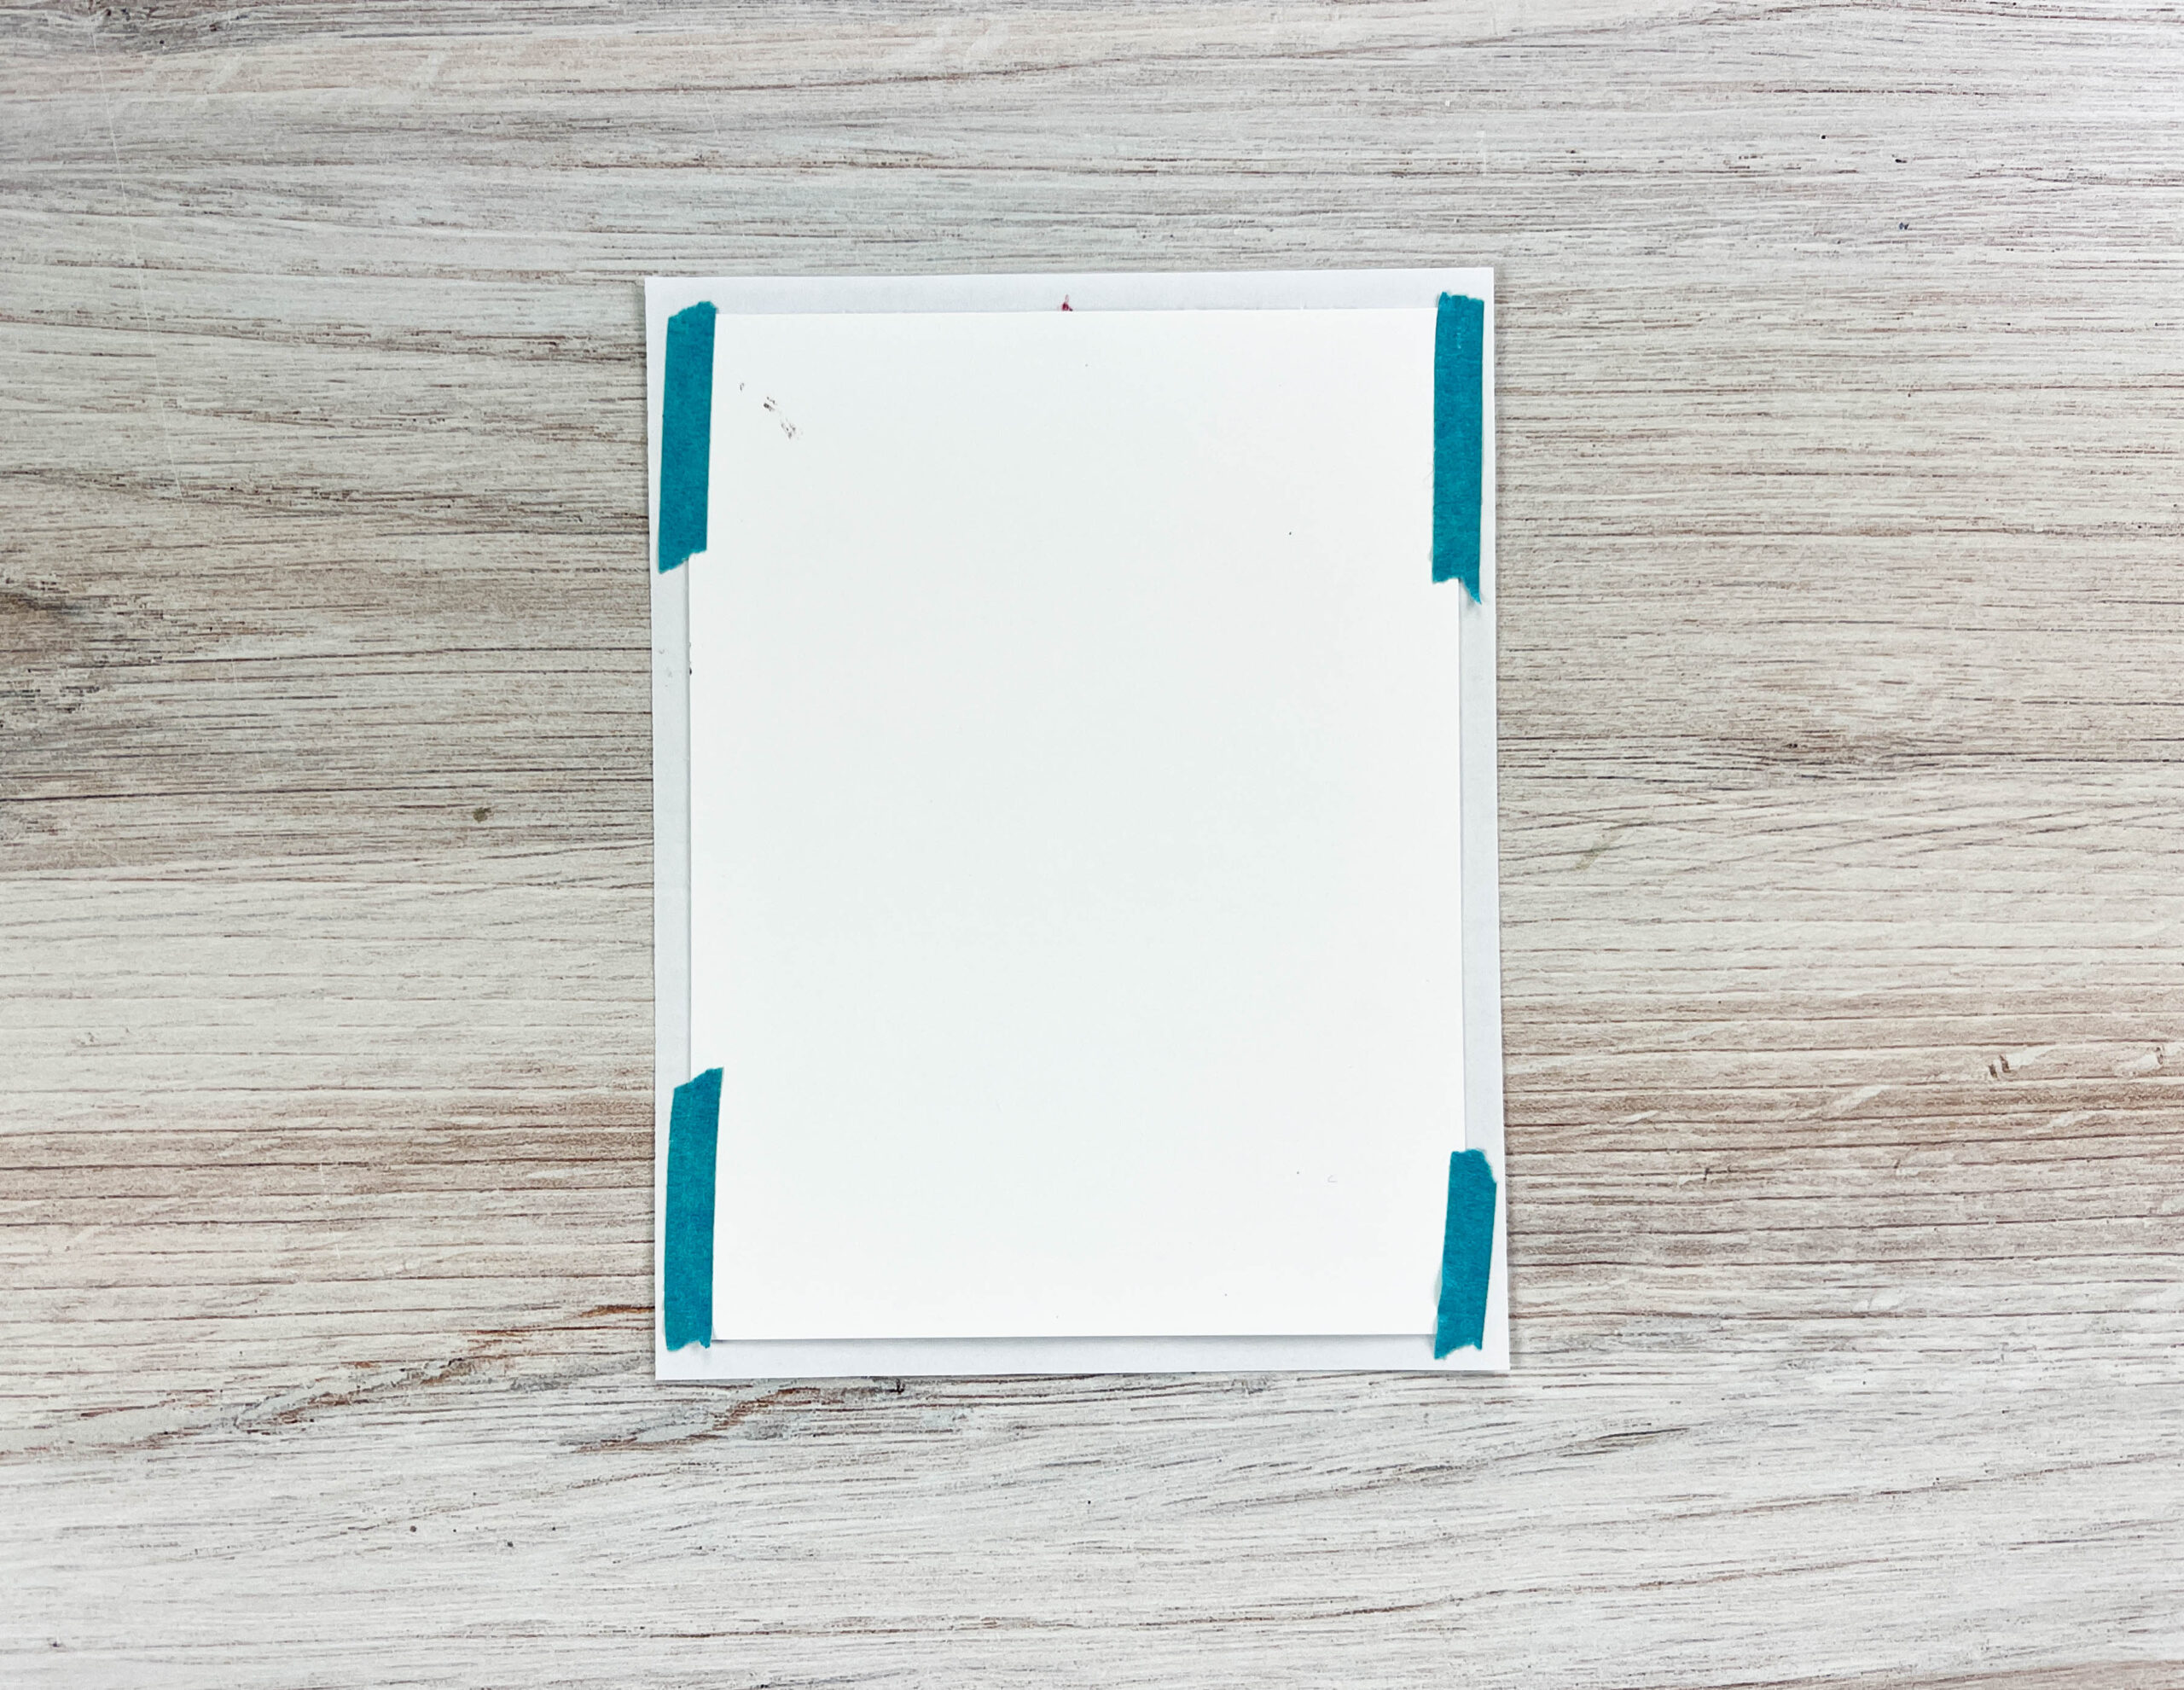
Layer Basic White cardstock on top of the die cut copy paper frame.
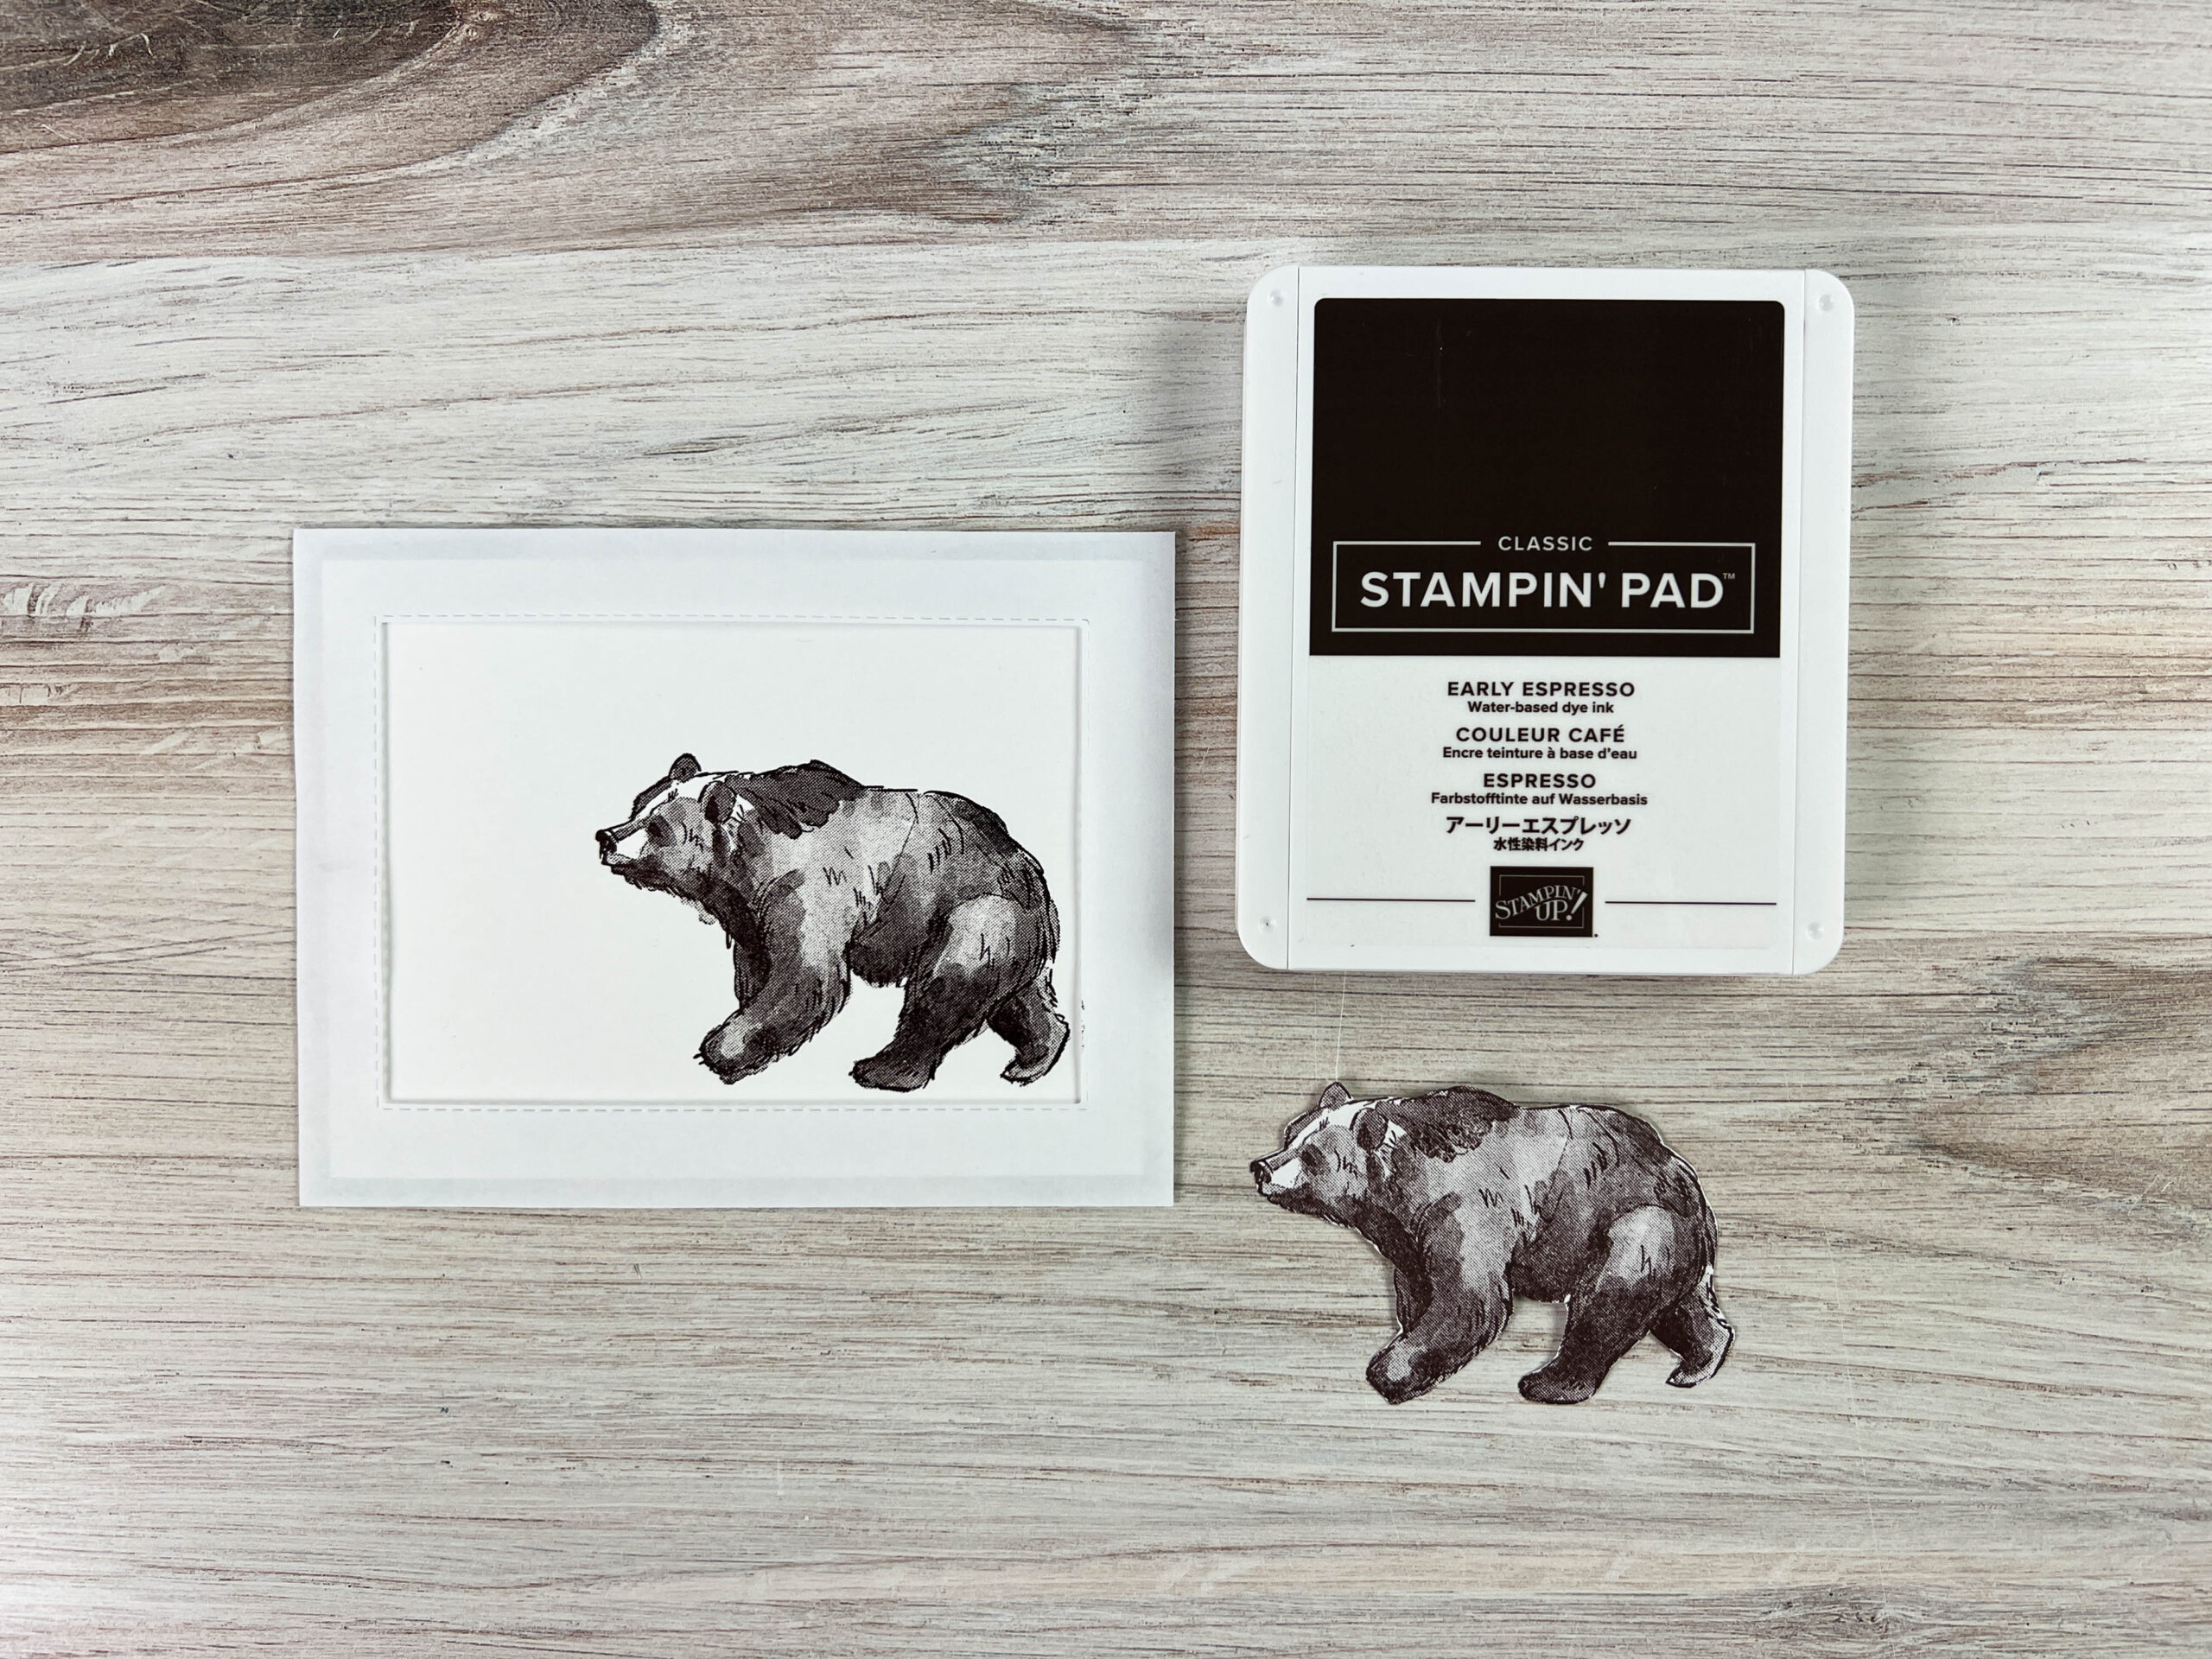
Create a mask for the bear by stamping it on scrap copy paper. Then, use paper snips to cut it out.

Use a various blending brushes to blend the sunset background using Old Olive, Granny Apple Green, Calypso Coral and Daffodil Delight Inks.
Basic White (card base): 5-1/2″ x 8-1/2″
Basic White (image layer): 5-1/8″ x 3-7/8″
Copy Paper (mask): 4-1/4″ x 1-1/4″
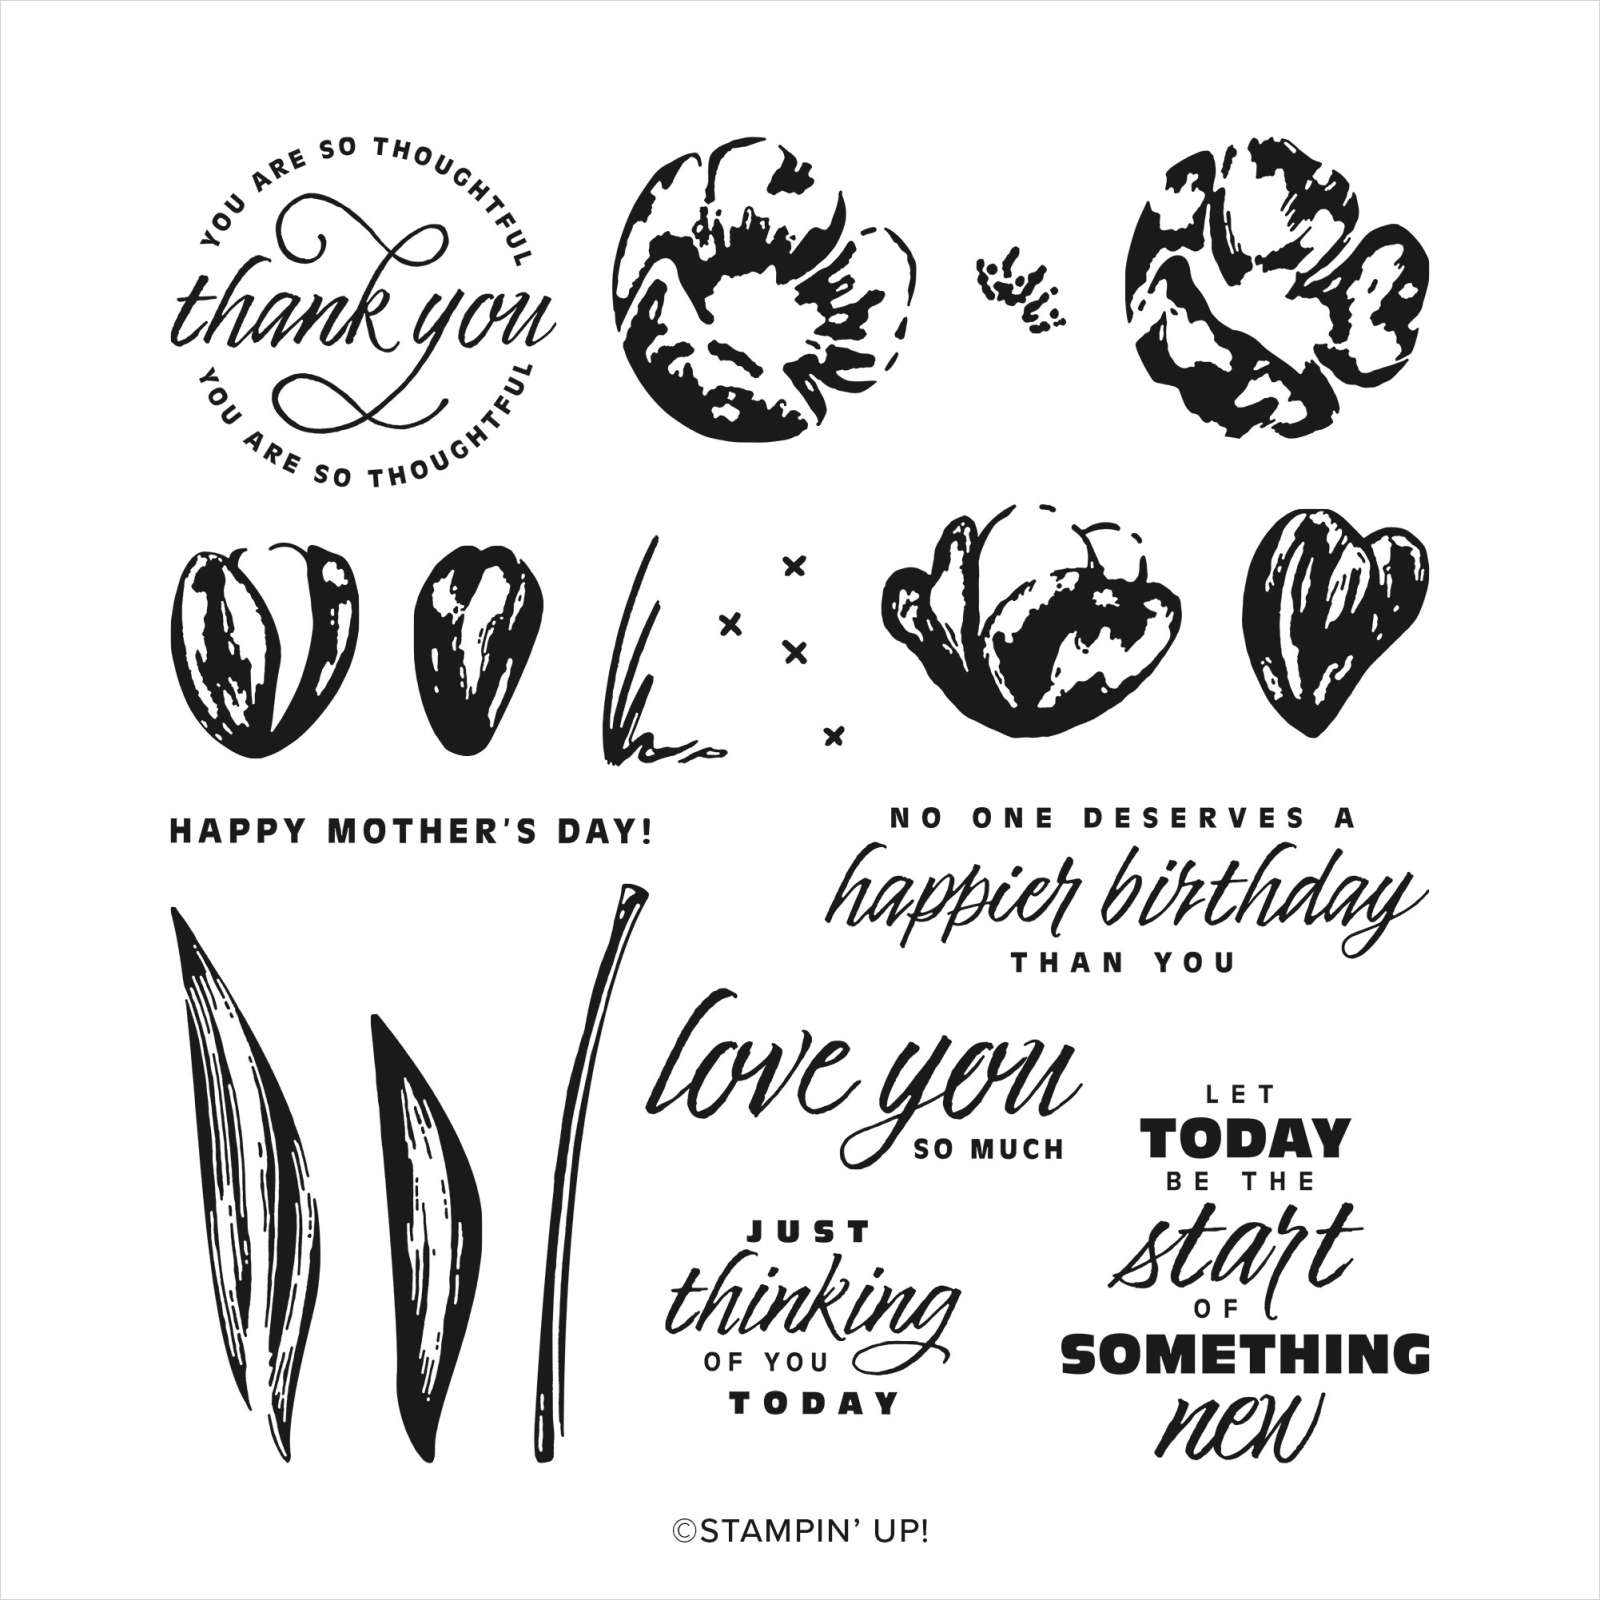
Stamp Set: Flowering Tulips
Stamp Pads: Granny Apple Green, Old Olive, Mossy Meadow, Calypso Coral, Daffodil Delight, Gorgeous Grape, Melon Mambo, Memento Black
Misc. Blending Brushes, Brushed Brass Butterflies
#157923
#157678
#153611
#151820

#147114
#147095
#147101

#147090
#147094


Good morning Brandy,
Hope all is well with you and your family. I enjoyed your video. I have done masking before, but I always pick up extra tips from your videos. I really appreciate it, because your tips help me do a project easier or quicker. Thank you again for doing these videos.