
Need Catalogs? Click Here!
Looking for my Host Code & Gifts? Click Here!
Creativate Retreat Registration – Click Here!
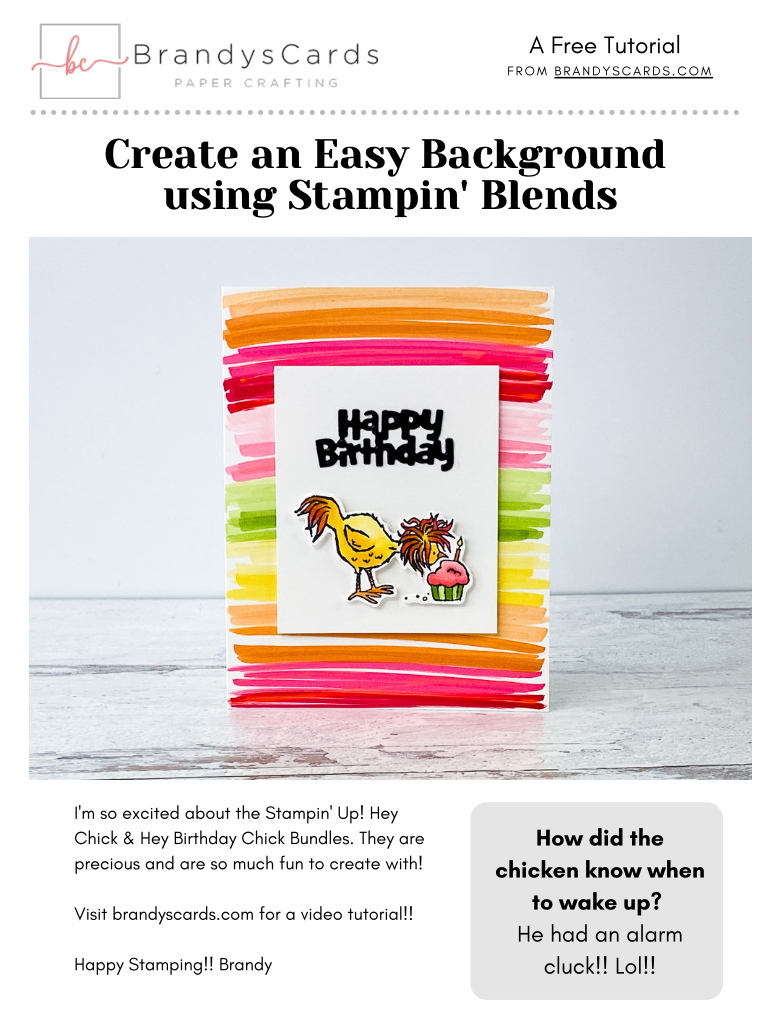
How did the chicken know when to wake up? He had an alarm cluck!! Lol!!
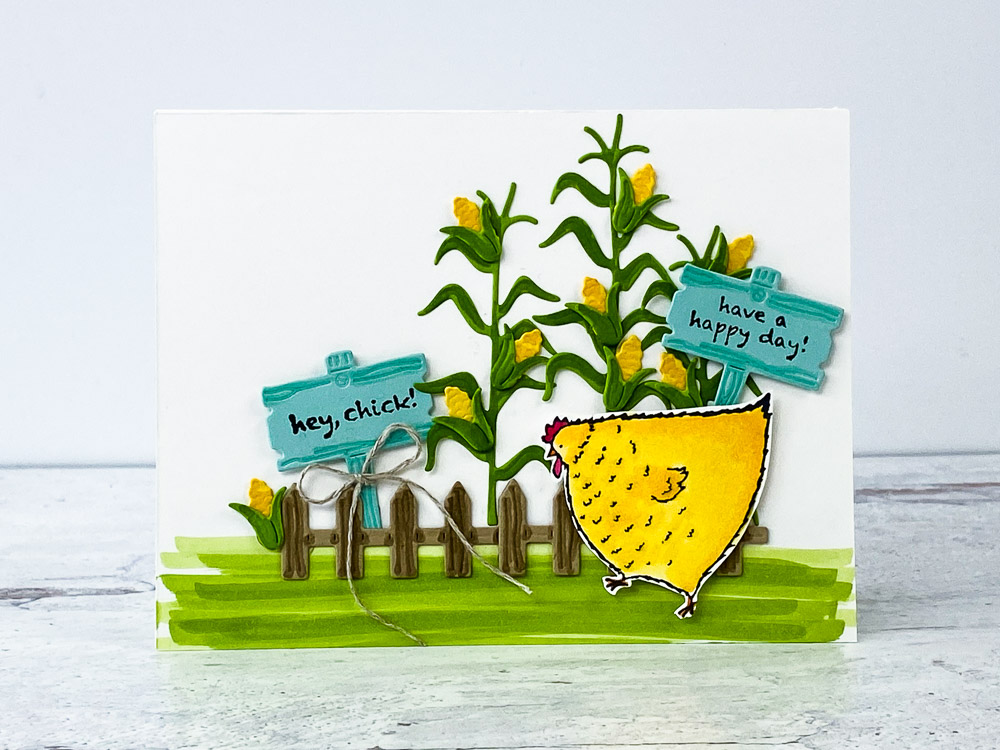
I’m so excited about the Stampin’ Up! Hey Chick & Hey Birthday Chick Bundles. They are precious and are so much fun to create with… especially while we are all COOPED up!!
If you already have the Hey Chick or Hey Birthday Chick Stamp Set, no worries. You can purchase the coordinating dies separately. That’s EGGciting!!
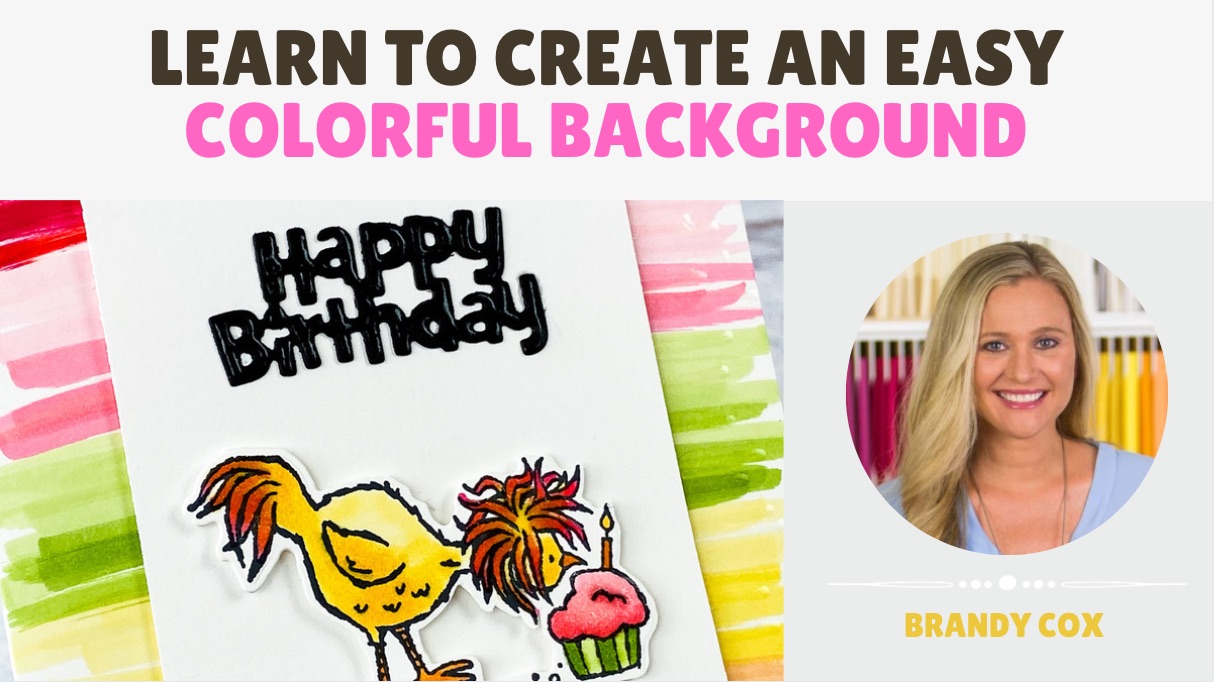
I hope you enjoy my video tutorial!! Happy Stamping!! Brandy
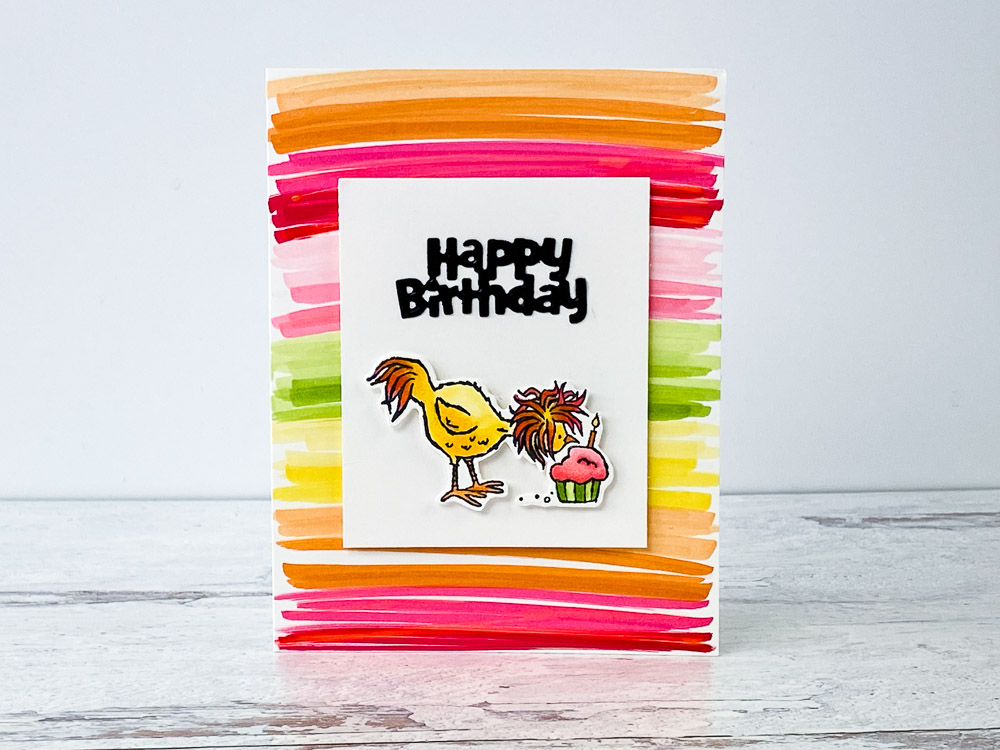
1. Cut a 5-1/2″ x 8-1/2″ piece of Whisper White Cardstock. Score it at 4-1/4″ and fold it in half. This is your card base.
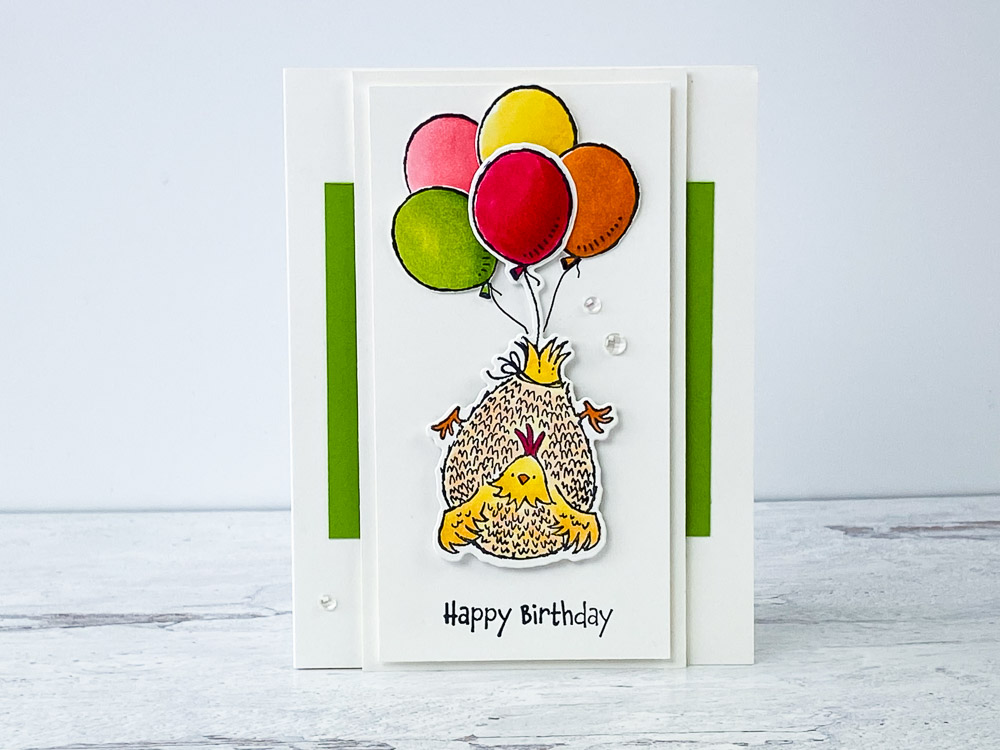
2. Use your Stampin’ Blends to create a unique and colorful background!! The colors used include: Real Red, Pumpkin Pie, Daffodil Delight, Granny Apple Green and Flirty Flamingo
Tip: I used the darker color first and then added the lighter color. For example, Dark Real Red, Light Real Red, Dark Pumpkin Pie and then Light Pumpkin Pie and so on.
Tip: If you wanted to.. you could add Crystal Effects or Fine Tip Glue Pen to the background. Be sure to let it dry!!
3. Cut a 2-7/8″ x 3-1/2″ piece of Basic White Cardstock. Center and adhere this piece to your card front using Stampin’ Dimensionals.
4. Die cut “Happy Birthday” out of Basic Black Cardstock. Use adhesive sheets or liquid adhesive to adhere your sentiment.
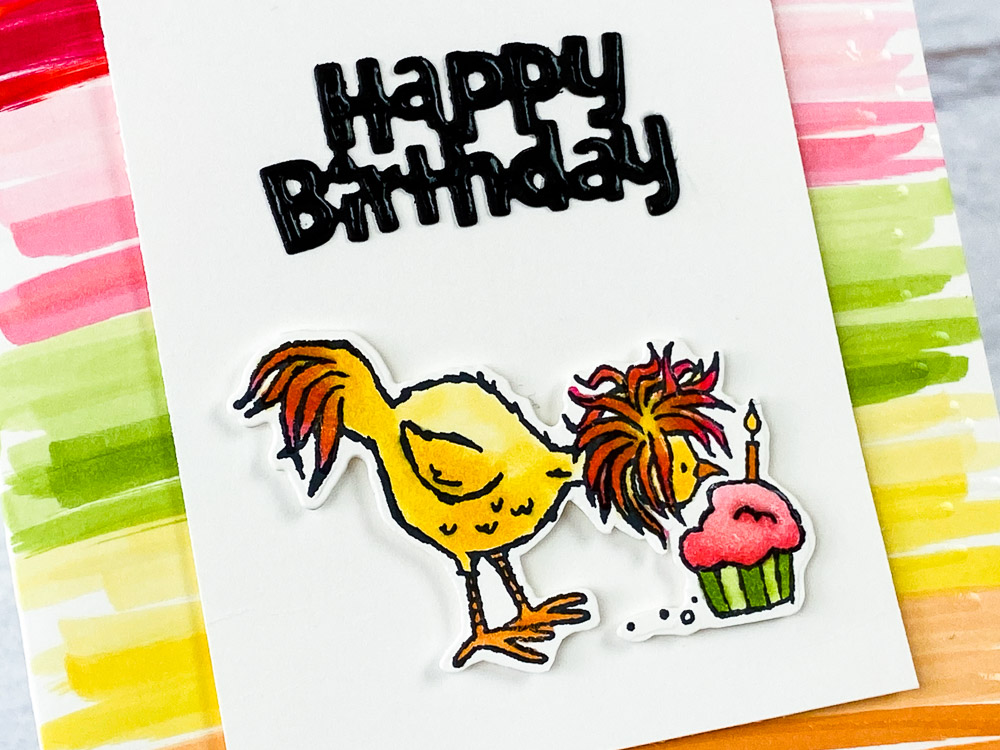
5. Stamp your Hey, Birthday Chick on scrap paper in Memento Black Ink, on scrap paper.
6. Color your Birthday Chick and Cupcake using the following Stampin’ Blend Markers: Real Red, Daffodil Delight, Mango Melody, Melon Mambo, Granny Apple Green
7. Once you color your Birthday Chick then die cut the image using the Stampin’ Up! Hey Birthday Chick Dies.
8. Use Stampin’ Dimensionals to adhere your Birthday Chick to your card front.


#158631

#158200

#158631


I do love these Chicks! So many items to create with. Thanks for the inspiration.
These cards were so cute. They looked like drunken chickens. I liked them all and that background was something. Who would have thought you could get something like that with just running your markers back and forth. Thank you.