


Hi Crafters, Today I’ll show you how to create beautiful and unique glass plates with Mod Podge and fabric. This project makes for a perfect handmade gift or a stunning addition to your home decor. Follow along with me this step-by-step tutorial to make your own fabric-backed glass plates.
Materials Used:
- Glass plates
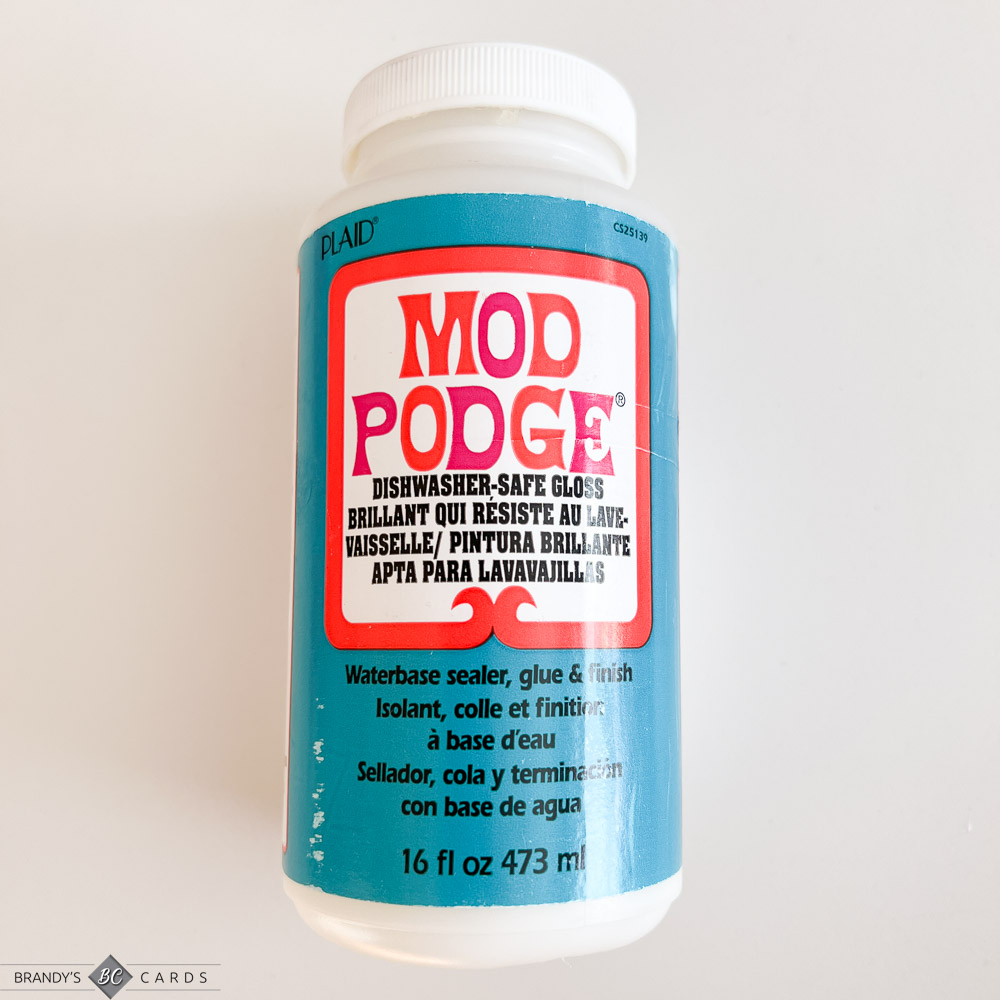
- Mod Podge
- Fabric of your choice
- Paintbrush
- Scissors
- Paper towels
Let me know if you have any questions. I’m always happy to help and am so grateful for your business. Thank you!
Happy Stamping!! Brandy


Mod Podge is a popular crafting adhesive and sealer that has been a staple in the DIY and crafting community for decades. It’s a versatile, water-based product that is widely used for various creative projects.
It was created by Jan Whitlock, a teacher, and artist, and has become a must-have tool for craft enthusiasts of all skill levels. This versatile, water-based formula is known for its ability to transform ordinary crafting projects into personalized works of art.

- Adhesive: Mod Podge serves as a reliable adhesive, making it ideal for attaching various materials, including paper, fabric, wood, and more, to a wide range of surfaces including glass.
- Sealer: It provides a protective, durable seal over your projects, safeguarding them from wear and tear, moisture, and other environmental factors. We are using a dishwasher safe version for this project.
- Finish: Mod Podge offers different finishes, including matte, gloss, satin, and more, allowing you to achieve the desired look and texture for your creations.
- Versatility: Mod Podge is incredibly versatile and can be used in an array of creative projects. It’s commonly employed in decoupage, collage, home decor, and various DIY crafts. From customizing furniture to creating personalized gifts, its applications are virtually endless.
- Ease of Use: Even beginners can easily master Mod Podge. Its water-based nature makes it safe and convenient to work with, and it cleans up easily with soap and water.
- Available Varieties: Mod Podge is available in various formulations, catering to specific project needs, such as outdoor projects, fabric applications, and dishwasher-safe items.
Mod Podge allows for endless creativity, enabling crafters to express themselves through unique projects.
- It’s versatility ensures that it can be used in a wide range of crafting and decorating applications.
- Crafters appreciate the professional, polished look it imparts to their projects.
- With Mod Podge, even beginners can achieve impressive results, making it accessible to crafters of all levels.
Mod Podge is a beloved crafting essential known for its adhesive, sealing, and finishing properties. Crafters and DIY enthusiasts turn to it to bring their creative visions to life, whether they’re making custom home decor, personalized gifts, or breathing new life into old furniture. Its versatility and ease of use have made it a cherished tool in the crafting world.
Dishwasher Safe Mod Podge is the decoupage formula that you can apply to glass, ceramic, and metal. This specific formula allows you to wash the item. Keeping in mind… when I say “put in the dishwasher,” I mean on the top rack after it cures.
- Dishwasher Safe Mod Podge
- Fabric
- Glass Plate
- Rubbing Alcohol w/ Cotton Ball
- Soft Bristle Brush
- Scissors
- Rubber Gloves
1. Is ALL Mod Podge® dishwasher safe? No, all Mod Podge formulas are NOT dishwasher safe. This is the only formula top-rack dishwasher-safe for ceramics, glass and metal.
2. Is Mod Podge® Dishwasher Safe also microwave safe? Negative. You should NOT microwave anything you make with this formula.
3. My project feels dry. Is it Cured? Cure time is different than dry time. “Dry” means dry to the touch. Curing is a chemical strengthening process. It’s when the formula has reached it’s peak chemical performance.
4. How many days do I have to wait to put it in the dishwasher? For BEST results wait 28 days!! After air curing, the decoupage project is top-shelf dishwasher safe with regular detergent on regular wash cycle. When washing in the dishwasher, the decoupage layer will absorb a little water and create a milky look. The project will be a little tender at this point, so be careful when handling. Do not be alarmed; it will fully dry to its original state.
5. I waited 28 days and washed my project. It’s ruined!
This might happen if not enough layers of Mod Podge have been applied or they may have been too light. It is also possible the surface was not cleansed well before beginning. Regular oils from hands and other things (ie. dirt, lint) can cause the formula not to adhere properly.
6. Can I put food on my Mod Podge® Dishwasher Safe? While it is water based and non-toxic (so it won’t hurt you), it is not FDA approved food-safe. So, please don’t put the Mod Podge on the top of the plate.
7. Where can I purchase Mod Podge® Dishwasher Safe? All formulas are available on the manufacturer’s website, Plaidonline.com. Amazon or craft stores offer a variety of formulas and sizes. This formula comes in 8, 16, or 32 ounce bottle.
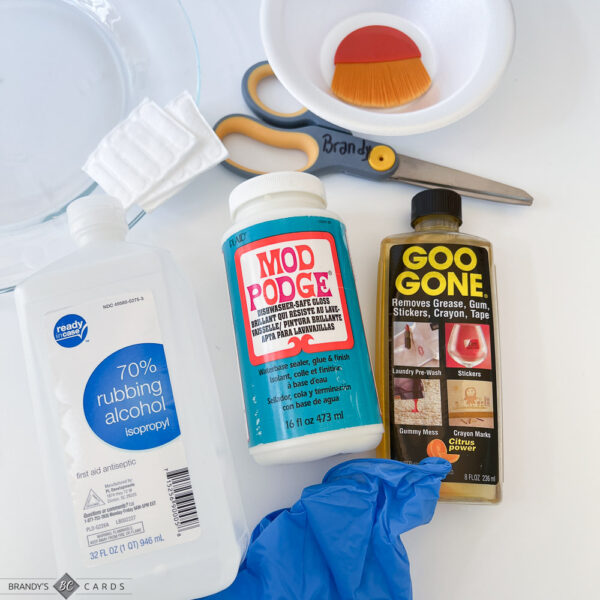
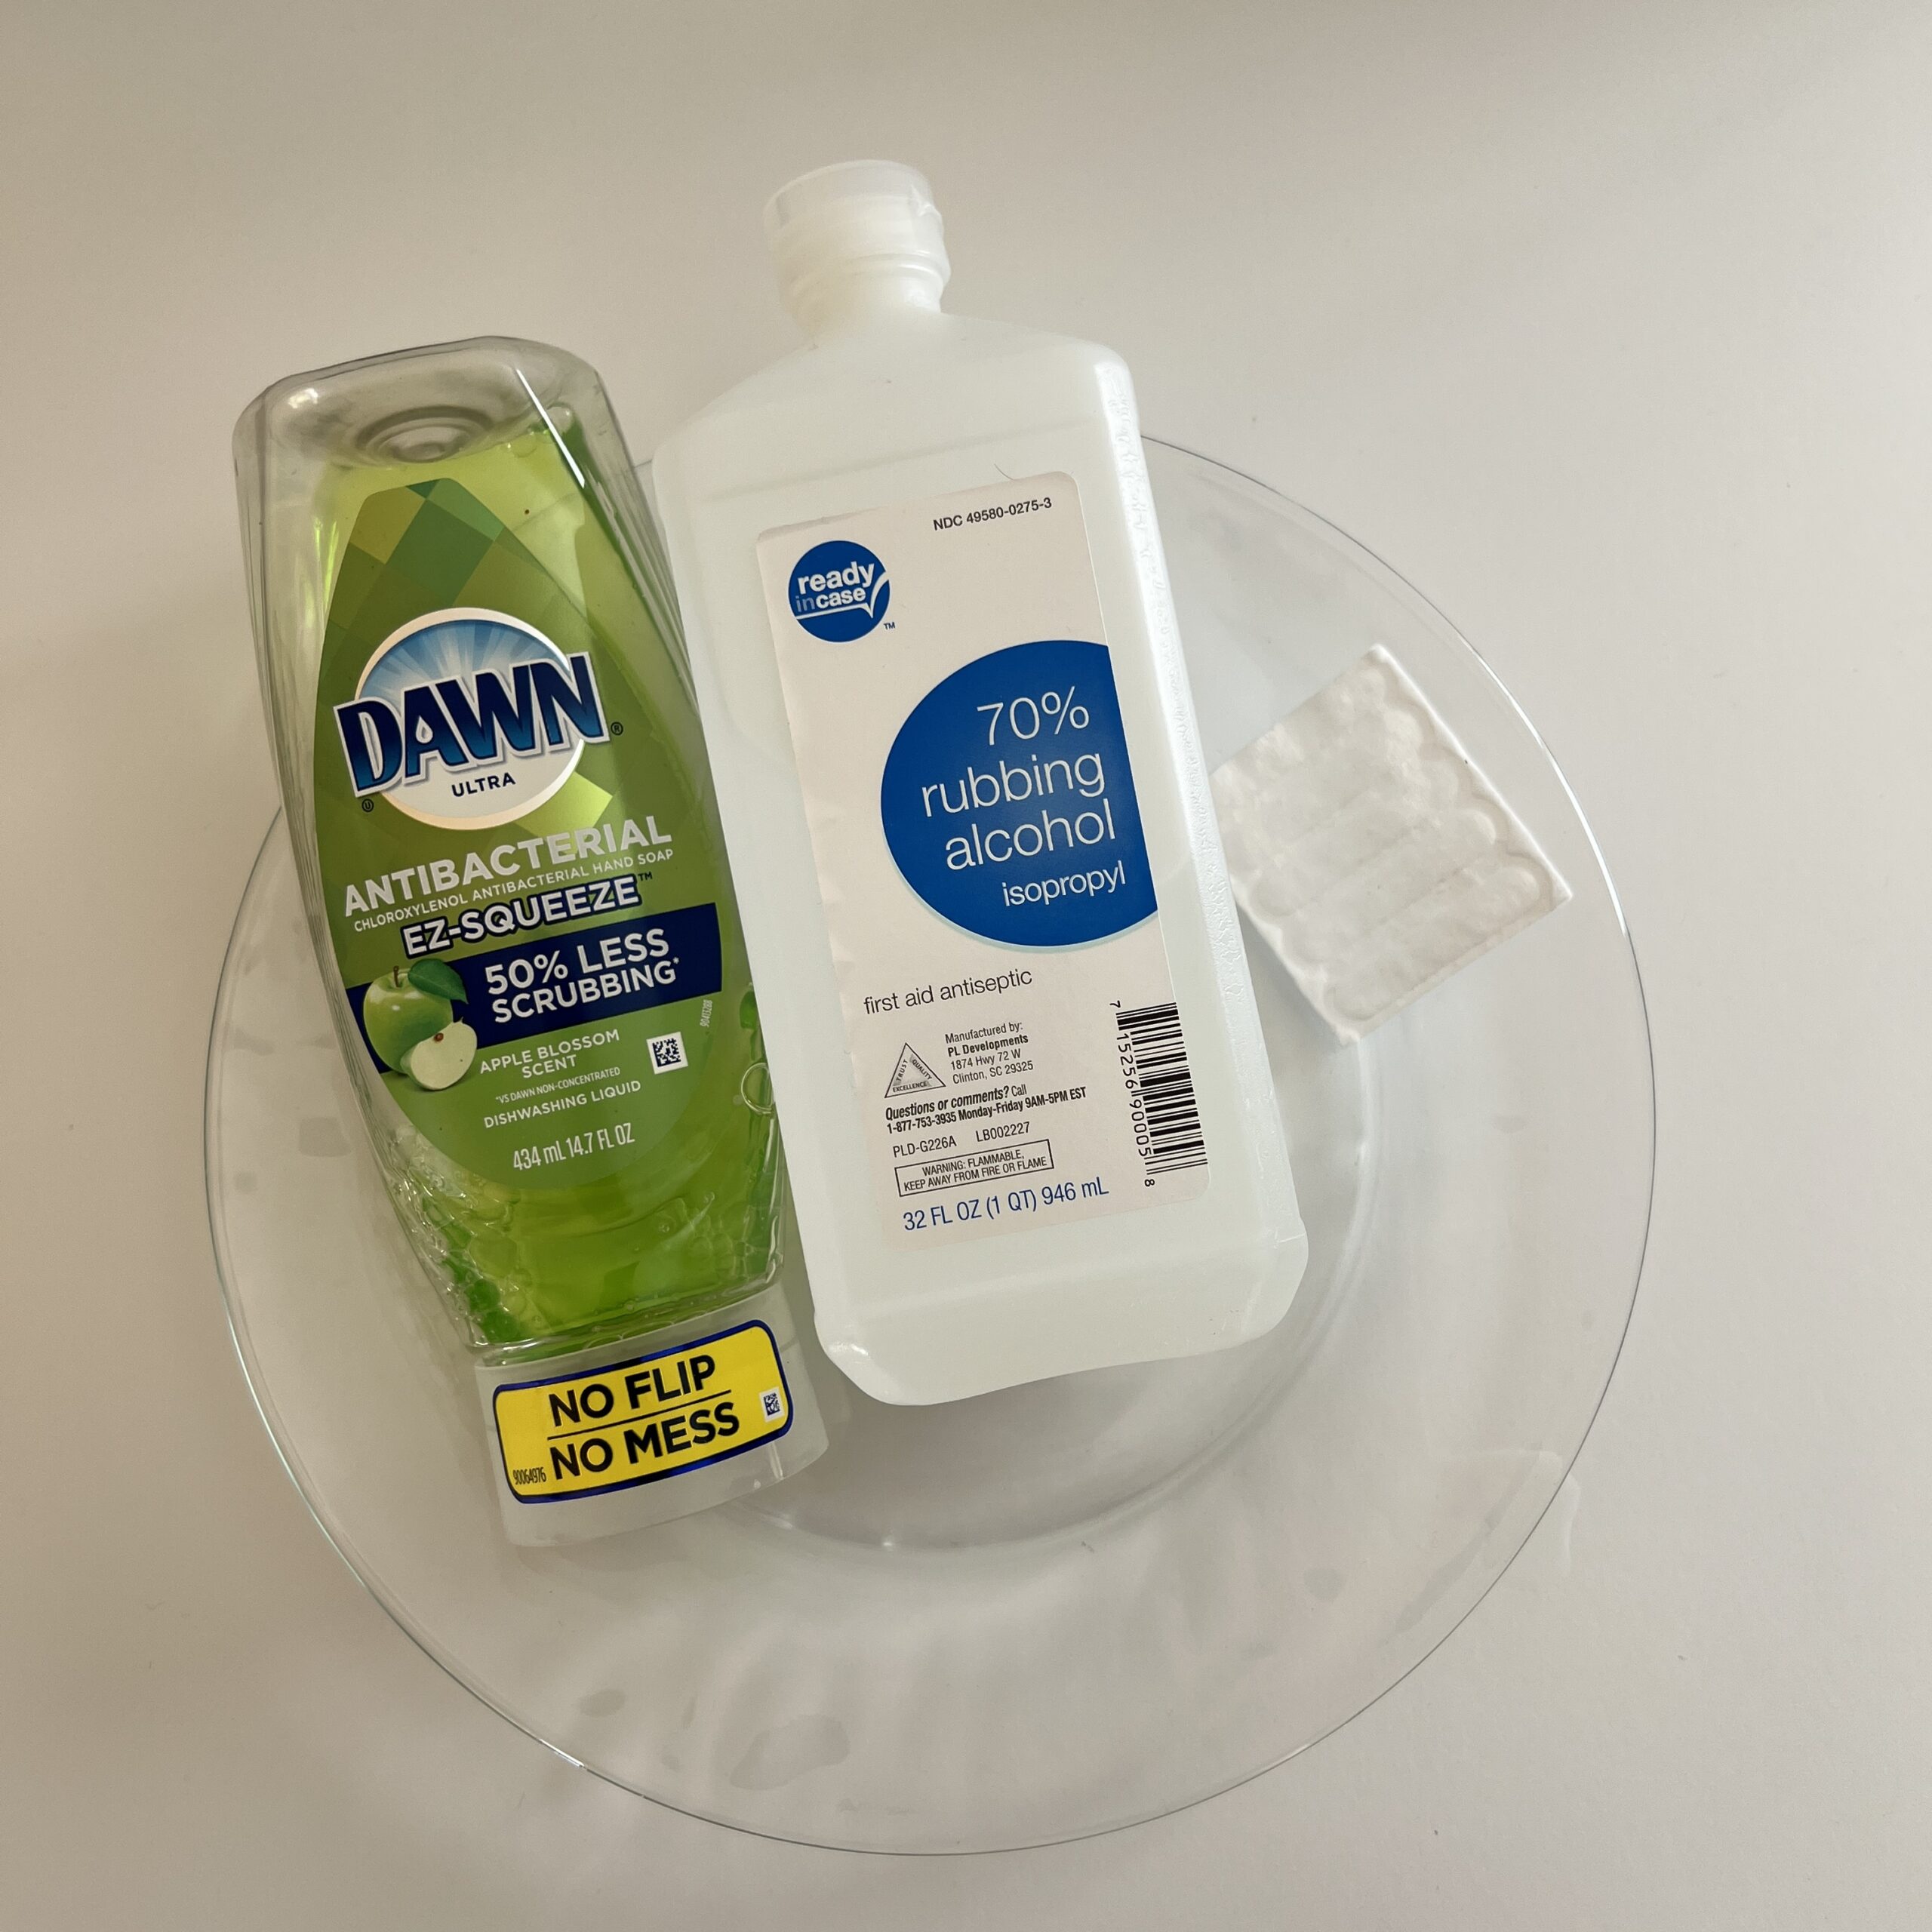
Clean the project surface. This removes any dirt and oils for better adhesion. Use a mild soap to wash glass plate with warm soapy water – rinse thoroughly, and let dry. If cleaning a large surface, use a cotton ball and rubbing alcohol to clean surface. Use an adhesive remover (ie. Goo Gone) to remove residue from price sticker, if needed.
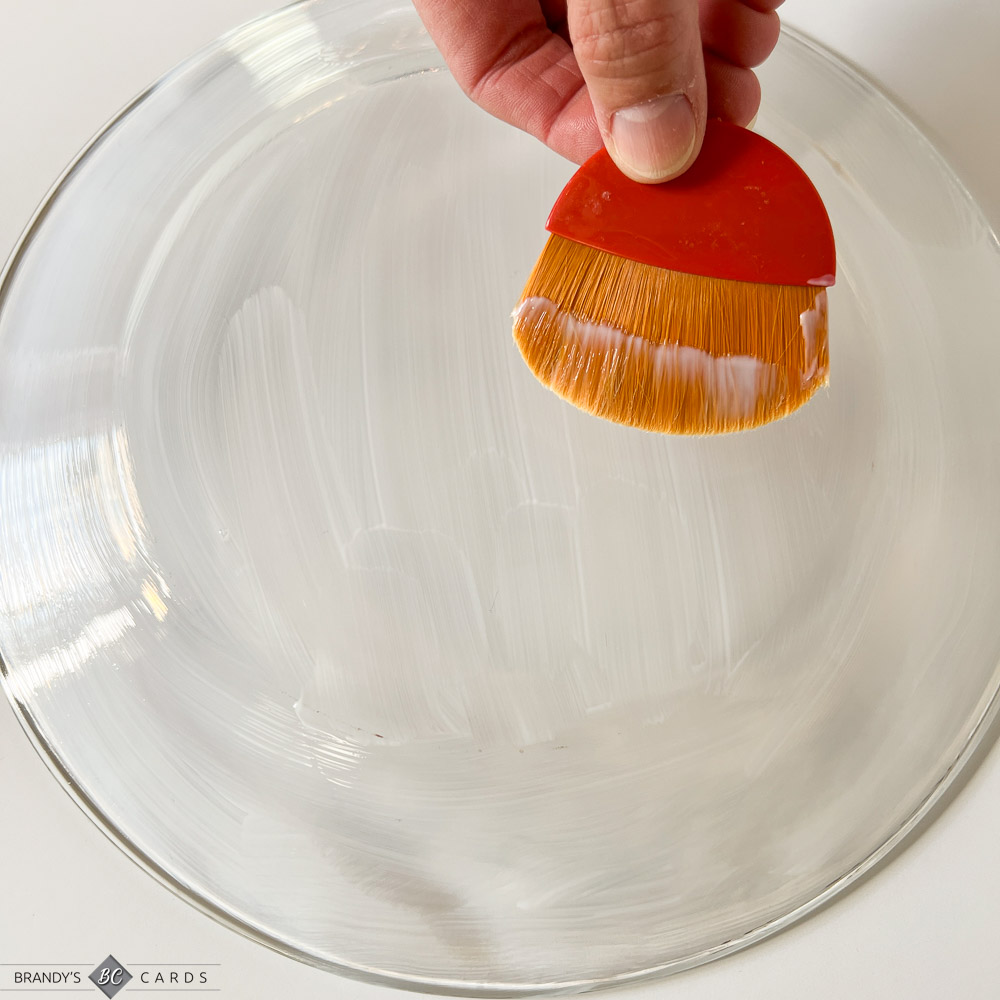
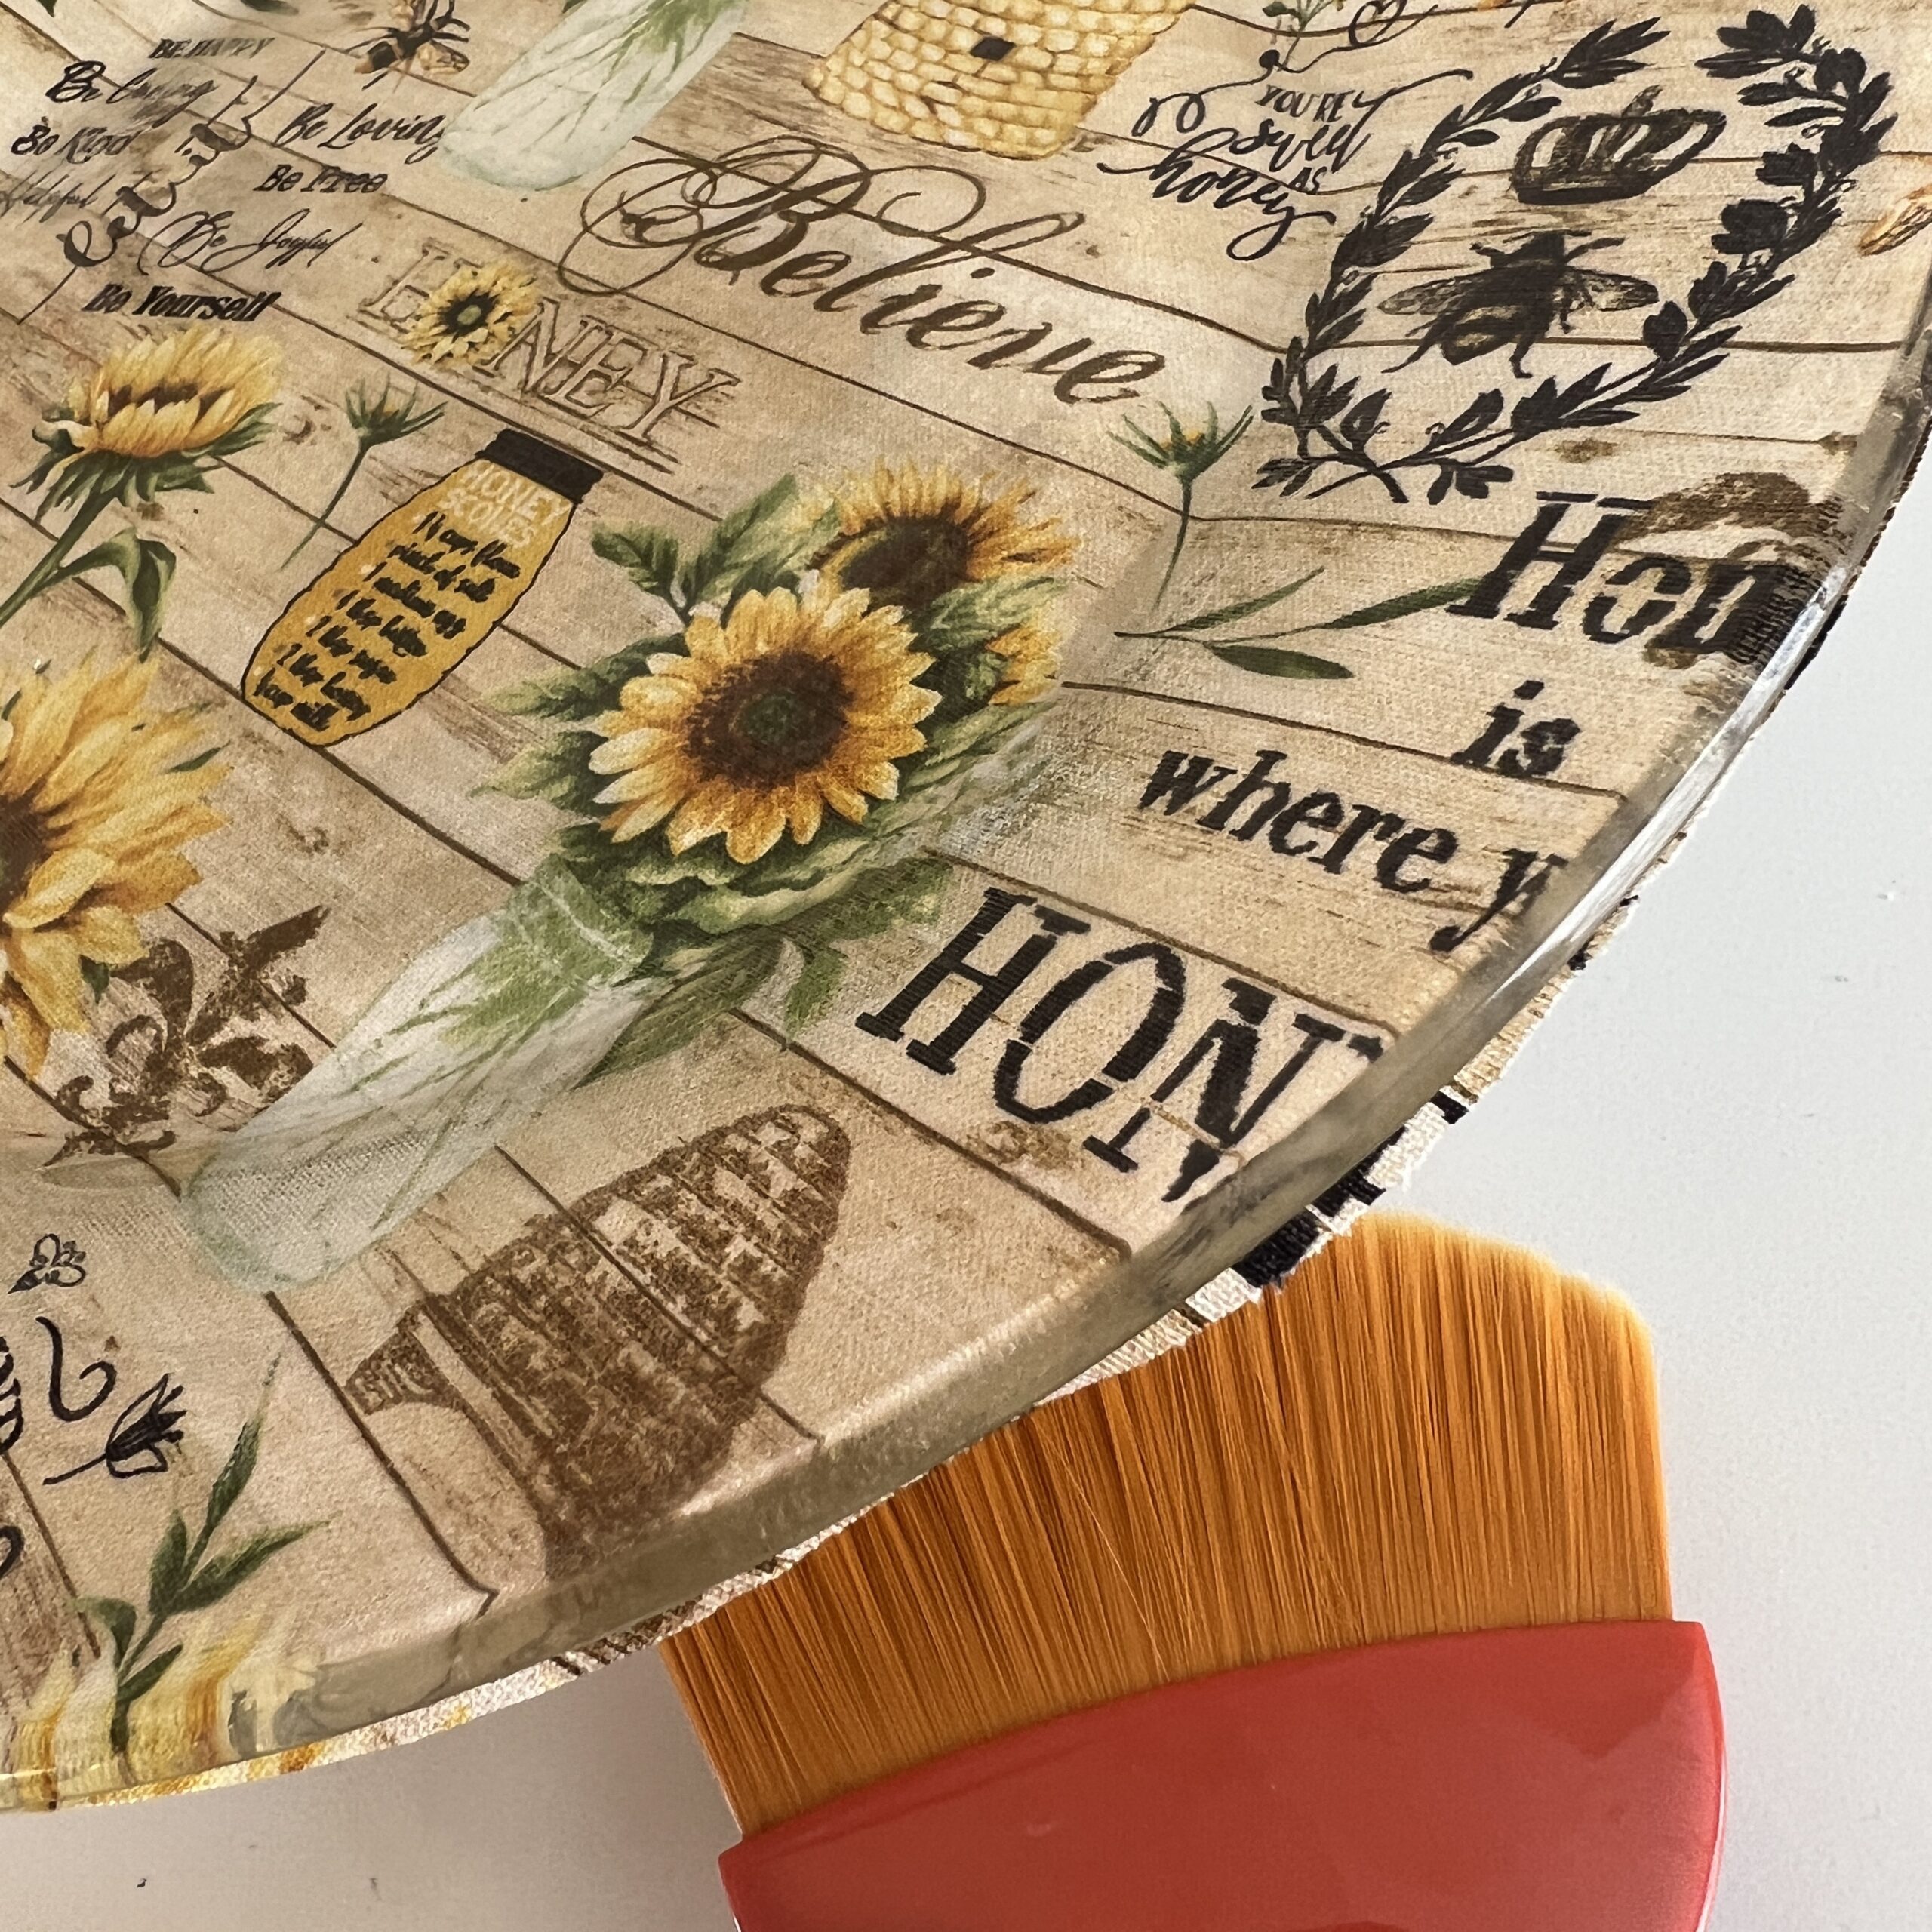
Roll Mod Podge bottle on table, or between hands, to mix it. Do not shake. Once mixed, use a soft bristle brush to apply a thin layer of Mod Podge to the bottom of the plate.
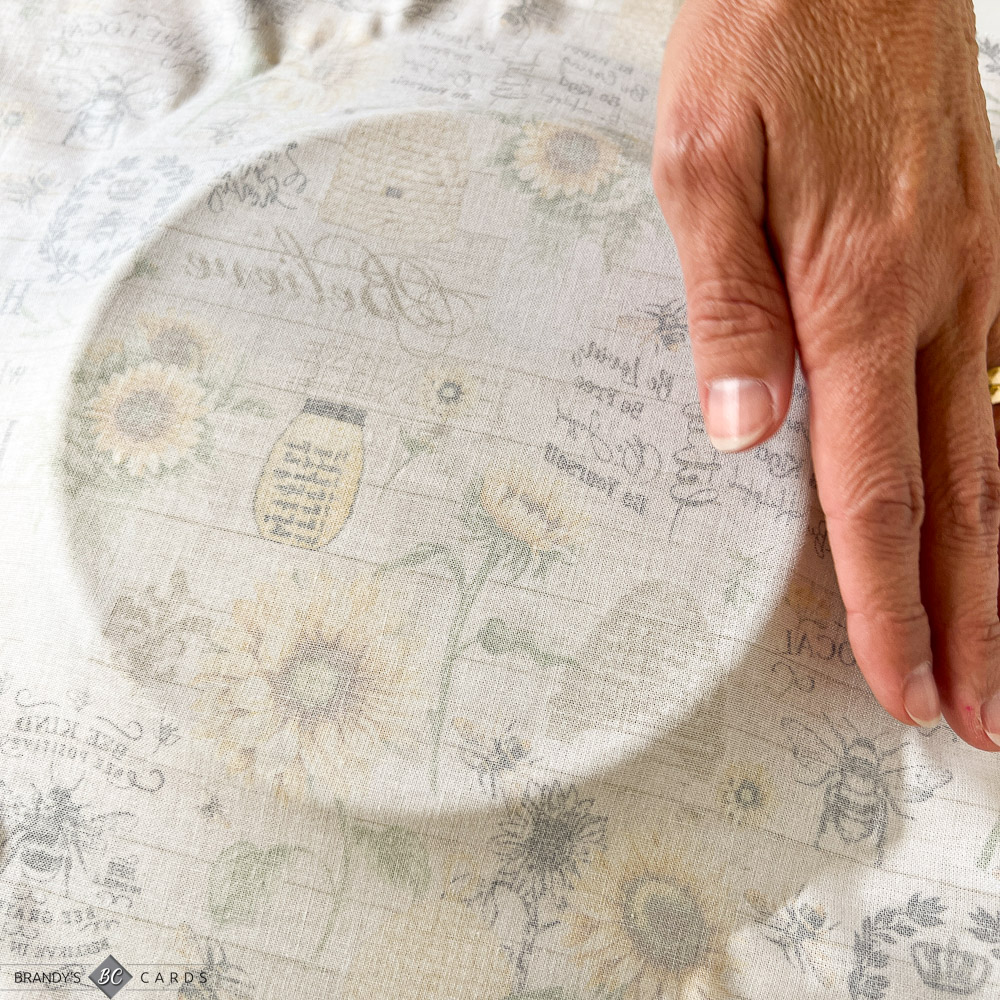
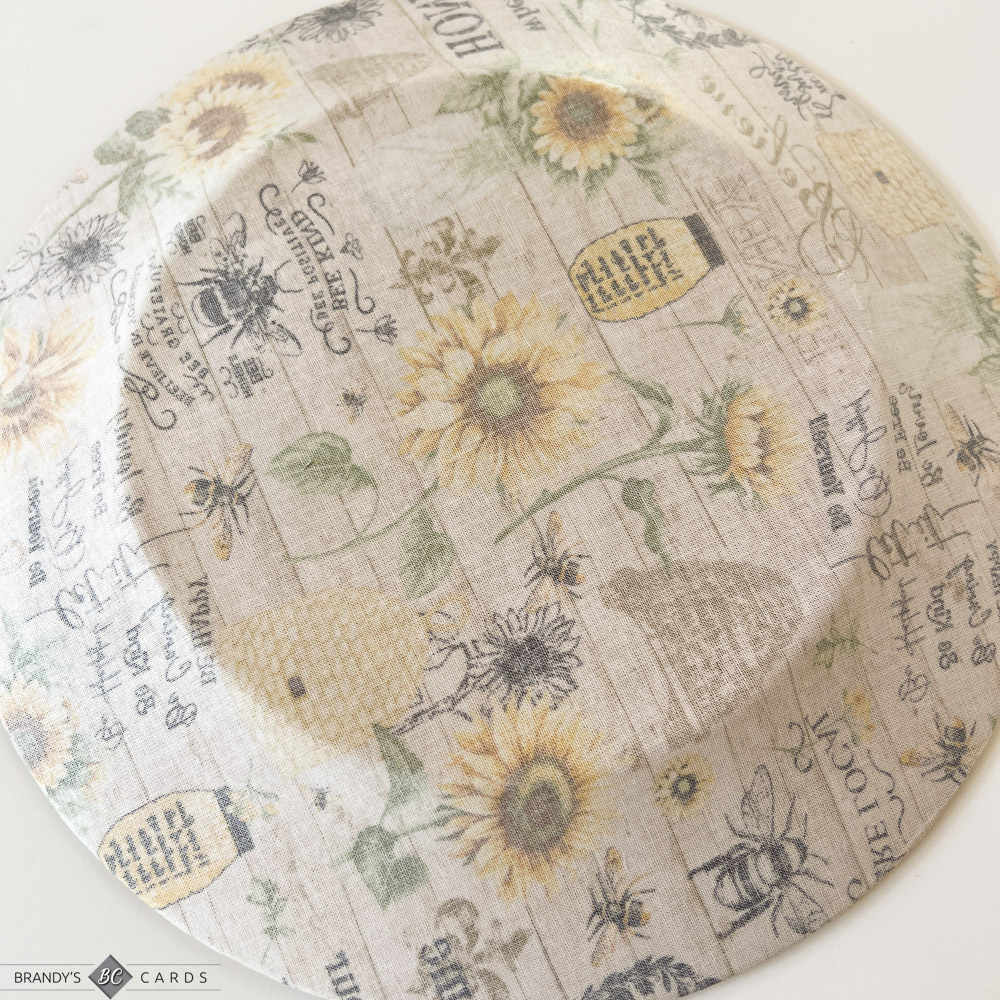
While the Mod Podge is still wet, place the fabric with the decorative design facing down, over the plate and carefully smooth into place.
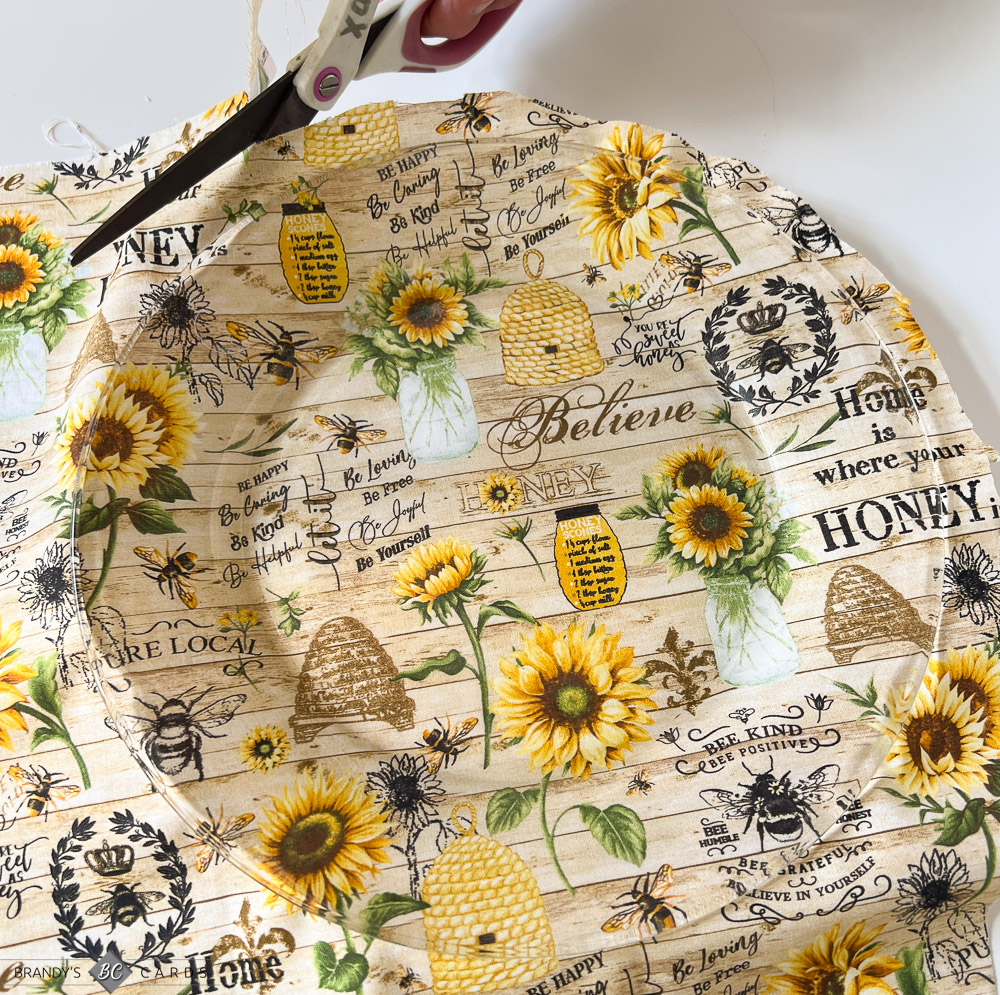
Turn the plate right side up and use scissors to trim excess fabric. Leaving approximately 1/2″ around the plate.
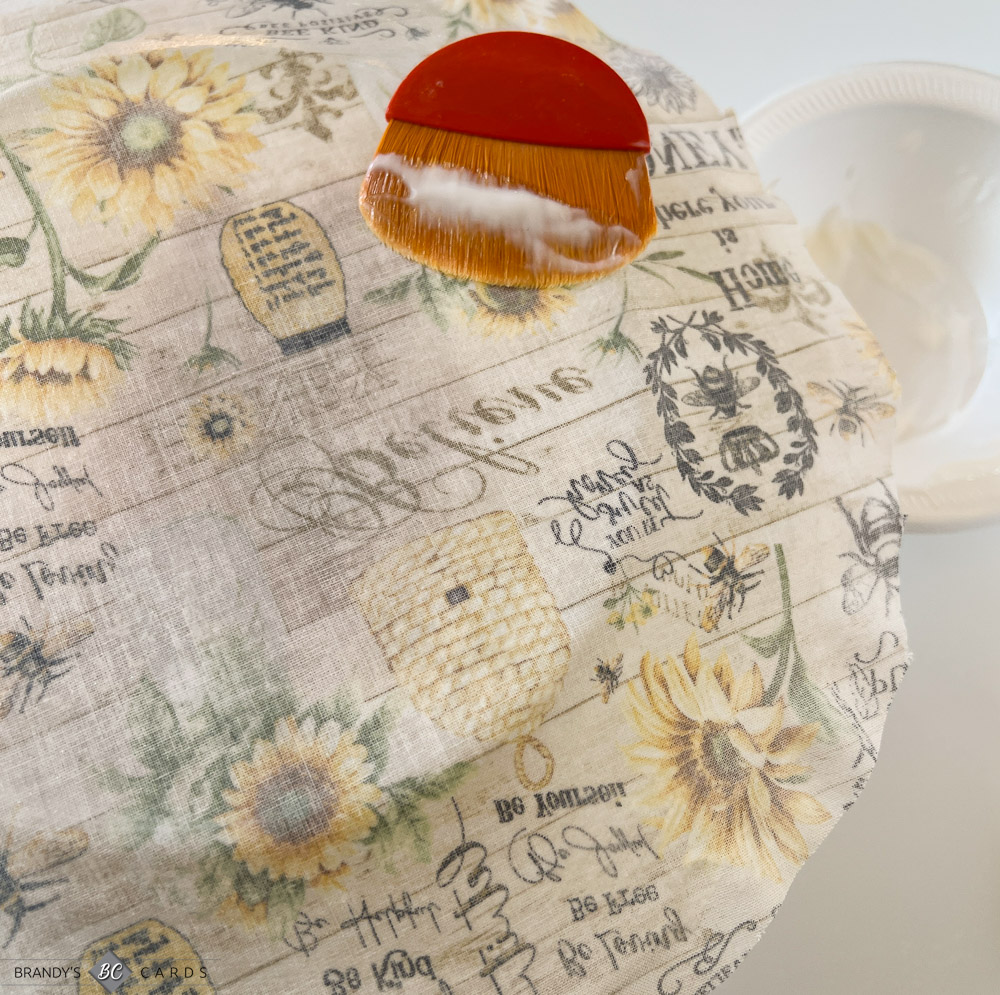
Apply a thin layer of Mod Podge over the fabric. Let dry for 1- 2 hours and then apply 2 more coats.
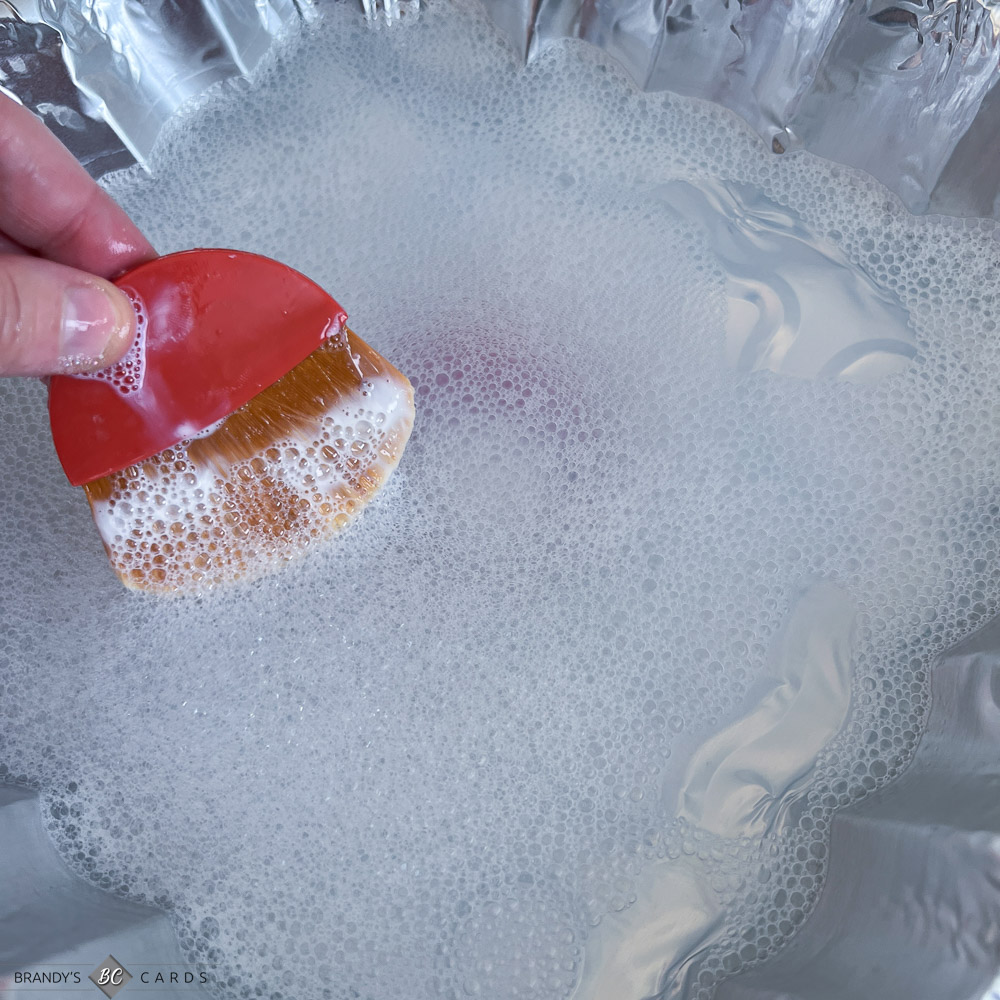
After each Mod Podge application and while wet, be sure to clean brushes in warm soapy water. This will keep the brush from becoming hard and unusable.

Once dry, turn plate right side up and use scissors to trim the remaining fabric around the plate’s edge.
If the fabric is not completely adhered to the edges, apply a bit more Mod Podge and press the fabric onto the plate to seal the edges. Once the edges are adhered, apply another layer of Mod Podge to the plate and let dry. Apply 2 more coats. Repeat Step #6 and let plate dry 1 – 2 hours between each application.
Let the Mod Podge cure on the plate for 28 days. After 28 days, wash by hand or in the top rack of the dishwasher.


Had trouble finding the plates. Had to order them online. A little trouble getting the sticky tag off back of plate. EXTRA: Idea- I made a label with care information for the back of plate. Then added another layer of Pod Podge. Only trouble I have with your videos- makes me want to buy more stuff!! HaHa
HI, Brandy. I loved your YouTube video for these fabric plates. I actually made these 20 years ago and did not know anyone was still making them. Back then, we used regular Mod Podge, but now I love the idea of water proof/dishwasher safe Mod Podge. However, I would still hand wash them just to be safe. I like to use them for serving plates and not dinner plates. Although, I can see a beautiful Christmas table set with a different pattern at each place. They’re also great to use for Cookie Exchange parties! I’m actually wondering how you made the matching cards. I’m a Stampin’Up! Demonstrator and would love to make these plates again for Christmas gifts and enclose the matching cards. I think I still have a ton of fabric stored somewhere and you have given me the incentive to make plates again! Do you have the matching card instructions (how to adhere the fabric so smoothly to the cardstock)? Thanks in advance! Linda
Hi Linda, Thanks so much for your comment. I have a video coming out on the matching cards this weekend! Stay tuned 🙂
Thanks for the 1, 2, 3 set of directions. I have to try this.
fantastic instructions with accompanying photos! You can also use paper napkins, but the lightweight fabric will be much easier. Be sure to follow drying times and # of Mod Podge coats needed! And the plate must be cured for the full 28 days! Get started now so you have time to be ready to give your lovely plate for the holidays!
This is awesome, Brandi!! Can’t wait to watch it tonight!! Thank you for the free .pdf instructions!!