

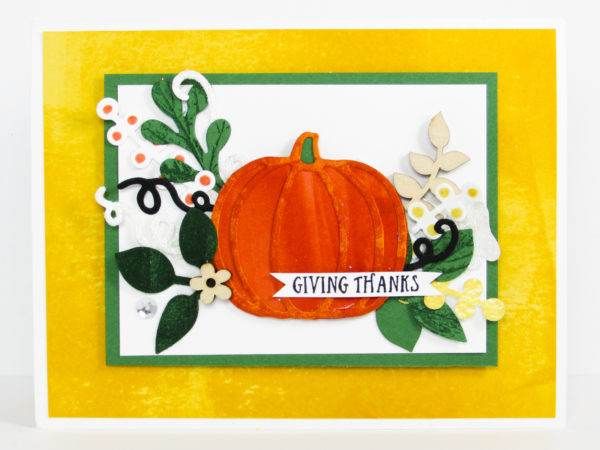
Today’s card was designed for my Team Color Challenge. The colors of the month are Tangerine Tango, Garden Green, Basic Black and Daffodil Delight. Perfect for Fall Inspiration!!
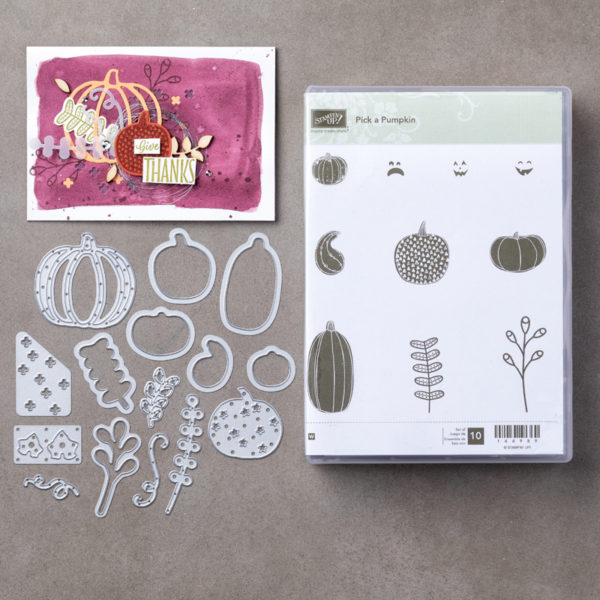
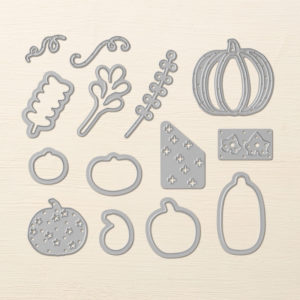
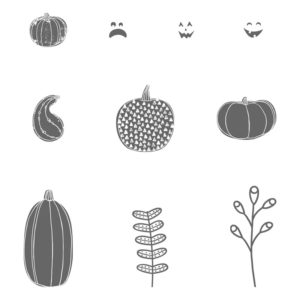
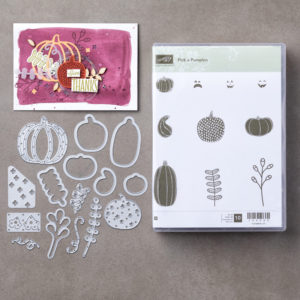
The adorable pumpkin and all its embellishments are from the Stampin Up Patterned Pumpkin Thinlits Dies, with except of the leaf punch and wood elements. The Patterned Pumpkin Thinlits Dies have a coordinating Stamp Set called Pick a Pumpkin. You can find them both in the Holiday Catalog, on p. 51.
The Daffodil Delight background was super easy to make and really highlights the pumpkin and its leaves, flower and squiggles. I was so excited to share this one with you!!
Thank you for stopping by Brandy’s Cards. I hope you enjoy my project today. Blessings, Brandy
Base
1. Cut a 5-1/2″ x 8-1/2″ piece of whisper white cardstock and fold it in half. This is your base.
2. Cut a 5-1/4″ x 4″ piece of daffodil delight cardstock.
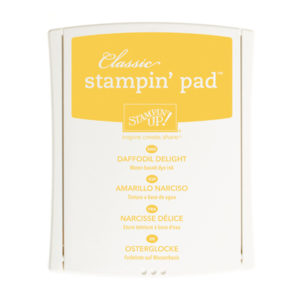
3. Use a daffodil delight stamp pad to add color to your daffodil delight cardstock.
Tip: I opened my stamp pad and just use the pad to stamp directly onto the cardstock. You can stamp multiple times if you want it darker or move it around randomly so you get lights and darks.
4. Center and adhere your daffodil delight cardstock to your card base.
5. Cut 4″ x 3″ piece of garden green cardstock.
6. Cut a 3-3/4″ x 2-3/4″ piece of whisper white cardstock. Center and adhere it to your garden green cardstock.
7. Add stamping dimensional’s behind your garden green cardstock and adhere it to the front of your daffodil delight card base.
Pumpkin & Embellishments
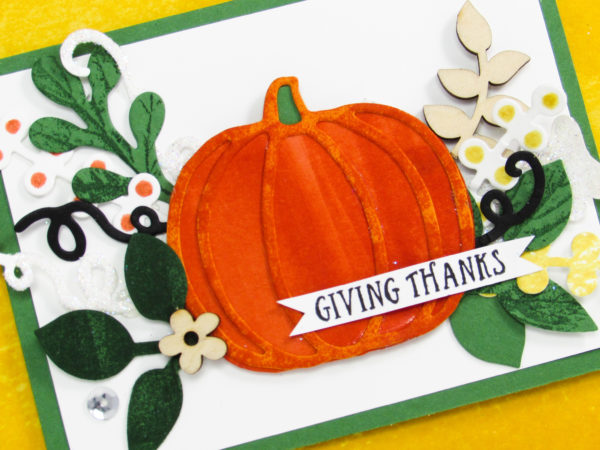
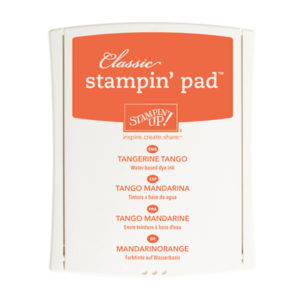
1. Using the Stampin Up Patterned Pumpkin Thinlits to cut out a tangerine tango pumpkin.
Tip: I used my tangerine tango stamp pad to add color to the die cut pumpkin.
2. Use your die cut pumpkin to cut out a solid punch that will layer under your die cut.
Tip: After creating your perfect pumpkin, add stamping dimensionals and add it to your whisper white cardstock. Now, you can build around it with embellished leaves etc.
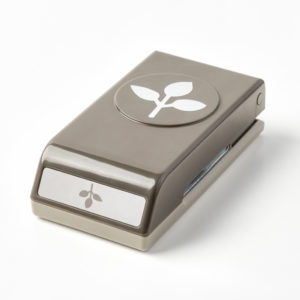
3. Punch out two leaves using the Stampin Up Leaf Punch.
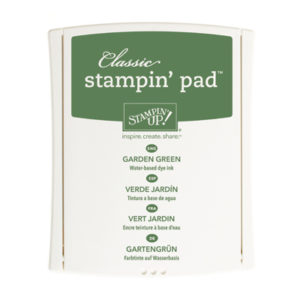
Tip: I used my ink pad to stamp on one of the leaves and used the Stampin’ Up! Gourd Goodness Stamp Set to stamp on the other using garden green ink.
4. Punch out both sizes of black and white squiggles.
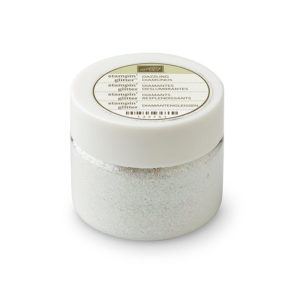
Tip: I added multipurpose adhesive to the white squiggles and added dazzling diamonds glitter.
5. Punch out three flowers in white that you can circles too. The first one I added tangerine tango circles, the second one I used daffodil delight circles and the third I used the leaf from the Gourd Goodness Stamp Set and randomly stamped on it in daffodil delight.
Tip: I used mini glue dots to build my pumpkin embellishments around my pumpkin.
6. I used the sentiment “Giving Thanks” from the Stampin Up Basket of Wishes Stamp Set.
Tip: I cut the sentiment out and used a portion on top of my pumpkin and the rest inside my pumpkin.
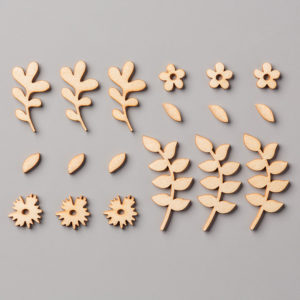
7. Lastly, I added a silver sequin and a few touches of nature wood elements.
Catalog Request Form
If you are interested in receiving a Stampin’ Up catalog, please fill out the request form below. If you currently have a demonstrator, please ask your current demonstrator for the catalog, because I do have to pay for the catalogs and for shipping. However, if you don’t have a demonstrator and are interested in purchasing Stampin' Up products, I’d love the opportunity to share Stampin’ Up with you, answer any questions and earn your business.


