

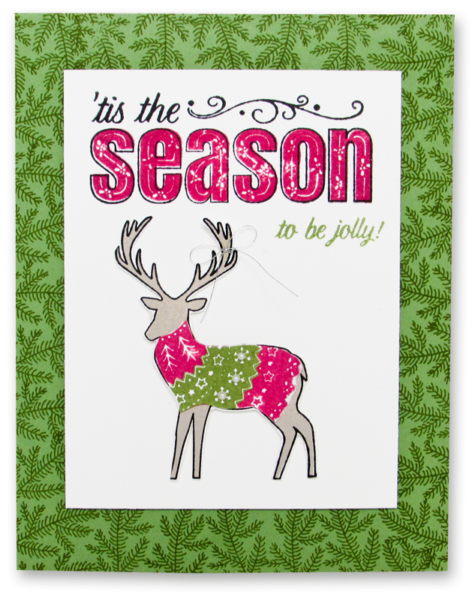
Today’s card was designed for my September Blooms and Butterflies Color Challenge. This card features the Stampin Up Merry Patterns Stamp Set which is only available for a limited time. Its gorgeous and I was so excited to get my hands on it and create for you.
My favorite part of this card is the deer and his sweater. Oh, I had fun stamping his sweater in various colors and piecing it together. And by adding a few embellishments to his sweater you can really dress it up. I love that!
I really liked the background on this cards base. I use the sprig and stamped it so that the sprigs faced inward. It looked great; however, if you stamp the sprigs facing outward it gives a different perspective. Of course, I loved that too!!
I hope you enjoy my projects today. If you’d like to see what my talented team of Blooms and Butterflies designed check back post will be available Sept. 15th.
Thanks for stopping by. Happy Stamping!! Blessings, Brandy
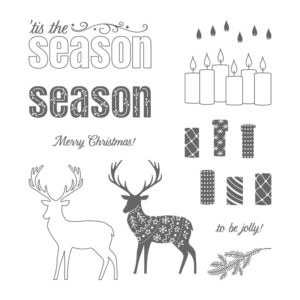
Stampin Up Merry Patterns Stamp Set
Base
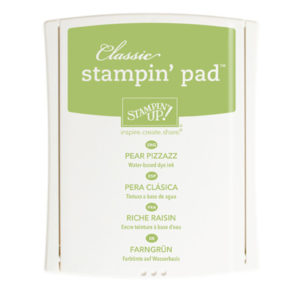
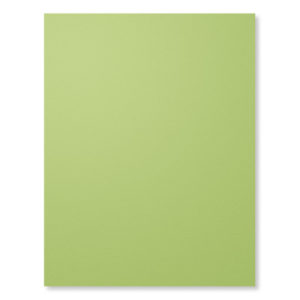
1. Cut a 11” x 4-1/4” piece of pear pizzazz cardstock and fold it in half. This is your base.
2. Use your pear pizzazz ink pad to stamp the sprig around the outside edge of your card base.
Tip: Try stamping the sprig inward and then make another card stamping the sprig outward. Both backgrounds look great and offer a different perspective.
3. Cut a 5-1/4” x 4” piece of whisper white cardstock. This piece is to finish the inside of your card.
Tip: You might consider stamping the inside edge of your card with a pear pizzazz ink pad and sprig to match the front of your card.
Sentiment
1. a 3-1/4” x 4-1/4” piece of whisper white cardstock. This piece is for your sentiment and your deer.
Tip: Stamp your sentiment before adhering the 3-1/4” x 4-1/4” piece of whisper white cardstock to your card base.
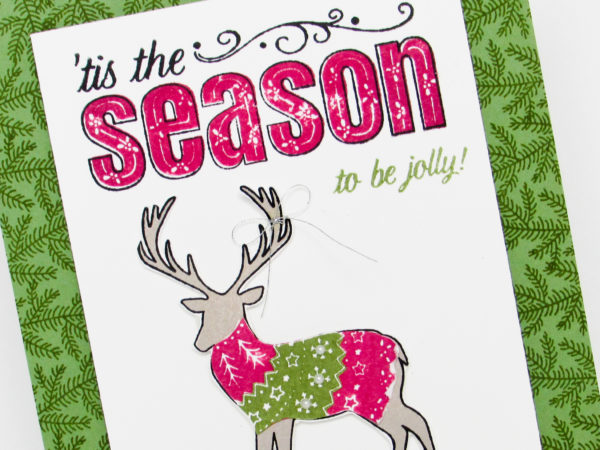
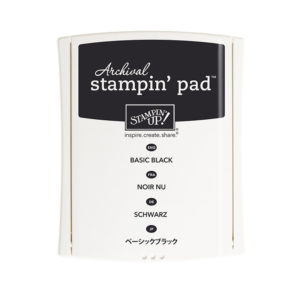
2. Use archival black ink to stamp the “tis the season” image.
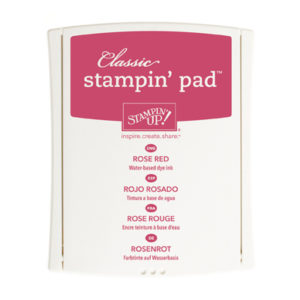
3. Next, line up the “Season” stamp over your original stamped sentiment and stamp it in rose red.
4. Use pear pizzazz to stamp the “to be jolly!” sentiment.
Deer & Sweater
1. Use archival black to stamp your outline of the deer on whisper white scrap paper.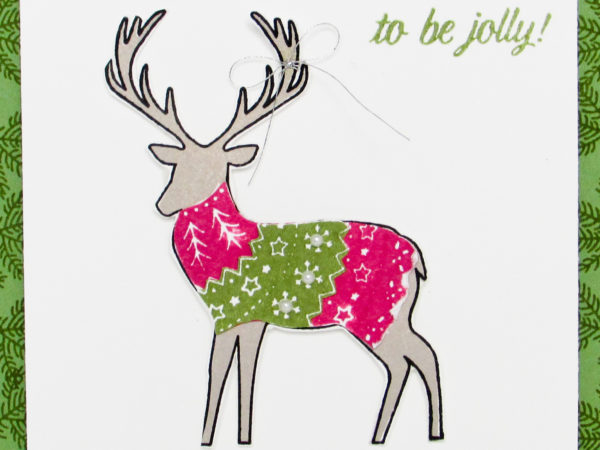
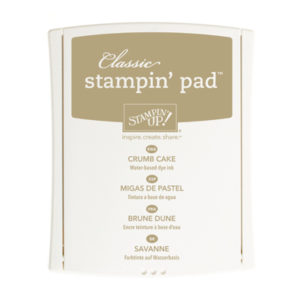
2. Next, line up the full coverage deer stamp over your original stamped deer outline and stamp it in crumb cake.
3. Use paper snips to cut your deer out and adhere it to your whisper white cardstock using a few dimensionals.
4. On scrap paper, stamp a couple extra sweaters in both rose red and pear pizzazz. Lastly, hand cut the deer sweaters out and adhere them to your deer.
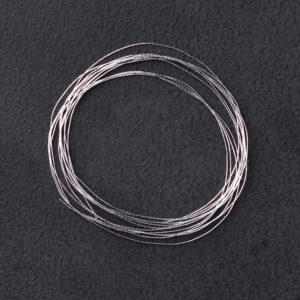
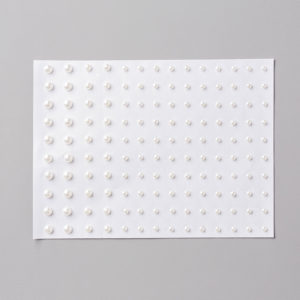
5. Don’t forget to add a few embellishments. I added silver metallic thread to the deer’s antlers and a few pearls to his sweater.
Download Free TutorialStampin’ Up! Supplies

Catalog Request Form
If you are interested in receiving a Stampin’ Up catalog, please fill out the request form below. If you currently have a demonstrator, please ask your current demonstrator for the catalog, because I do have to pay for the catalogs and for shipping. However, if you don’t have a demonstrator and are interested in purchasing Stampin' Up products, I’d love the opportunity to share Stampin’ Up with you, answer any questions and earn your business.


