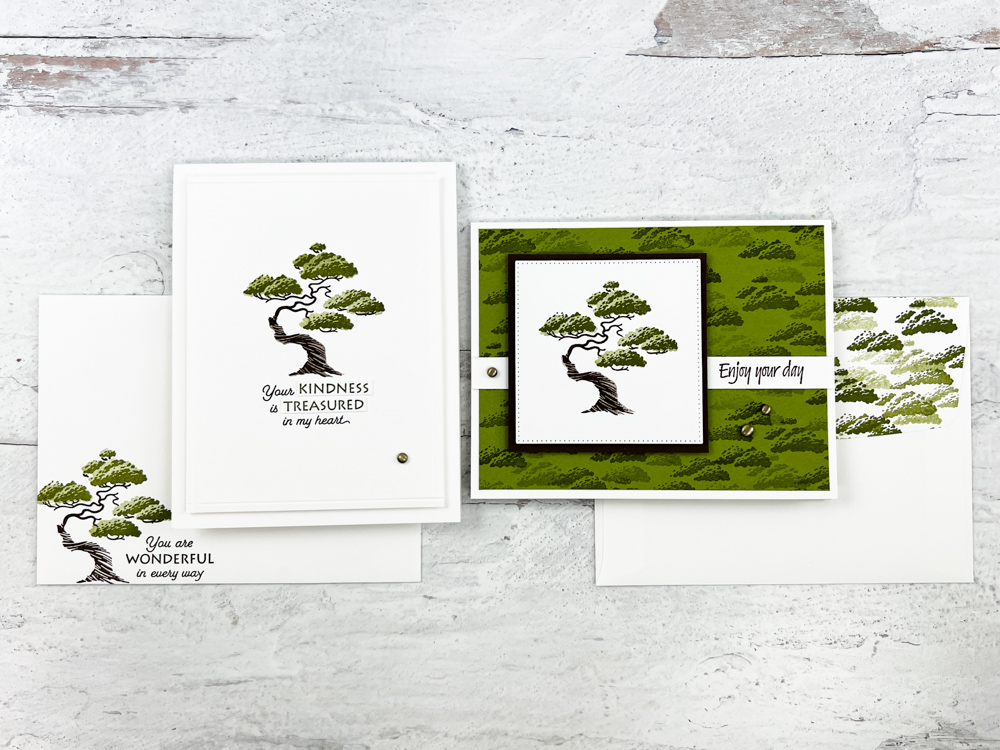
Today, I chose an easy layout to make 2 masculine greeting cards and paired it with the Treasured Kindness stamp set. Oh boy – I am so excited to show you how to make these cards!!
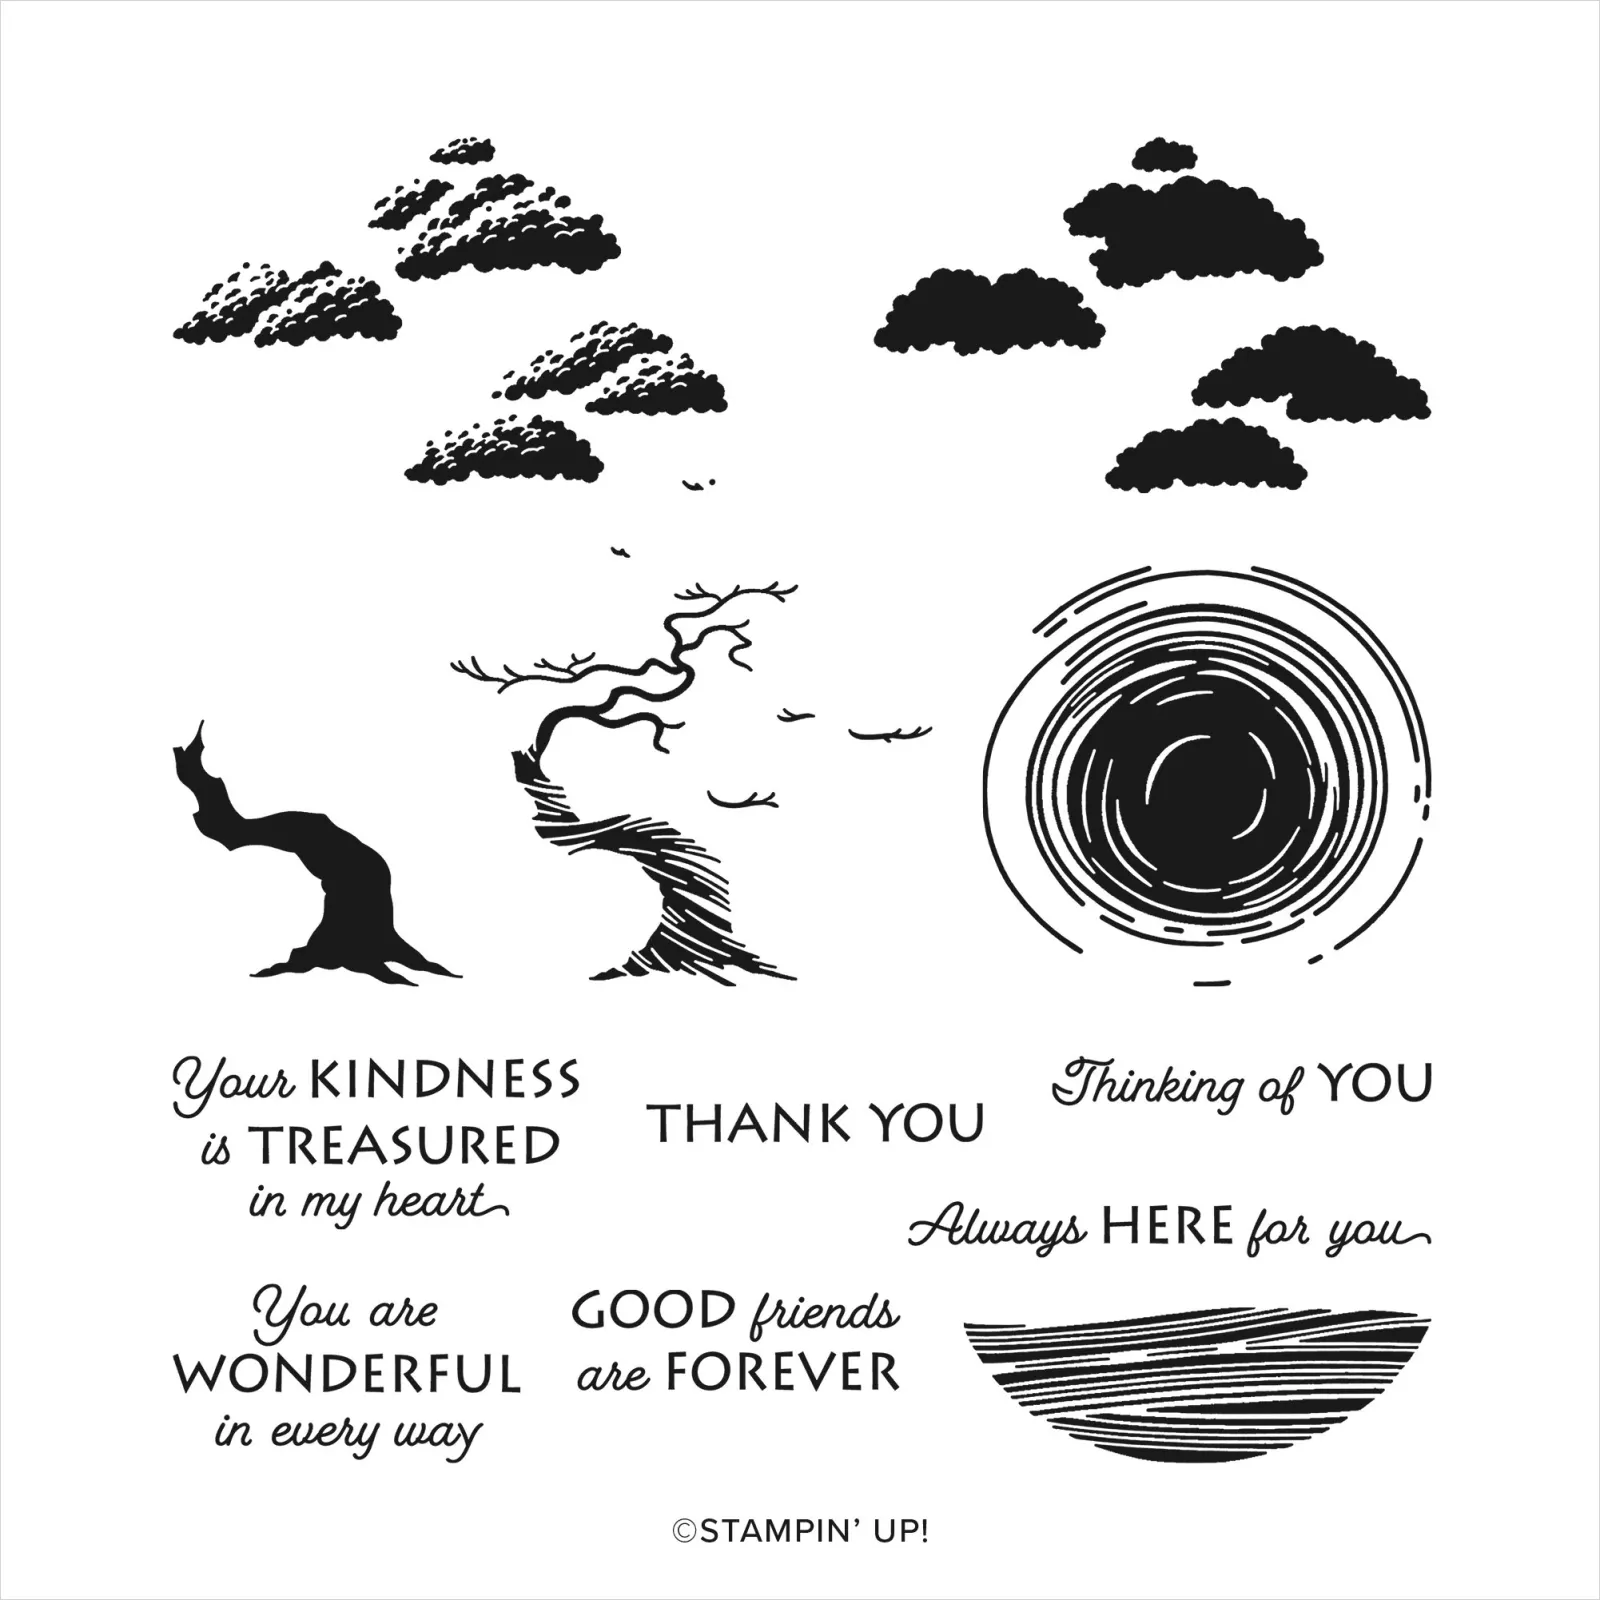
Stamp sets with a ‘nature’ theme are always fabulous for making handmade cards for men. If you don’t have this stamp then substitute it for any other image you want to use.
And don’t forget to score your decorative edge and stamp your envelope. It’s the little things that you can do to add interest and beauty to your cards.
Thank you for stopping by. I hope you enjoyed my tutorial and are inspired to create. Happy Stamping!! Brandy
WHICH OF THESE MASCULINE GREETING CARDS IS YOUR FAVORITE? ARE YOU EXCITED TO MAKE THESE CARDS? SHARE YOUR THOUGHTS!
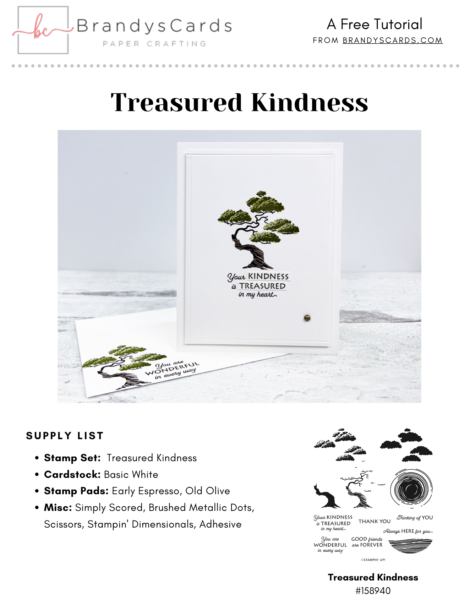
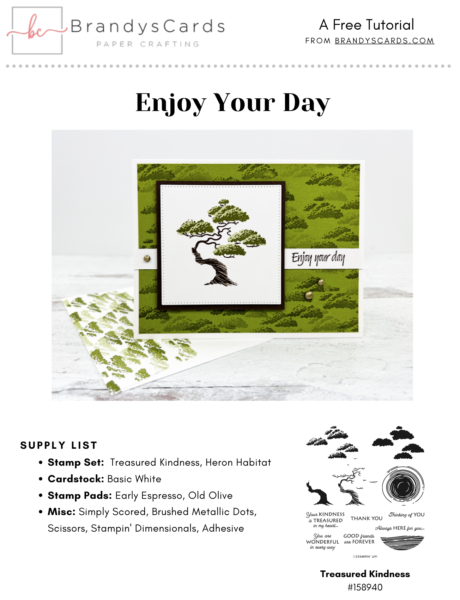
CARD TUTORIAL:
1. Cut a 5-1/2″ x 8-1/2″ piece of Basic White cardstock. Score it at 4-1/4″ and fold it in half. This is the card base.
2. Cut a 3-3/4″ x 5″ piece of Basic White cardstock. This is the image layer.
3. Score all four sides of the image layer at 1/8″.
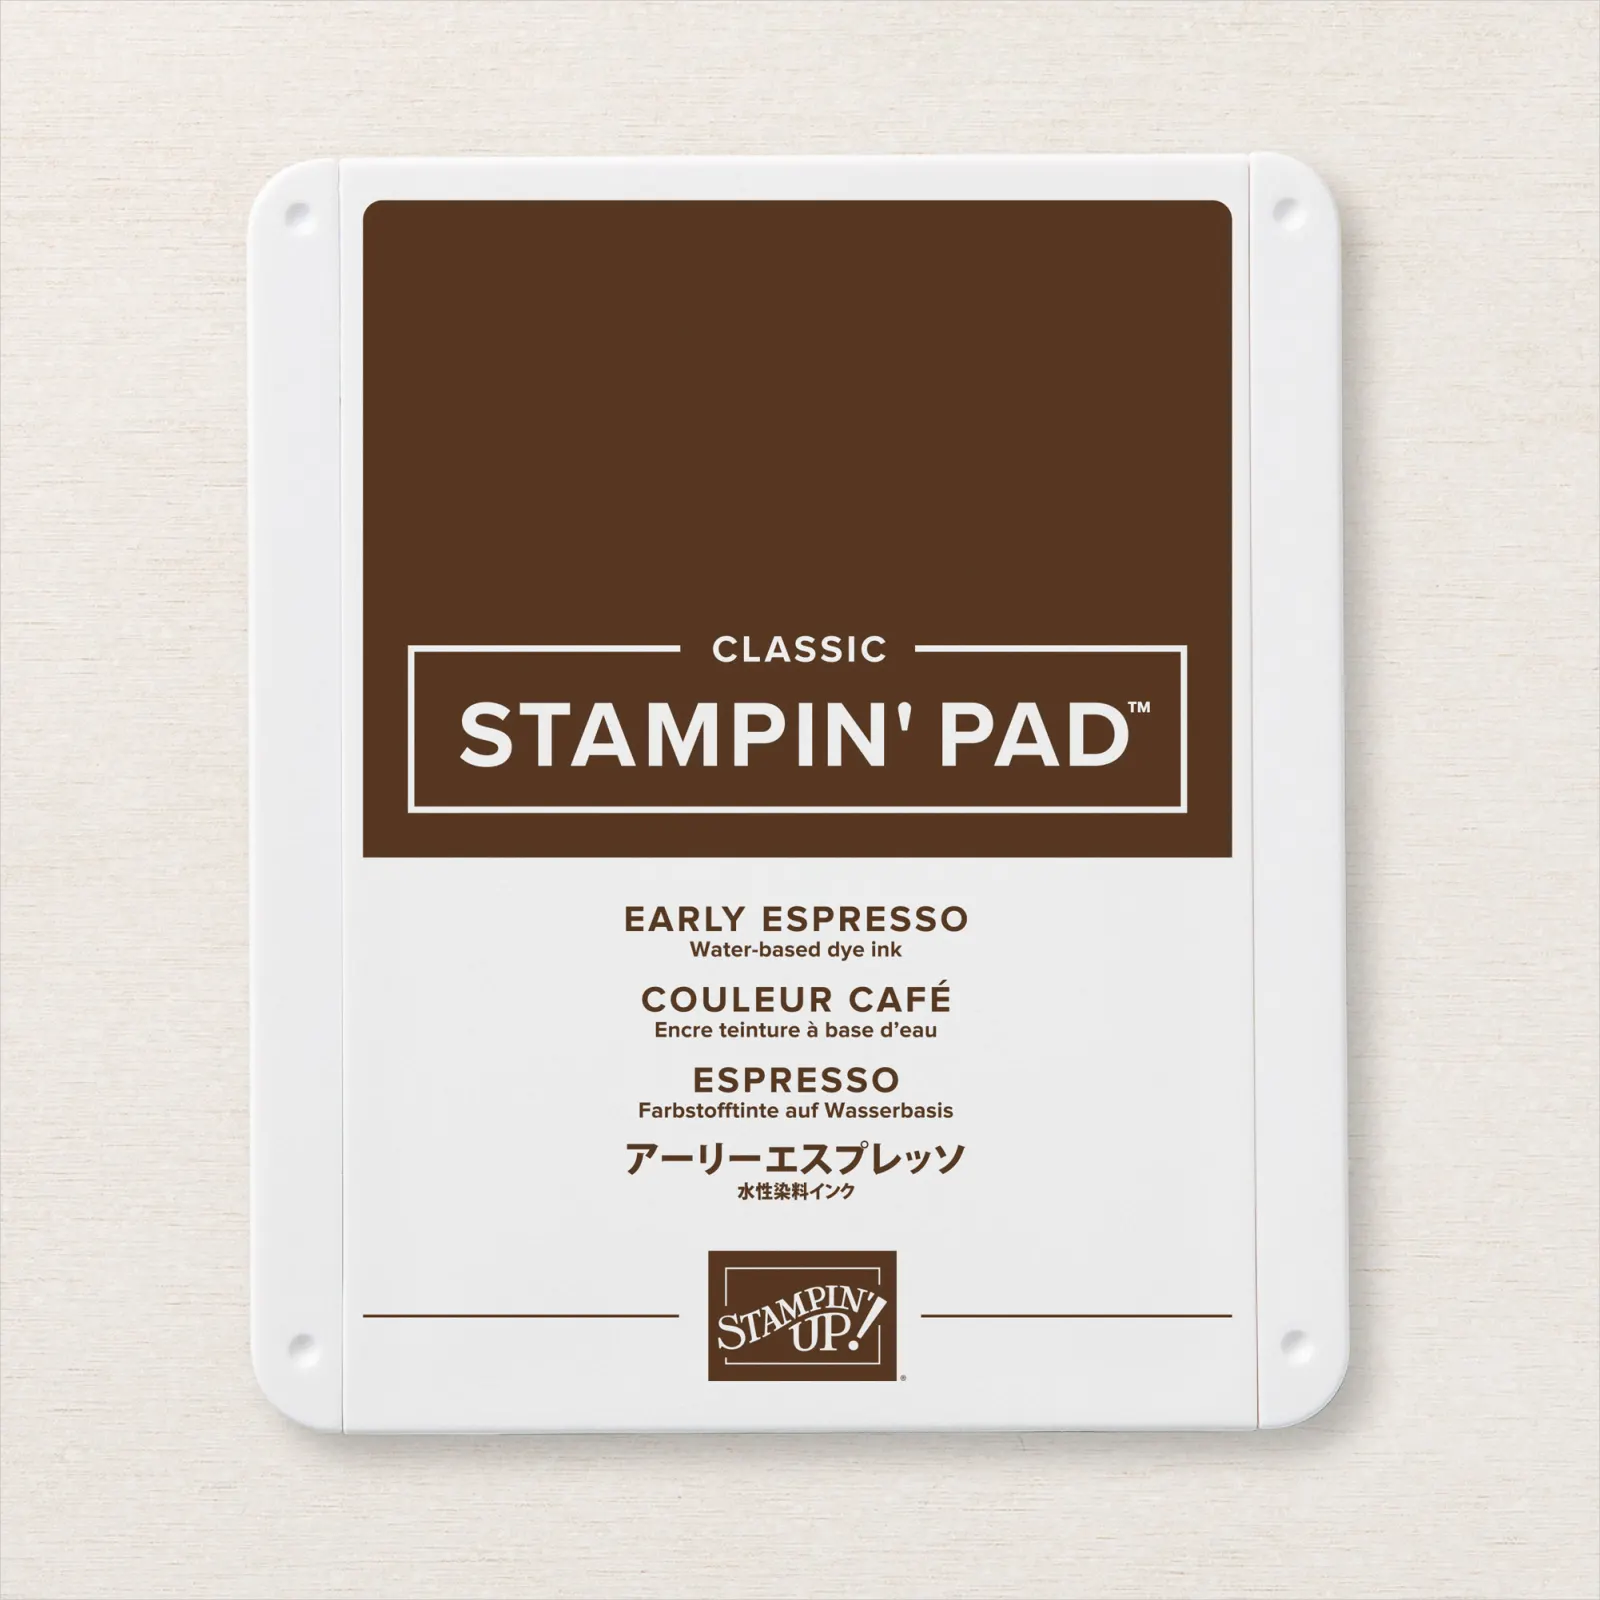
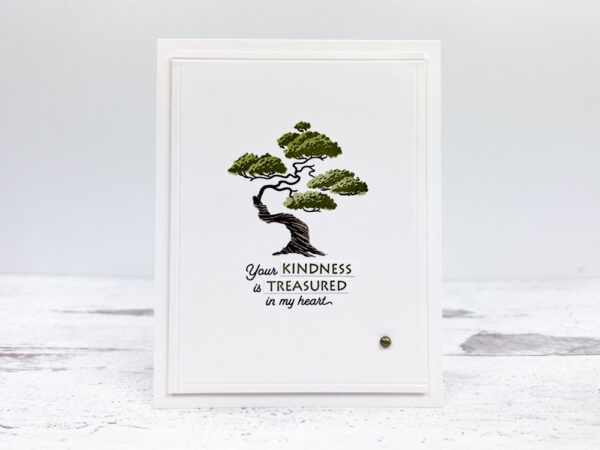
4. Stamp the detail-lined tree trunk on the image layer in Early Espresso.
5. In Early Espresso, ink up the solid tree trunk and stamp off on scrap paper. Then, stamp over the original detailed tree trunk to “fill-in” the tree with a lighter shade.
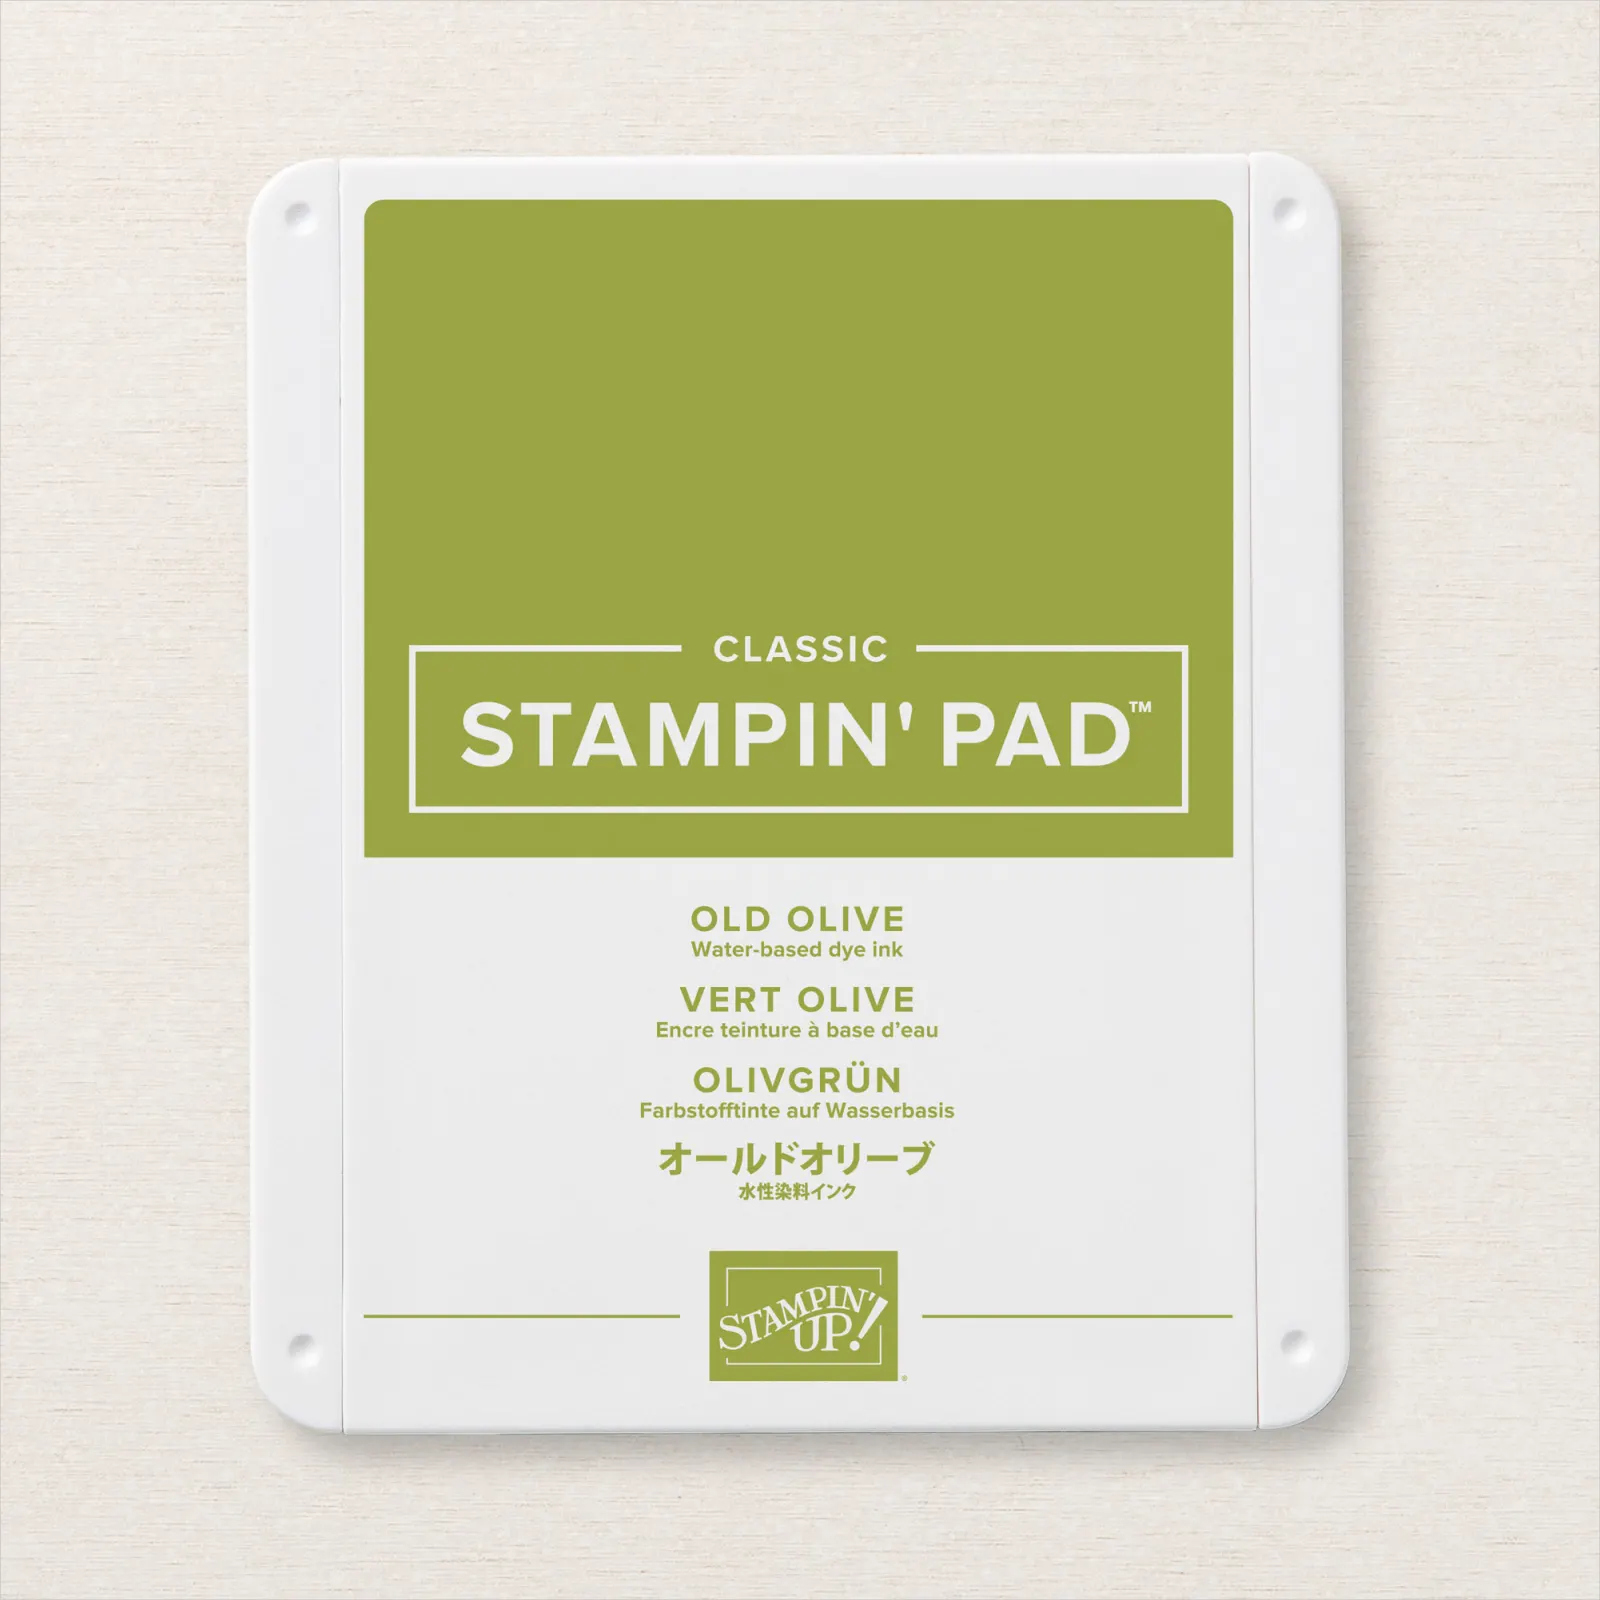
6. Align the detailed leaves with the branches and stamp using Old Olive.
7. In Old Olive, ink up the solid leaves and stamp off on scrap paper. Then, stamp over the original image of the detailed leaves.
8. Stamp the sentiment in Early Espresso under the tree.
9. After cleaning the sentiment stamp, stamp it in Old Olive on scrap paper. Use scissors to cut the words “kindness” and “treasured”. Layer and adhere them to the card front.
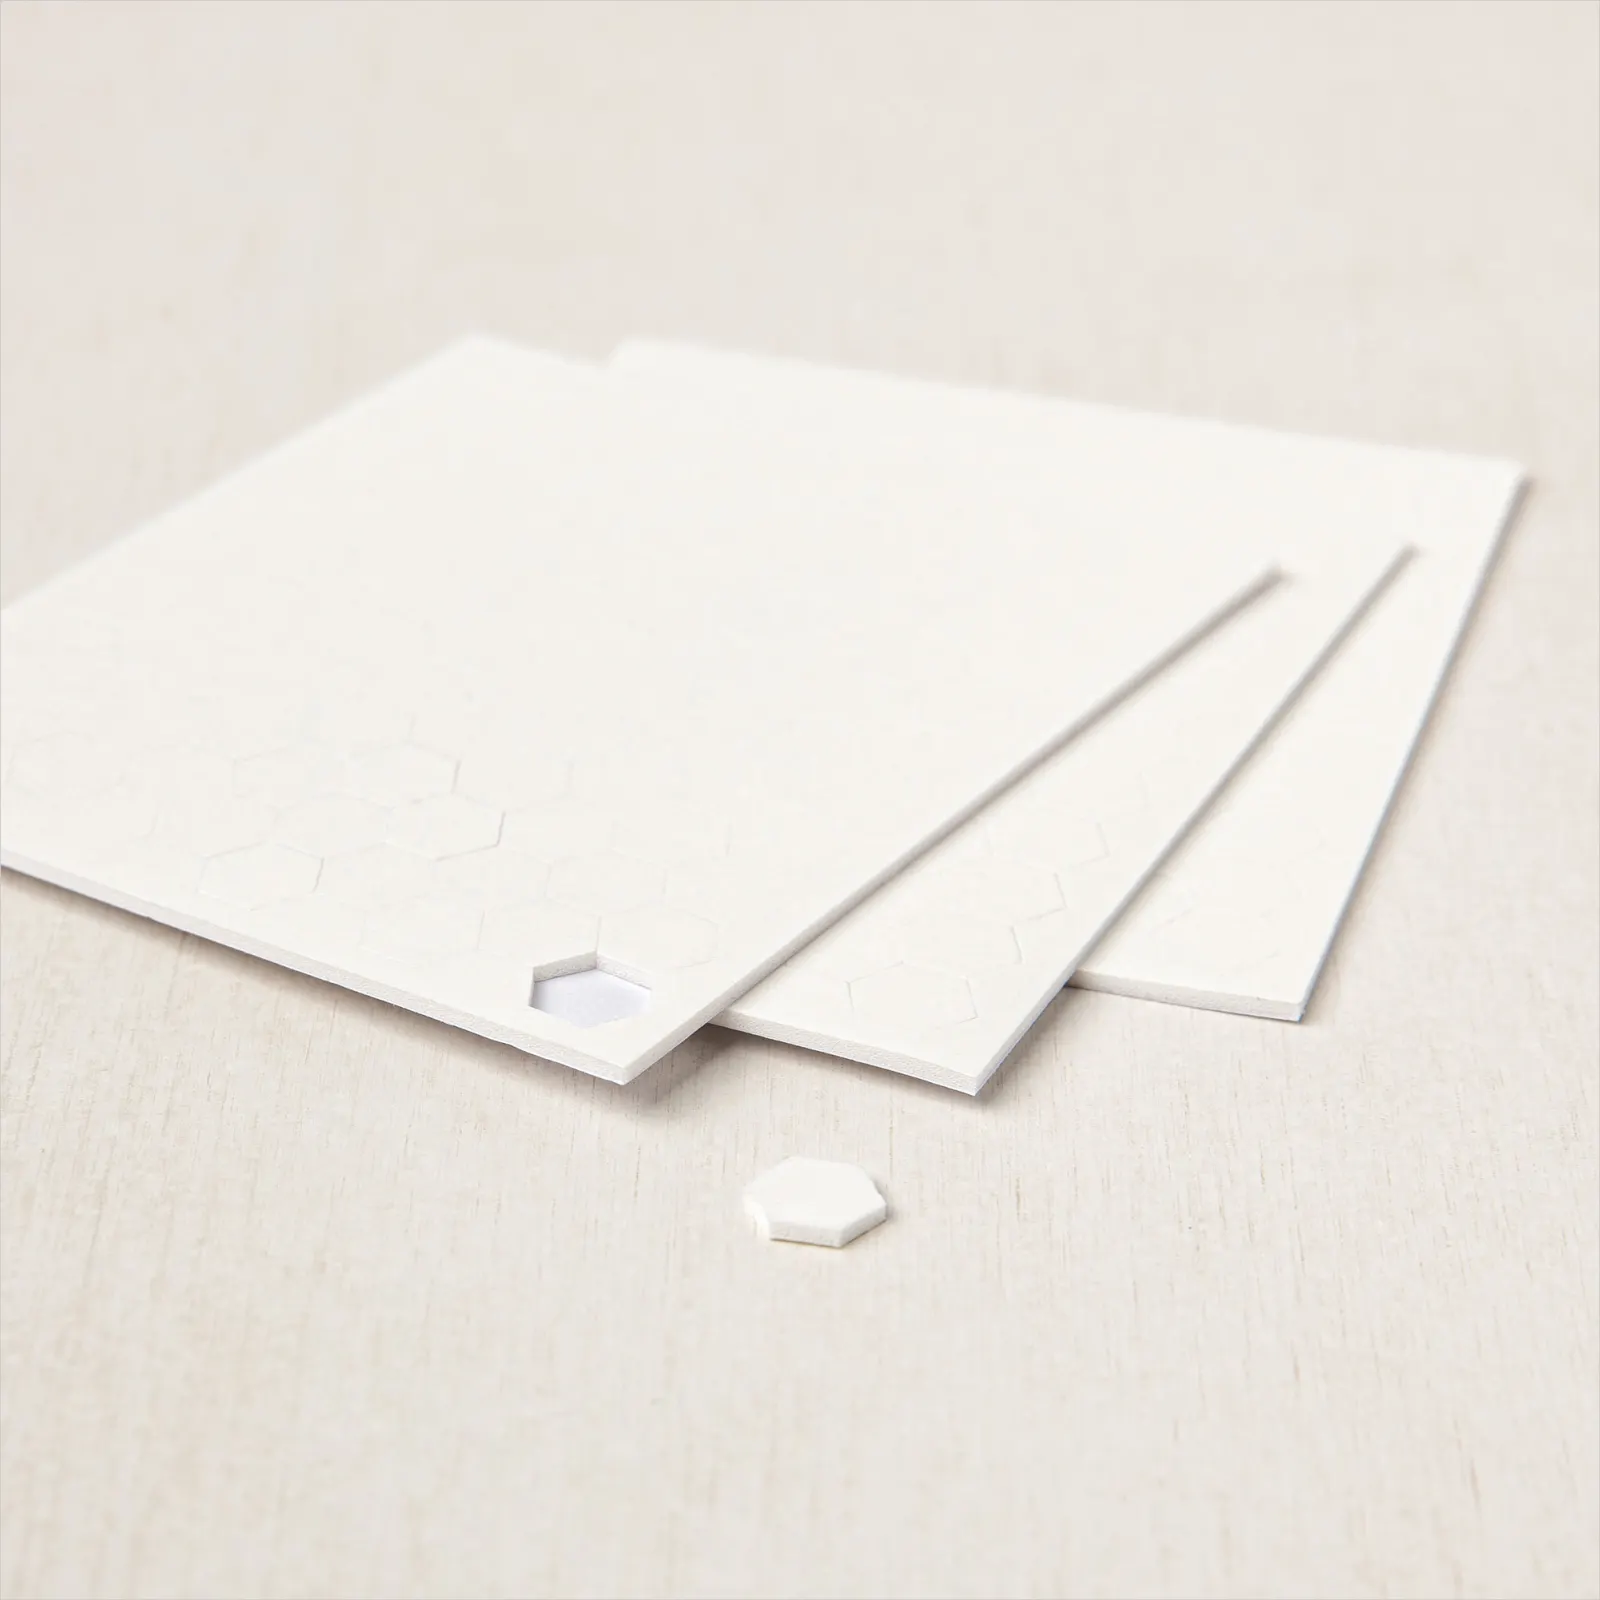
10. Center and adhere the image layer to the card front using dimensionals.
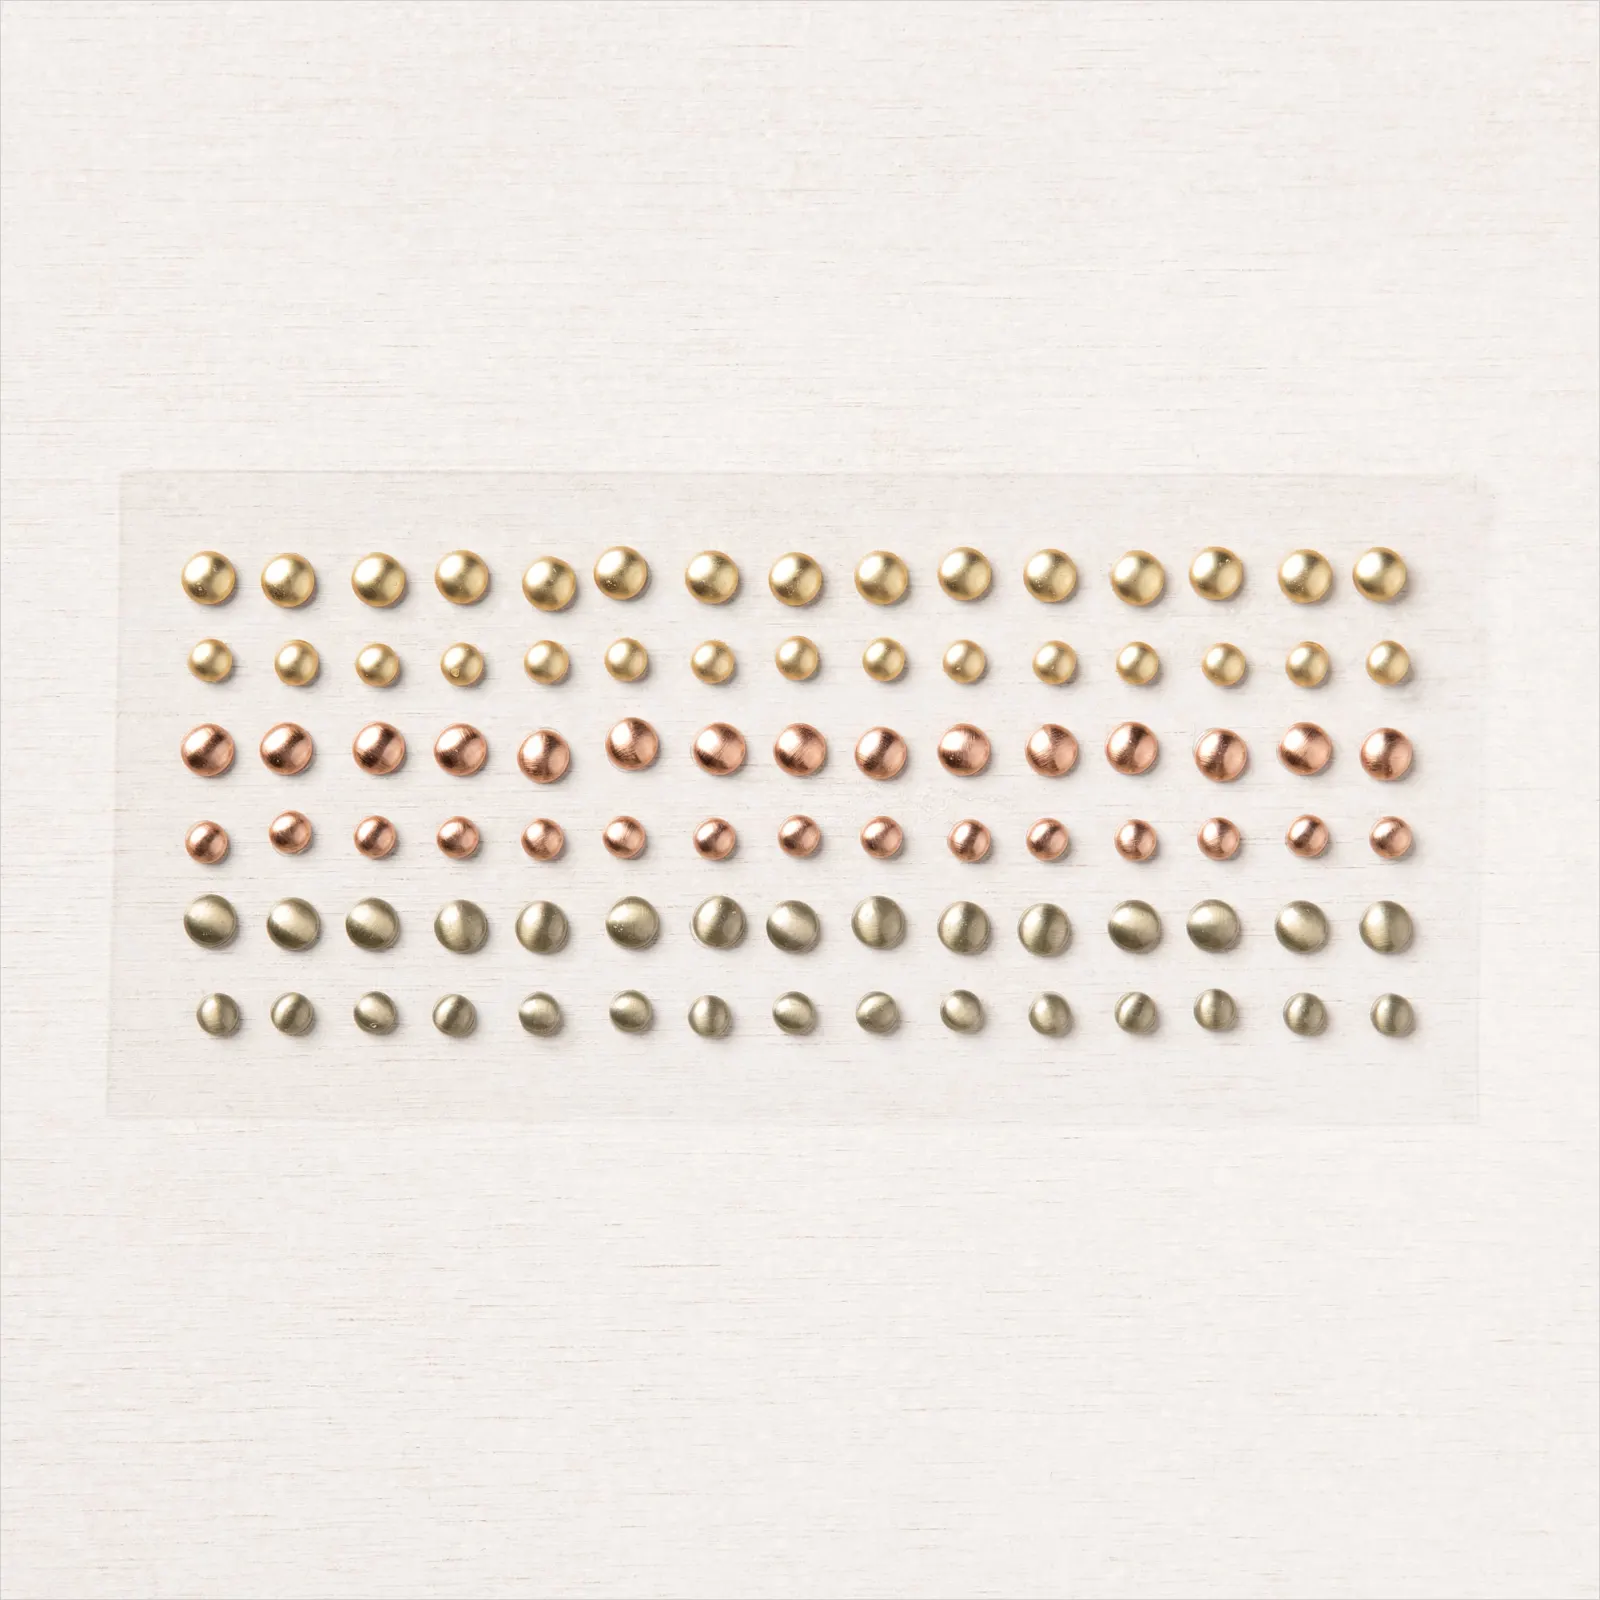
11. Embellish the card using Brushed Metallic Dots or Rustic Metallic Dots.
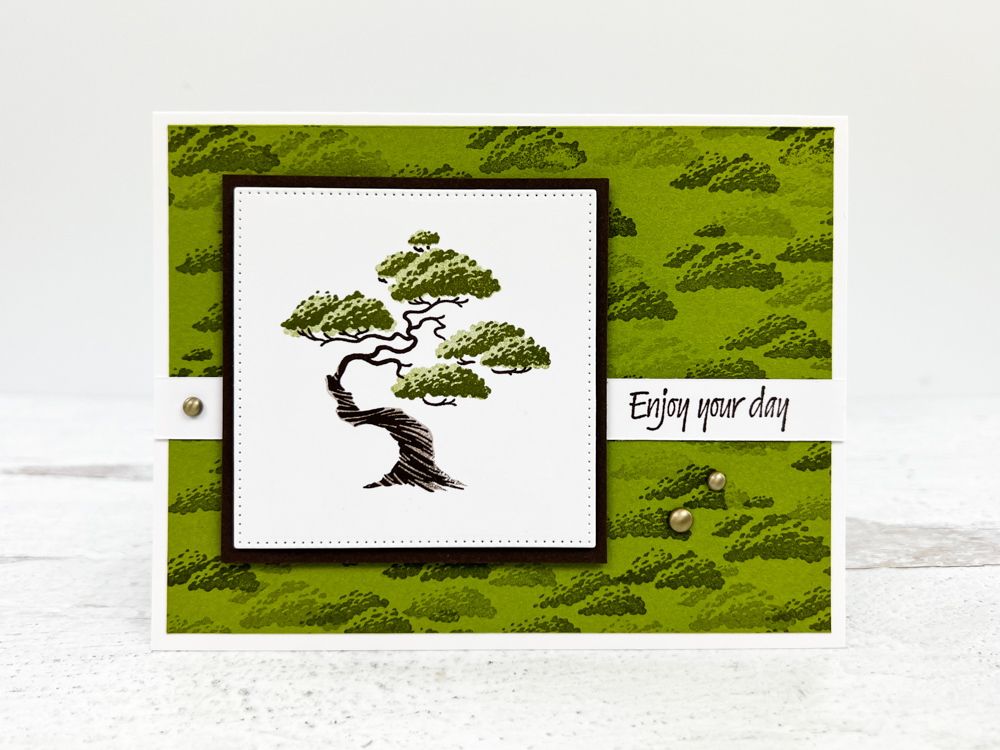
CARD TUTORIAL:
1. Cut a 5-1/2″ x 8-1/2″ piece of Basic White cardstock. Score it at 4-1/4″ and fold it in half. This is the card base.
2. Cut a 5-1/4″ x 4″ piece of Old Olive cardstock. This piece is for the stamped background.
3. To create the background, stamp the detailed tree leaves multiple times in Old Olive on the Old Olive cardstock. Stamp off for some for a mixture of light and dark images.
4. Center and adhere the stamped background to the card front.
5. Cut a 5-1/2″ x 1/2″ strip of Basic White cardstock. On the right side of the strip, stamp the sentiment in Early Espresso. Center and adhere across the front of the card.
6. Cut a 3″ x 3″ piece of Early Espresso cardstock.
7. Cut a 2-3/4″ x 2-3/4″ piece of Basic White cardstock or use a stitched square from the Stylish Shapes Dies to die cut a square. This is for the stamped image.
8. Stamp the detail-lined tree trunk on the image layer in Early Espresso.
9. In Early Espresso, ink up the solid tree trunk and stamp off on scrap paper. Then, stamp over the original detailed tree trunk to “fill-in” the tree with a lighter shade.
10. Align the detailed leaves with the branches and stamp using Old Olive.
11. In Old Olive, ink up the solid leaves and stamp off on scrap paper. Then, stamp over the original image of the detailed leaves.
12. Center and adhere the image layer to the Early Espresso cardstock using dimensionals. Then, adhere to the front of the card.
13. Embellish the card using Brushed Metallic Dots or Rustic Metallic Dots.