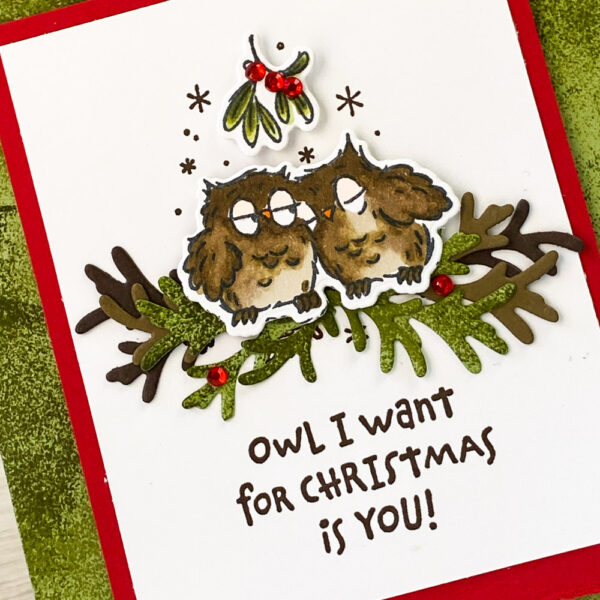
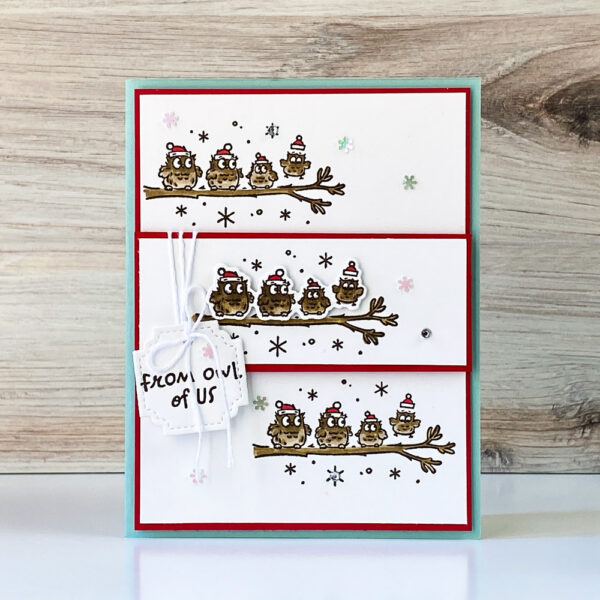
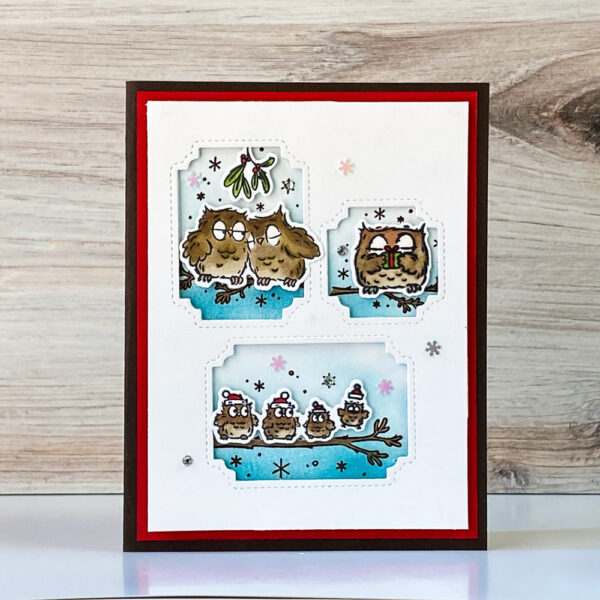
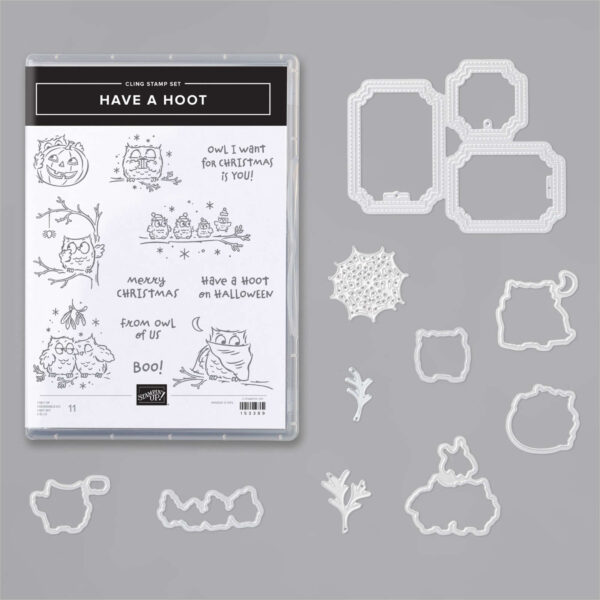
Today’s care features the Stampin’ Up! Have a Hoot Stamp Set and coordinating Stampin’ Up! Peek-A-Hoot Dies. This stamp set is absolutely adorable and so much fun to create with.
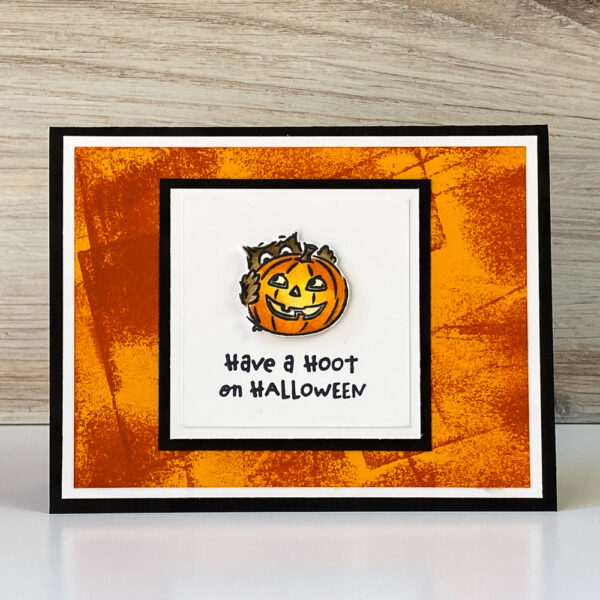
Are you wondering how I created the festive background. It’s super easy!! I just touched the cardstock to the top of my card base. It’s easy peasy and looks awesome!!
Thank you for stopping by. Let me know if you need something or have any questions. I’m glad to help!! Hug, Brandy
1. Cut a 5-1/2″ x 8-1/2″ piece of Pear Pizzazz Cardstock and fold it in half. This is your card base.
2. Push the top of your card down cardstock on top of your Pear Pizzazz Stamp Pad to add color.
3. Next, push the top of your card down on top of the Old Olive Stamp Pad to add further dimension.
4. Cut a 3-1/4″ x 4-1/2″ piece of Real Red Cardstock.
5. Tear the bottom of your Real Red Cardstock to finish at 3-1/4″ x 4-1/4″.
6. Cut a 3″ x 3-3/4″ piece of Whisper White Cardstock. This piece is for your image.
7. Stamp your image in Early Espresso Ink.
8. Center and adhere your image to the top of your Real Red Cardstock.
9. Center and adhere the Real Red Cardstock to the top of your card.
10. Stamp your owls on scrap paper in Memento Black Ink.
11. Color the owls using Stampin’ Blends Alcohol Markers and die cut them using the Stampin’ Up! Peek-A-Hoot Dies.
12. Cut and layer sprigs on top of your stamped out branches.
13. Adhere the owls to the top of the sprigs using Stampin’ Dimensionals.
14. Adhere the mistletoe to the top of your card using a dimensional.
15. Embellish your card by adding Red Rhinestones.