
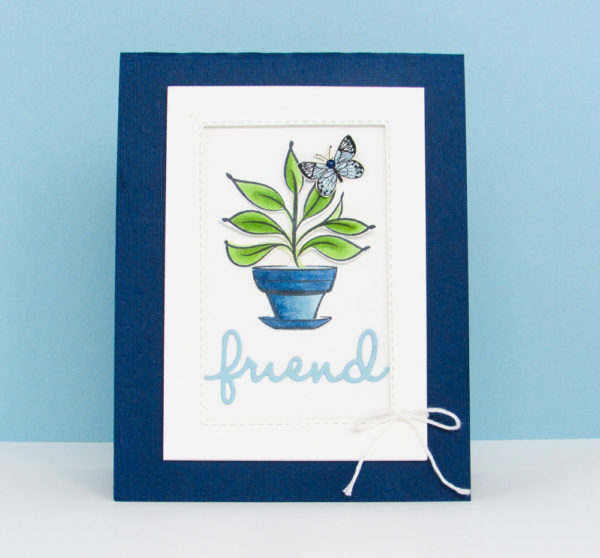
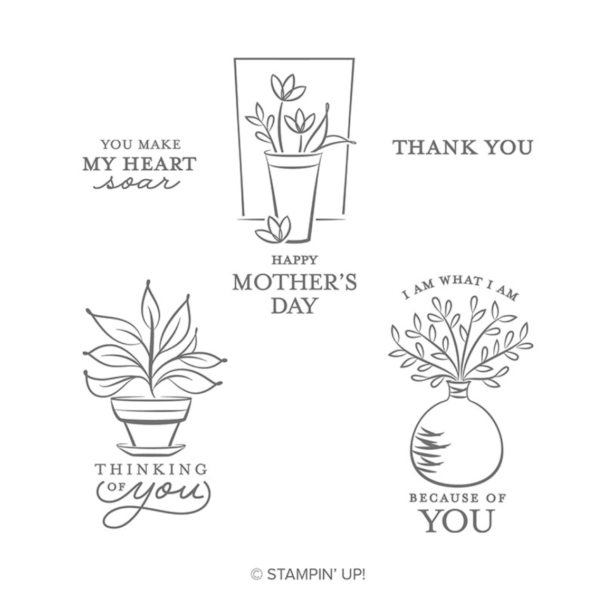
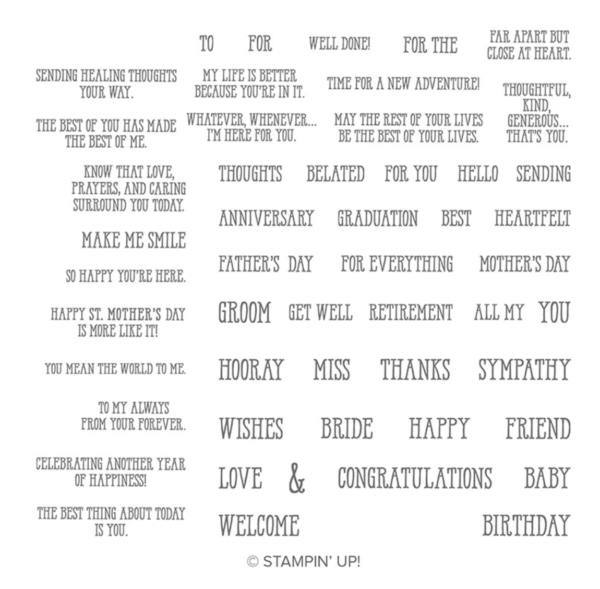
Today’s card features the Stampin’ Up! Just Because Host Stamp Set along with Well Written and Stitched Rectangle Framelits.
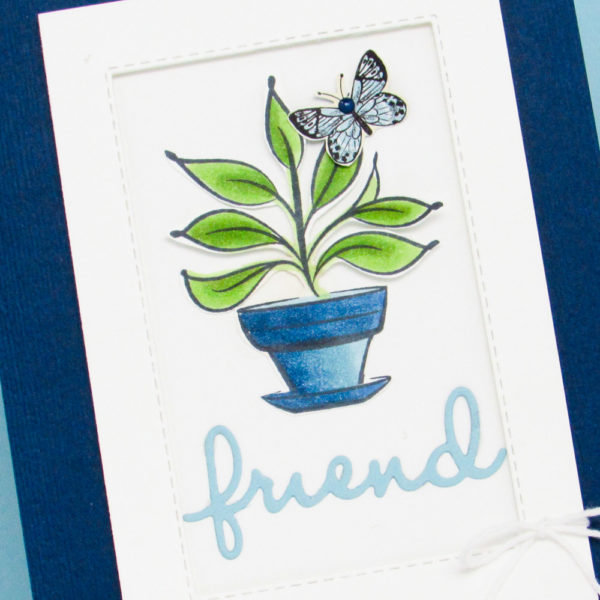
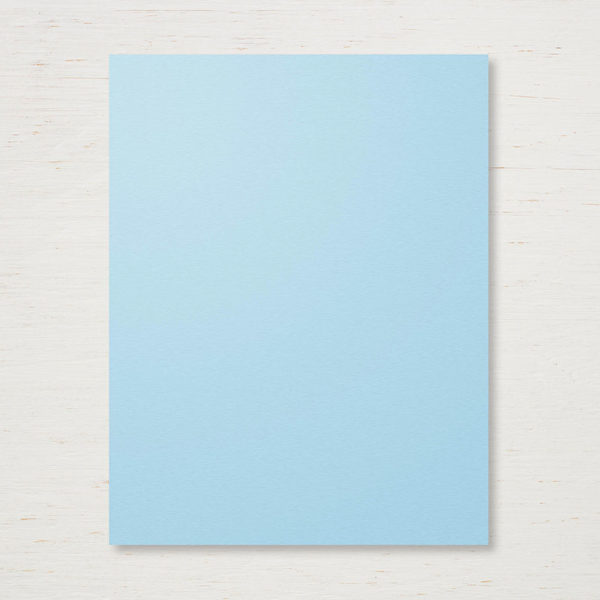
This stamp set is perfect for coloring and shading. Are you wondering what colors I used to color the flower pot? If so, I started coloring the left side of the pot with dark night of navy and then I transitioned to light night of navy. I finished the pot with dark and then light Balmy Blue Blends. As you color and shade you’ll notice the shading will give you such a lovely gradation of color. I loved it!!
Finally, I hand cut out the lovely butterfly from the Stampin’ Up! Sale-a-bration Botanical Blooms Designer Series Paper. Its absolutely gorgeous designer paper and its Free with a qualifying order. Yay!!
I hope you enjoyed my card and video. I had so much fun creating this card for you. Be sure to let me know if you need something or if you have any questions. I’m always glad to help.
Enjoy your day!! Blessings, Brandy
CARD BASE
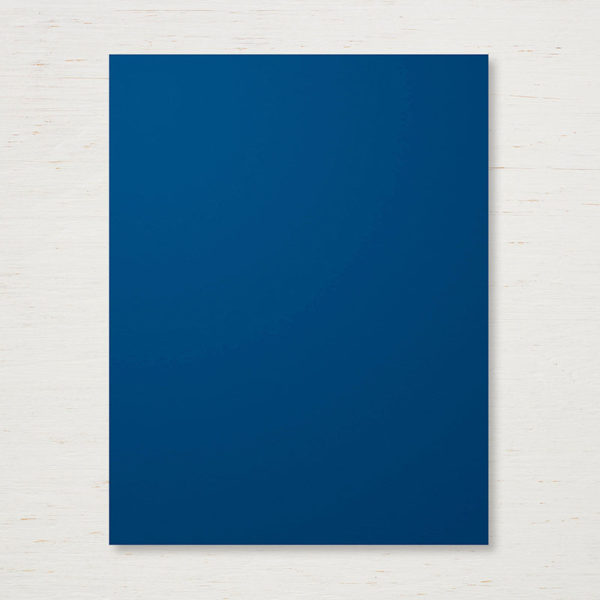
1. Cut a 4-1/4″ x 11″ piece of Night of Navy Cardstock and fold it in half. This is your card base.
2. Cut a 4″ x 5-1/4″ piece of Whisper White Cardstock. Center and adhere this piece inside your card.
3. Cut (2) 4-1/2″ x 3-1/8″ piece of Whisper White Cardstock. One piece is to cut using your Stitched Framelit and the other is to mat underneath the cut framilit.
Tip: Center and adhere your framelit using washi tape. This way when you run it through the Big Shot it stays in place.
4. Cut out your Stitched Rectangle using the Stampin’ Up! Stitched Rectangles. I used the 3-15/16″ x 2-5/8″ rectangle.
Tip: Download the Stitched Rectangle Sizes PDF Here!
5. Add a few stampin dimensionals around the edge of your cut out Stitched Frame.
6. Center and adhere your stitched frame to the top of your second 4-1/2″ x 3-1/8″ piece of Whisper White Cardstock.
PLANT
1. Stamp your plant on scrap paper using Memento Black Ink.
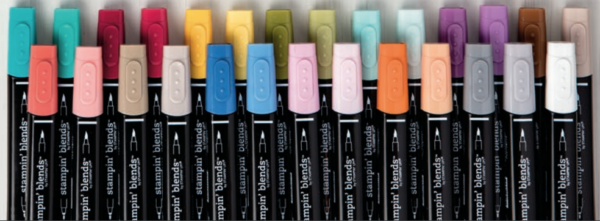
2. Color your leaves using Stampin’ Blends.
3. Color the flower pot using both light and dark Night of Navy and Balmy Blue Blends.
Tip: I started coloring the left side of the pot using dark night of navy. Then as I moved right across my flower pot I added light night of navy. I finished my flower pot with dark and then light balmy blue blends. This gives you the gradation look!
4. Use your paper snips to cut out your plant. Add a few random stampin dimensionals to make your plant appear to be more 3D.
Tip: If you don’t want to cut out the plant you could certainly stamp it directly on to your cardstock.
5. Use the butterfly punch to punch out a butterfly from the Botanical Blooms Designer Series Paper. Embellish your butterfly with a Night of Navy Happiness Blooms Enamel Dot.
Item #148786
Stampin’ Blends Used Include:
Granny Apple Green, Item #147274
Mossy Meadow, #148547
Night of Navy, #144040
Balmy Blue, #148544
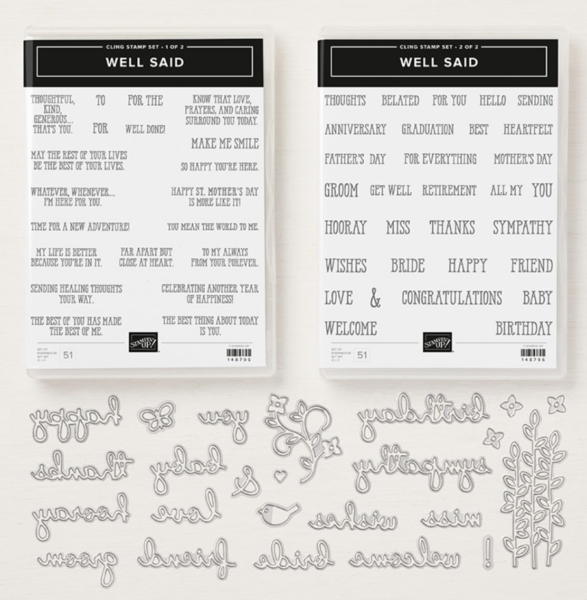
FRIEND
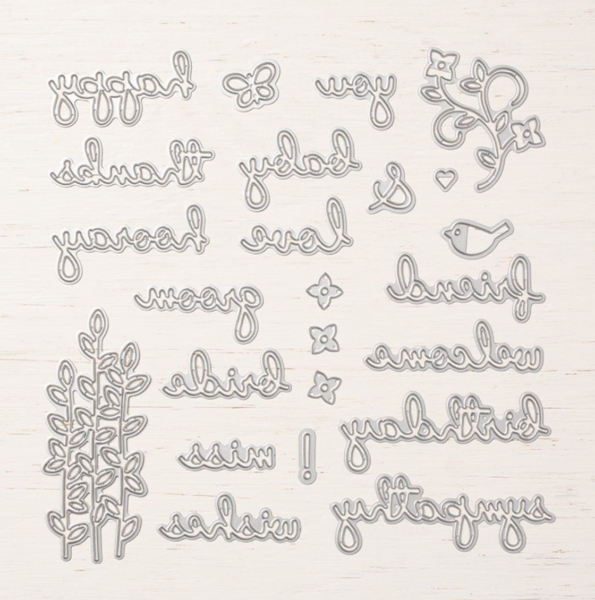
1. Cut the work “Friend” out using the Well Words Framelits and your Big Shot.
2. Adhere the word friend using a fine tip glue pen or carefully use multipurpose liquid adhesive.
Tip: You’ll find the die cut word “friend” inside the Stampin’ Up! Well Said Thinlits.
3. Embellish your butterfly using the Night of Navy Happiness Blooms Enamel Dot.
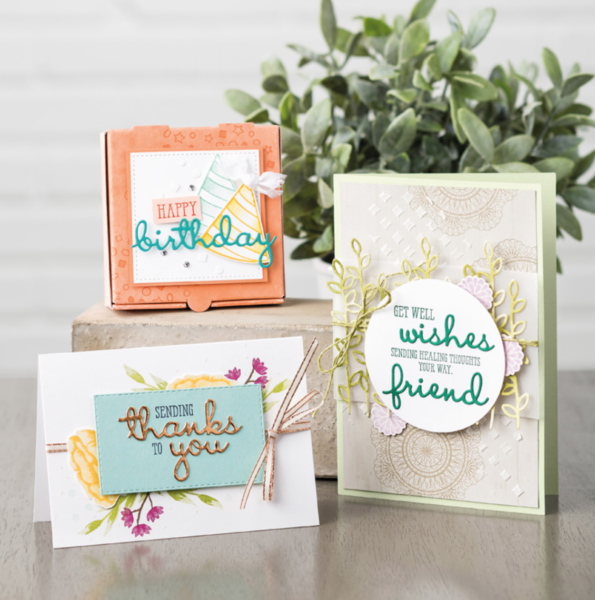
Stampin’ Up! Inspiration & Samples using the Stitched Rectangles & Well Said Words Bundle
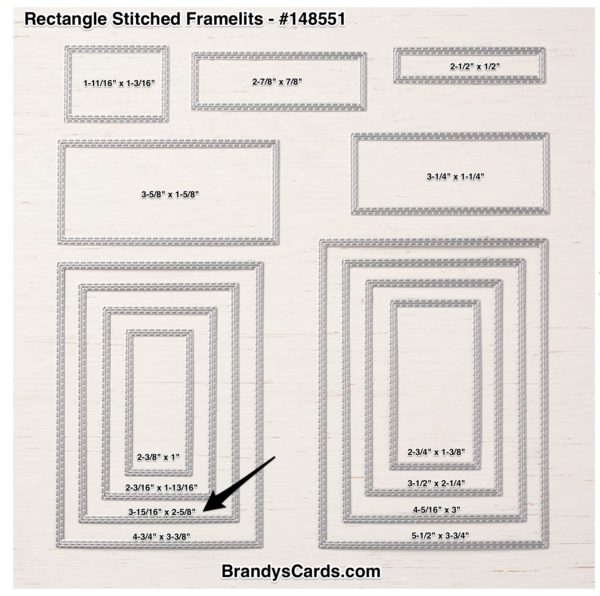
Item #148551
Item #148796
Item #148534
Item #150609
#100867
#146982


Love your enthusiasm!! I had never thought of using the “green glue” before but will give it a try— I have always used double stick tape. Thanks for your shading tips as well. I’ve been stamping for years on and off — it’s hard to find time and raise a family!! Just discovered you and your ideas will get the creative juices flowing!!!
I love the video and thank you for the lesson . I will be wait be waiting for the next one and in coming back for stamps and that pen again thank you
Beautiful card!
Love the framed plant and colors.