

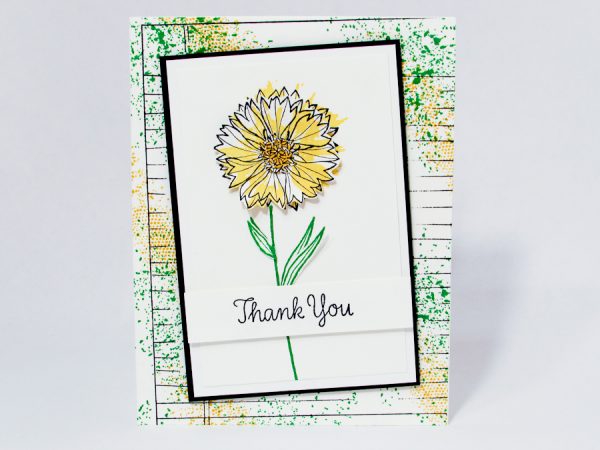
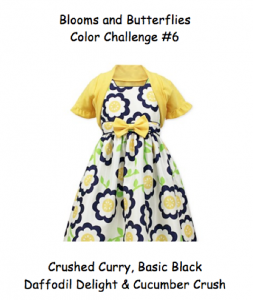
Today’s card was designed specifically for my Blooms and Butterflies Team Color Challenge.
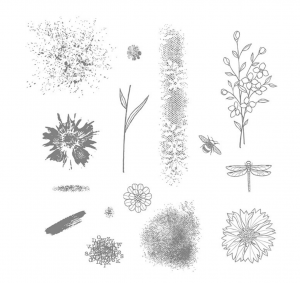
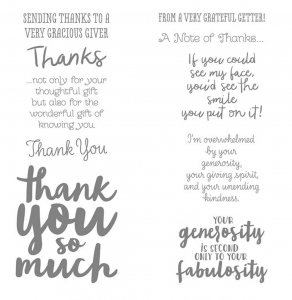
The featured stamp set is the Stampin Up Touches of Textures and Thankful Thoughts Stamp Sets. Both of these stamp sets are from the 2016-2017 Stampin Up Annual Catalog
Below you’ll find the step by step tutorial to recreate this card. I hope you give it a try and maybe think about adding some more fall colors. I’d love for you to email me your creation.
Don’t forget to check out the rest of the beautiful cards designed by the Blooms and Butterflies Team Designers. Click Here!
Base
1. Cut a 8-1/2″ x 5-1/2″ piece of whisper white cardstock. Fold this piece in half… this is your base.
2. Using a Cucumber Crush Stamp Pad to stamp your largest splatters randomly around the base.
3. Using a Crushed Curry Stamp Pad to stamp the long rectangle splatters randomly around the base.
4. Using a Basic Black Stamp Pad and the Writing Notes Background stamp to stamp your lines once on top of your splatters.
Daffodil Delight Flower
1. Cut a 3-1/8″ x 4-5/8″ Basic Black Cardtock. This rectangle will be your base layer.
2. Cut a 3″ x 4-1/2″ piece of Whisper White Cardstock. This piece will be centered and adhere to the top of the basic black cardstock.
Tip: This piece of Whisper White is meant to frame your Daffodil Delight Flower.
3. Cut a 2-3/4″ x 4-1/4″ piece of Whisper White Cardstock. This is for your image.
Tip: Do not adhere the 2-3/4″ x 4-1/4″ rectangle until you are happy with your image. If you make a mistake with placement you can flip over the cardstock and try again.
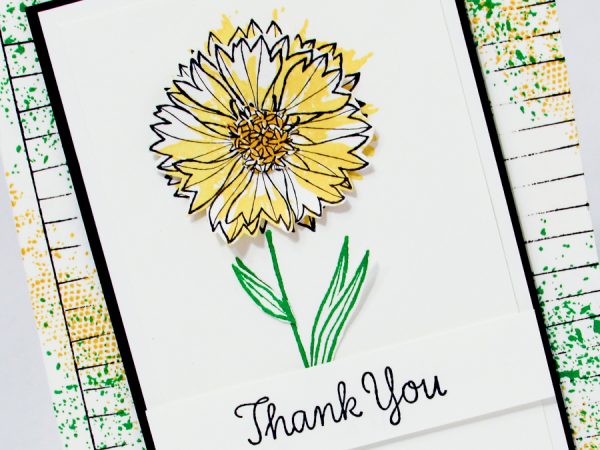
4. Using a Daffodil Delight Stamp Pad and the splatter, from the Stampin Up Touches of Textures Stamp Set, towards the top of your rectangle.
5. Using a Basic Black Stamp Pad to stamp your detailed flower on top of the Daffodil Delight Splatter Flower.
6. Using a Cucumber Crush Stamp Pad to stamp your stem.
Tip: To give this card more lift you might try stamping your flower and leaves on scrap paper. Cut them out and pop them up on top of the original flower and leaves. Just as I have done on this card!
7. To get a darker center in my flower… I inked up my flower in Crushed Curry and stamped it on scrap paper. I hand cut it out and used a mini glue dot to add it to the center of my flower. This really added a bit of dimension.
8. Cut a 3″ x 5/8″ piece of Whisper White Cardstock and a Basic Black Stamp Pad to stamp your sentiment.
Tip: I stamped “Thank You” from the Stampin Up Thoughtful Thanks Stamp Set.
Items Used Include:


Catalog Request Form
If you are interested in receiving a Stampin’ Up catalog, please fill out the request form below. If you currently have a demonstrator, please ask your current demonstrator for the catalog, because I do have to pay for the catalogs and for shipping. However, if you don’t have a demonstrator and are interested in purchasing Stampin' Up products, I’d love the opportunity to share Stampin’ Up with you, answer any questions and earn your business.


