
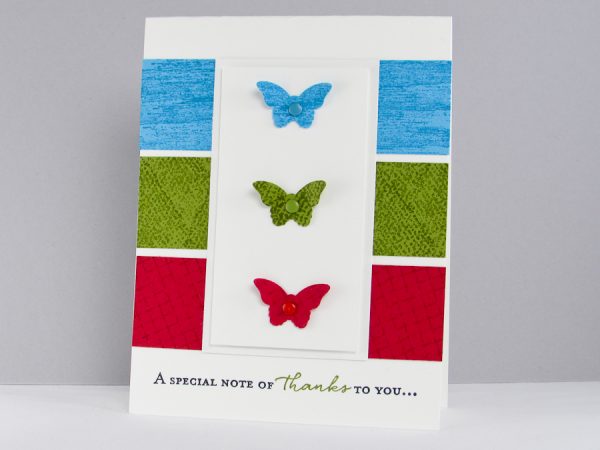
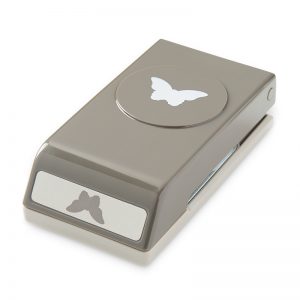
 Today’s card was for my Blooms and Butterflies Color Challenge. This card was designed using the Stampin Up Timeless Textures stamp set along with the Itty Bitty Butterfly punch.
Oh, how I love to create my own unique background and designs. This is by far my most favorite part about creating and designing is figuring out how I can use various stamps, in a set, to create my own design. It’s so much fun!!
I hope you enjoy today’s video tutorial presentation. Thank you for stopping by Brandy’s Cards and for giving me the opportunity to help and inspire you.
Many Blessings, Brandy
Base
1. Cut a 4-1/4 x 11″ piece of whisper white cardstock and fold it in half. This is your base.
2. Cut (3) 4-1/4″ x 1-1/4″ strips one in each of these colors; tempting turquoise, old olive & real red.
3. Cut 4″ x 2-1/4″ piece of whisper white cardstock. This is the base layer rectangle.
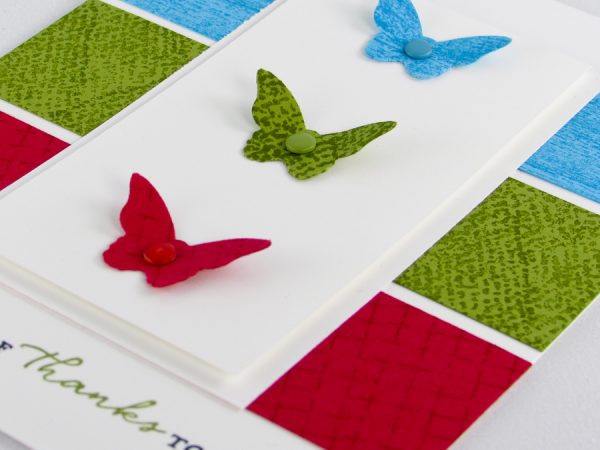
4. Cut a 3-3/4″ x 2″ piece of whisper white cardstock. This piece is for your butterflies.
Stamp your Strips
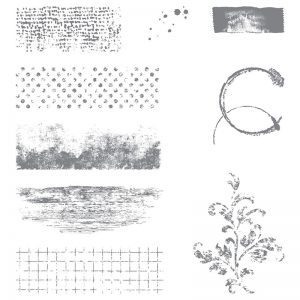
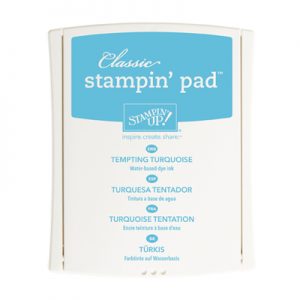
1. Using a timeless textures stamp and a tempting turquoise stamp pad, stamp your design on tempting turquoise cardstock.
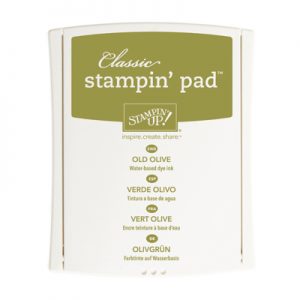
2. Using a timeless textures stamp and a old olive stamp pad, stamp your design on old olive cardstock.
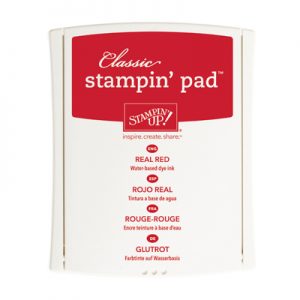
3. Using a timeless textures stamp and a real red stamp pad, stamp your design on real red cardstock.
Tip: Stamp a second strip to punch out your butterfly or punch your butterfly out of the middle of your strip!
Layer & Place your Strips
1. Using adhesive to adhere your tempting turquoise strip about 1/2″ from the top of your base.
2. Next, center and adhere your 4″ x 2-1/4″ whisper white rectangle flush with the top of your tempting turquoise cardstock.
Tip: Only adhere the portion of the rectangle that is centered on the tempting turquoise cardstock.
3. Now line your real red cardstock up with your whisper white rectangle so that the bottom of the real red cardstock is flush with the bottom of the white rectangle.
4. Center and adhere your old olive strip between your real red and tempting turquoise strips.
5. Use your adhesive to adhere the white strip to the old olive and real red strips.
6. Add stampin dimensionals to your 3-3/4″ x 2″ whisper white rectangle and center it on top of your larger rectangle.
Add your Butterflies
1. Use a mini glue dot to add your butterflies on top of the coordinating strip.
2. Use your scissors to add the coordinating enamel shapes to the center of your butterfly.
Tip: If you need a real red enamel shape you can use a red sharpie to color your enamel shape.
Sentiment
1. Use a black stampin write marker and an old olive stampin write marker to color your sentiment and stamp it on the bottom of your card.
Tip: On my original card, I stamped the sentiment on a 1/4″ x 4-1/4″ piece of whisper white cardstock. I centered and adhered this piece along the bottom of my card.
Products Used Include


Catalog Request Form
If you are interested in receiving a Stampin’ Up catalog, please fill out the request form below. If you currently have a demonstrator, please ask your current demonstrator for the catalog, because I do have to pay for the catalogs and for shipping. However, if you don’t have a demonstrator and are interested in purchasing Stampin' Up products, I’d love the opportunity to share Stampin’ Up with you, answer any questions and earn your business.


Brandy!
I just love this tutorial. I have a special affection for butterflies.
I love your tips & techniques and the card is just beautiful. Thank you so much!
I love this butterfly card – simple, but stunning!! TFS, your creativity.
Loved this video! I have similar product, so I am going to give this a try with what I own. Thanks for sharing.