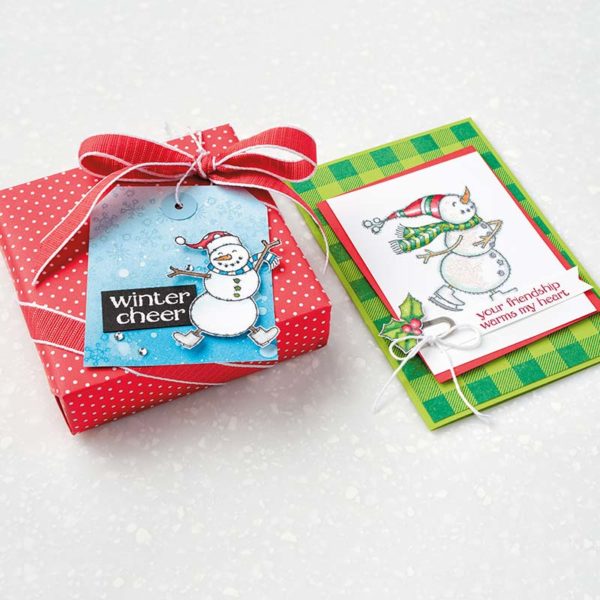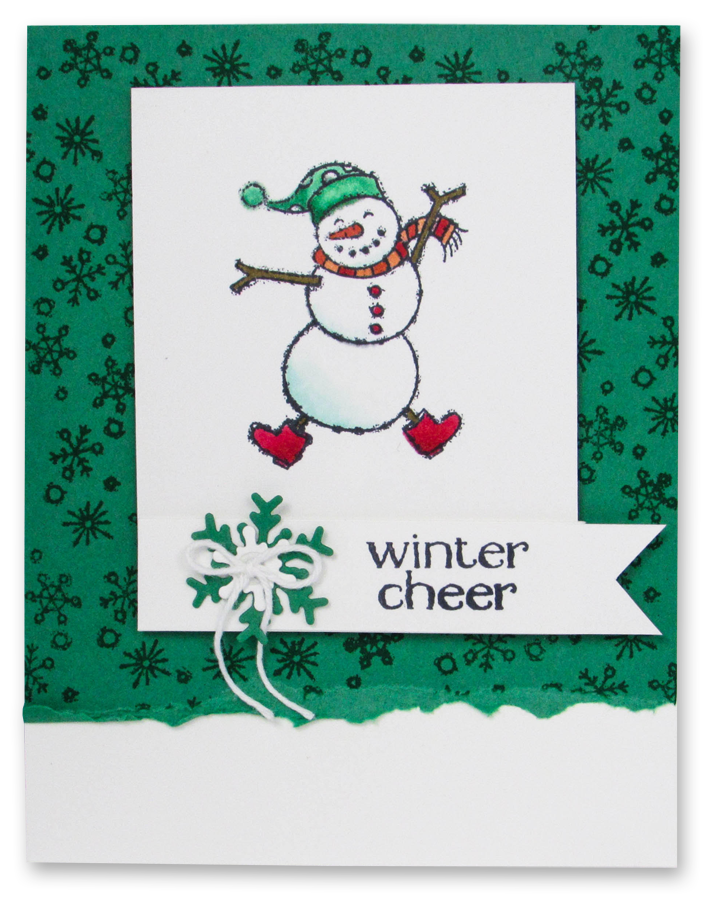
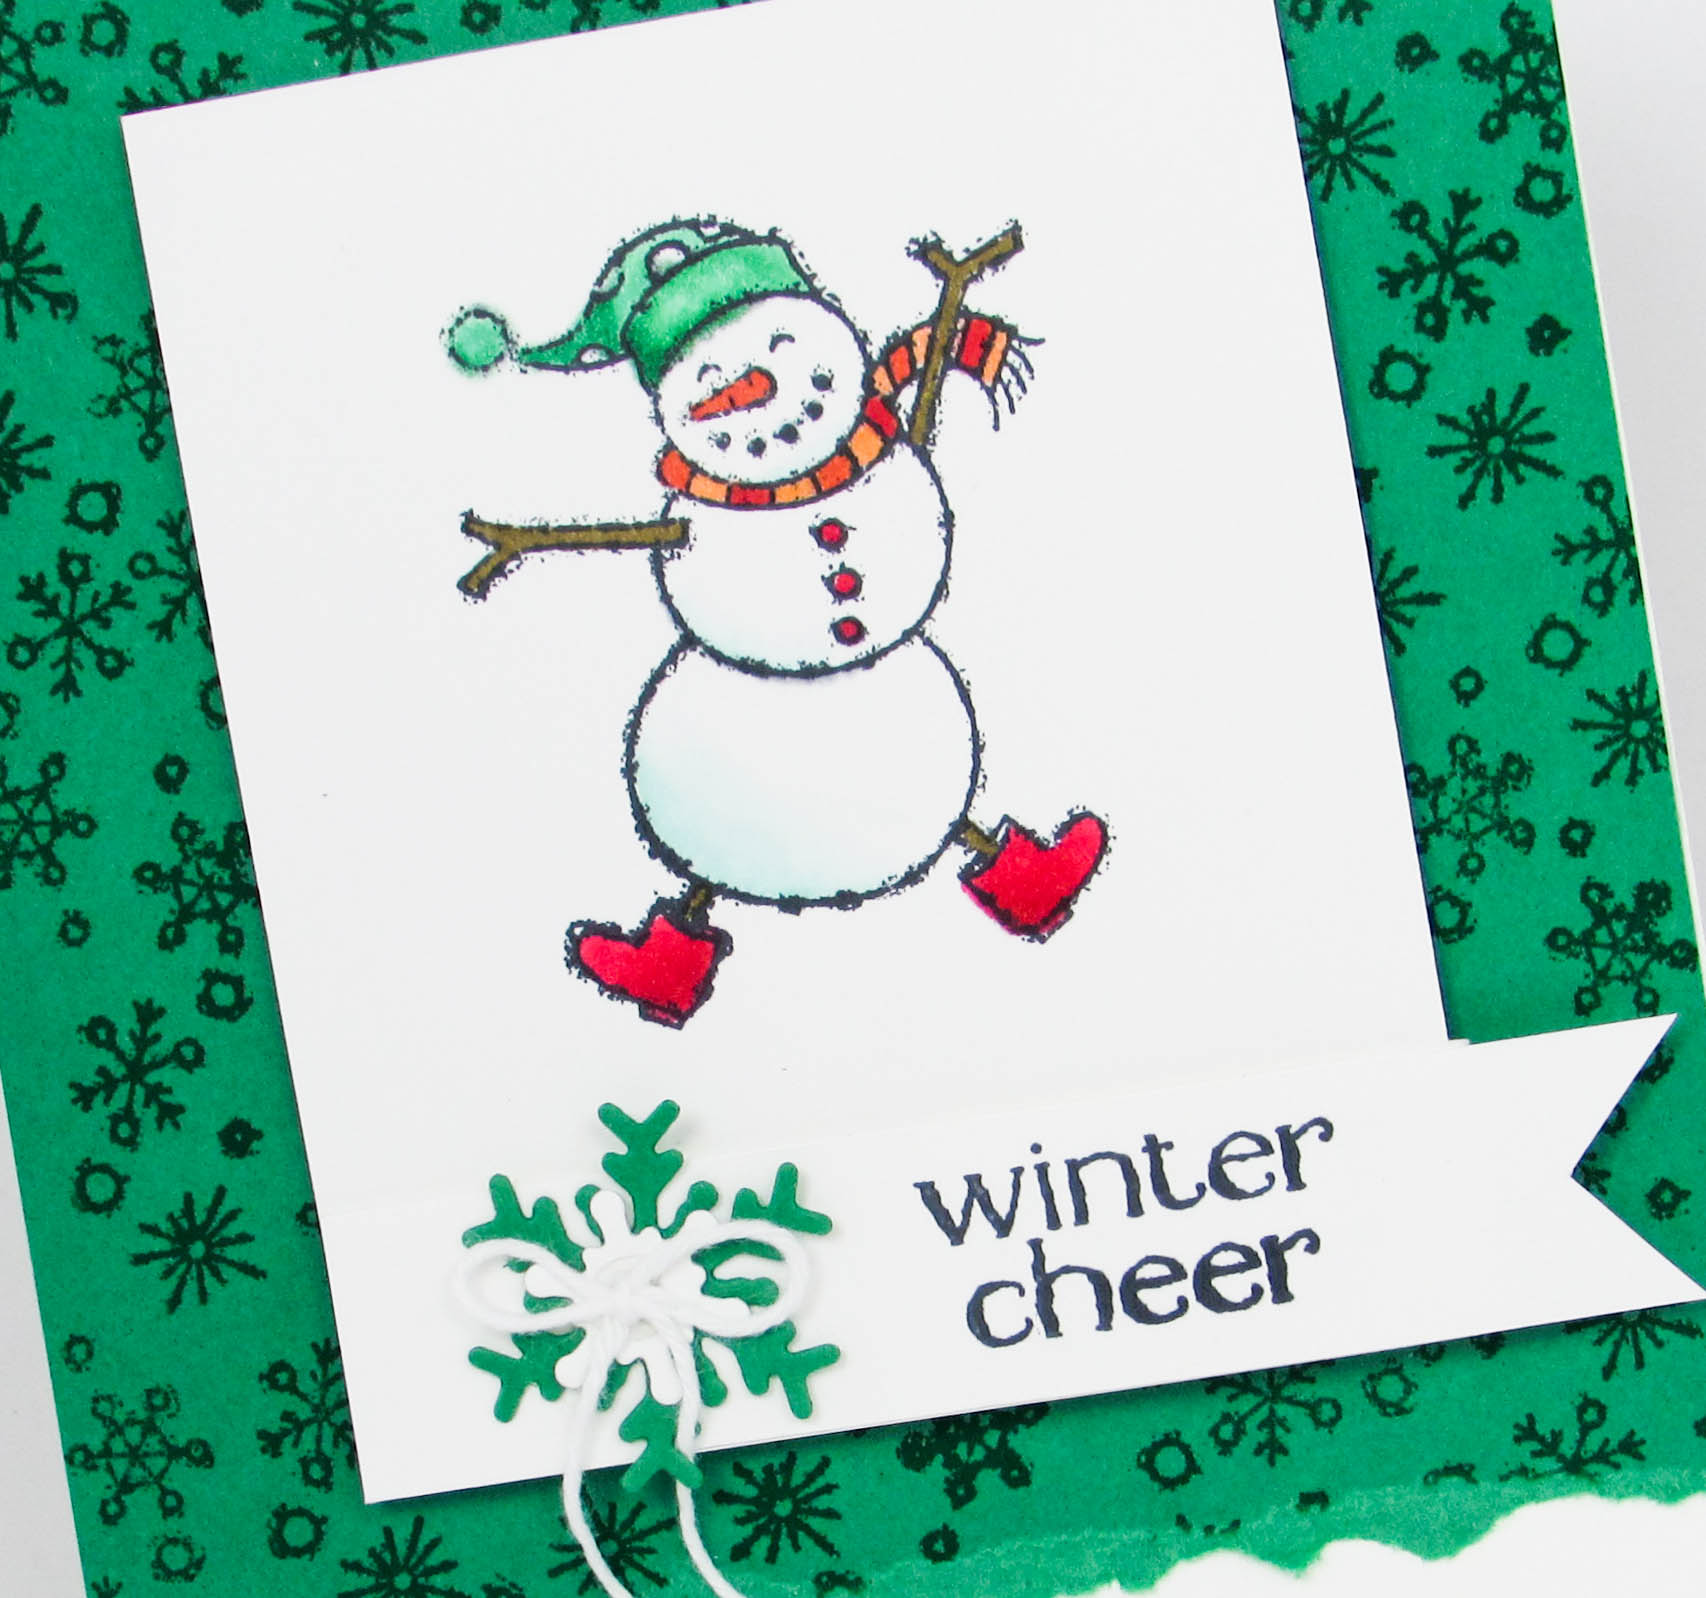
Spirited Snowman
1. Cut a 3″ x 3-1/2″ piece of Whisper White Cardstock. This piece is for your snowman.
2. Stamp you snowman in Tuxedo Black Ink.
3. Use the following Stampin’ Blends to color your snowman.
4. Add a stampin’ dimensional to each corner of your image and center and adhere it to your card base.
5. Cut a 3-1/2″ x 3/4″ piece of Whisper White strip. Use yours snips to cut a banner in one end.
6. Stamp your sentiment in Tuxedo Black Ink.
7. Use liquid adhesive to adhere your banner just under your snowman.
8. Next , die cut a Whisper White and Call Me Clover Snowflake snowflakes using the Blizzard Thinlits Dies.
9. Use mini glue dots to layer and adhere your snowflakes.
10. Tie a decorative bow using the Whisper White Bakers Twine. Adhere it to the center of your snowflakes using a mini glue dot.
Card Base & Background
1. Cut a 4-1/4″ x 11″ piece of Whisper White Cardstock and fold it in half. This is your card base.
2. Cut a 4-1/4″ x 4-3/4″ piece of Call Me Clover Cardstock. This piece is for your stamped background.
3. Use Call Me Clover Ink to randomly stamp your snowflake background.
4. Hand tear the bottom edge of the 4-1/4″ edge. This piece should finish close to 4-1/4″ x 4-1/2″.
5. Center and adhere your Call Me Clover Cardstock to the top of your card base.
Stampin’ Blends Include:
Hat – Call Me Clover
Arms – Soft Suede
Scarf- Real Red & Pumpkin Pie
Buttons – Real Red
Nose – Pumpkin Pie
Boots – Real Red
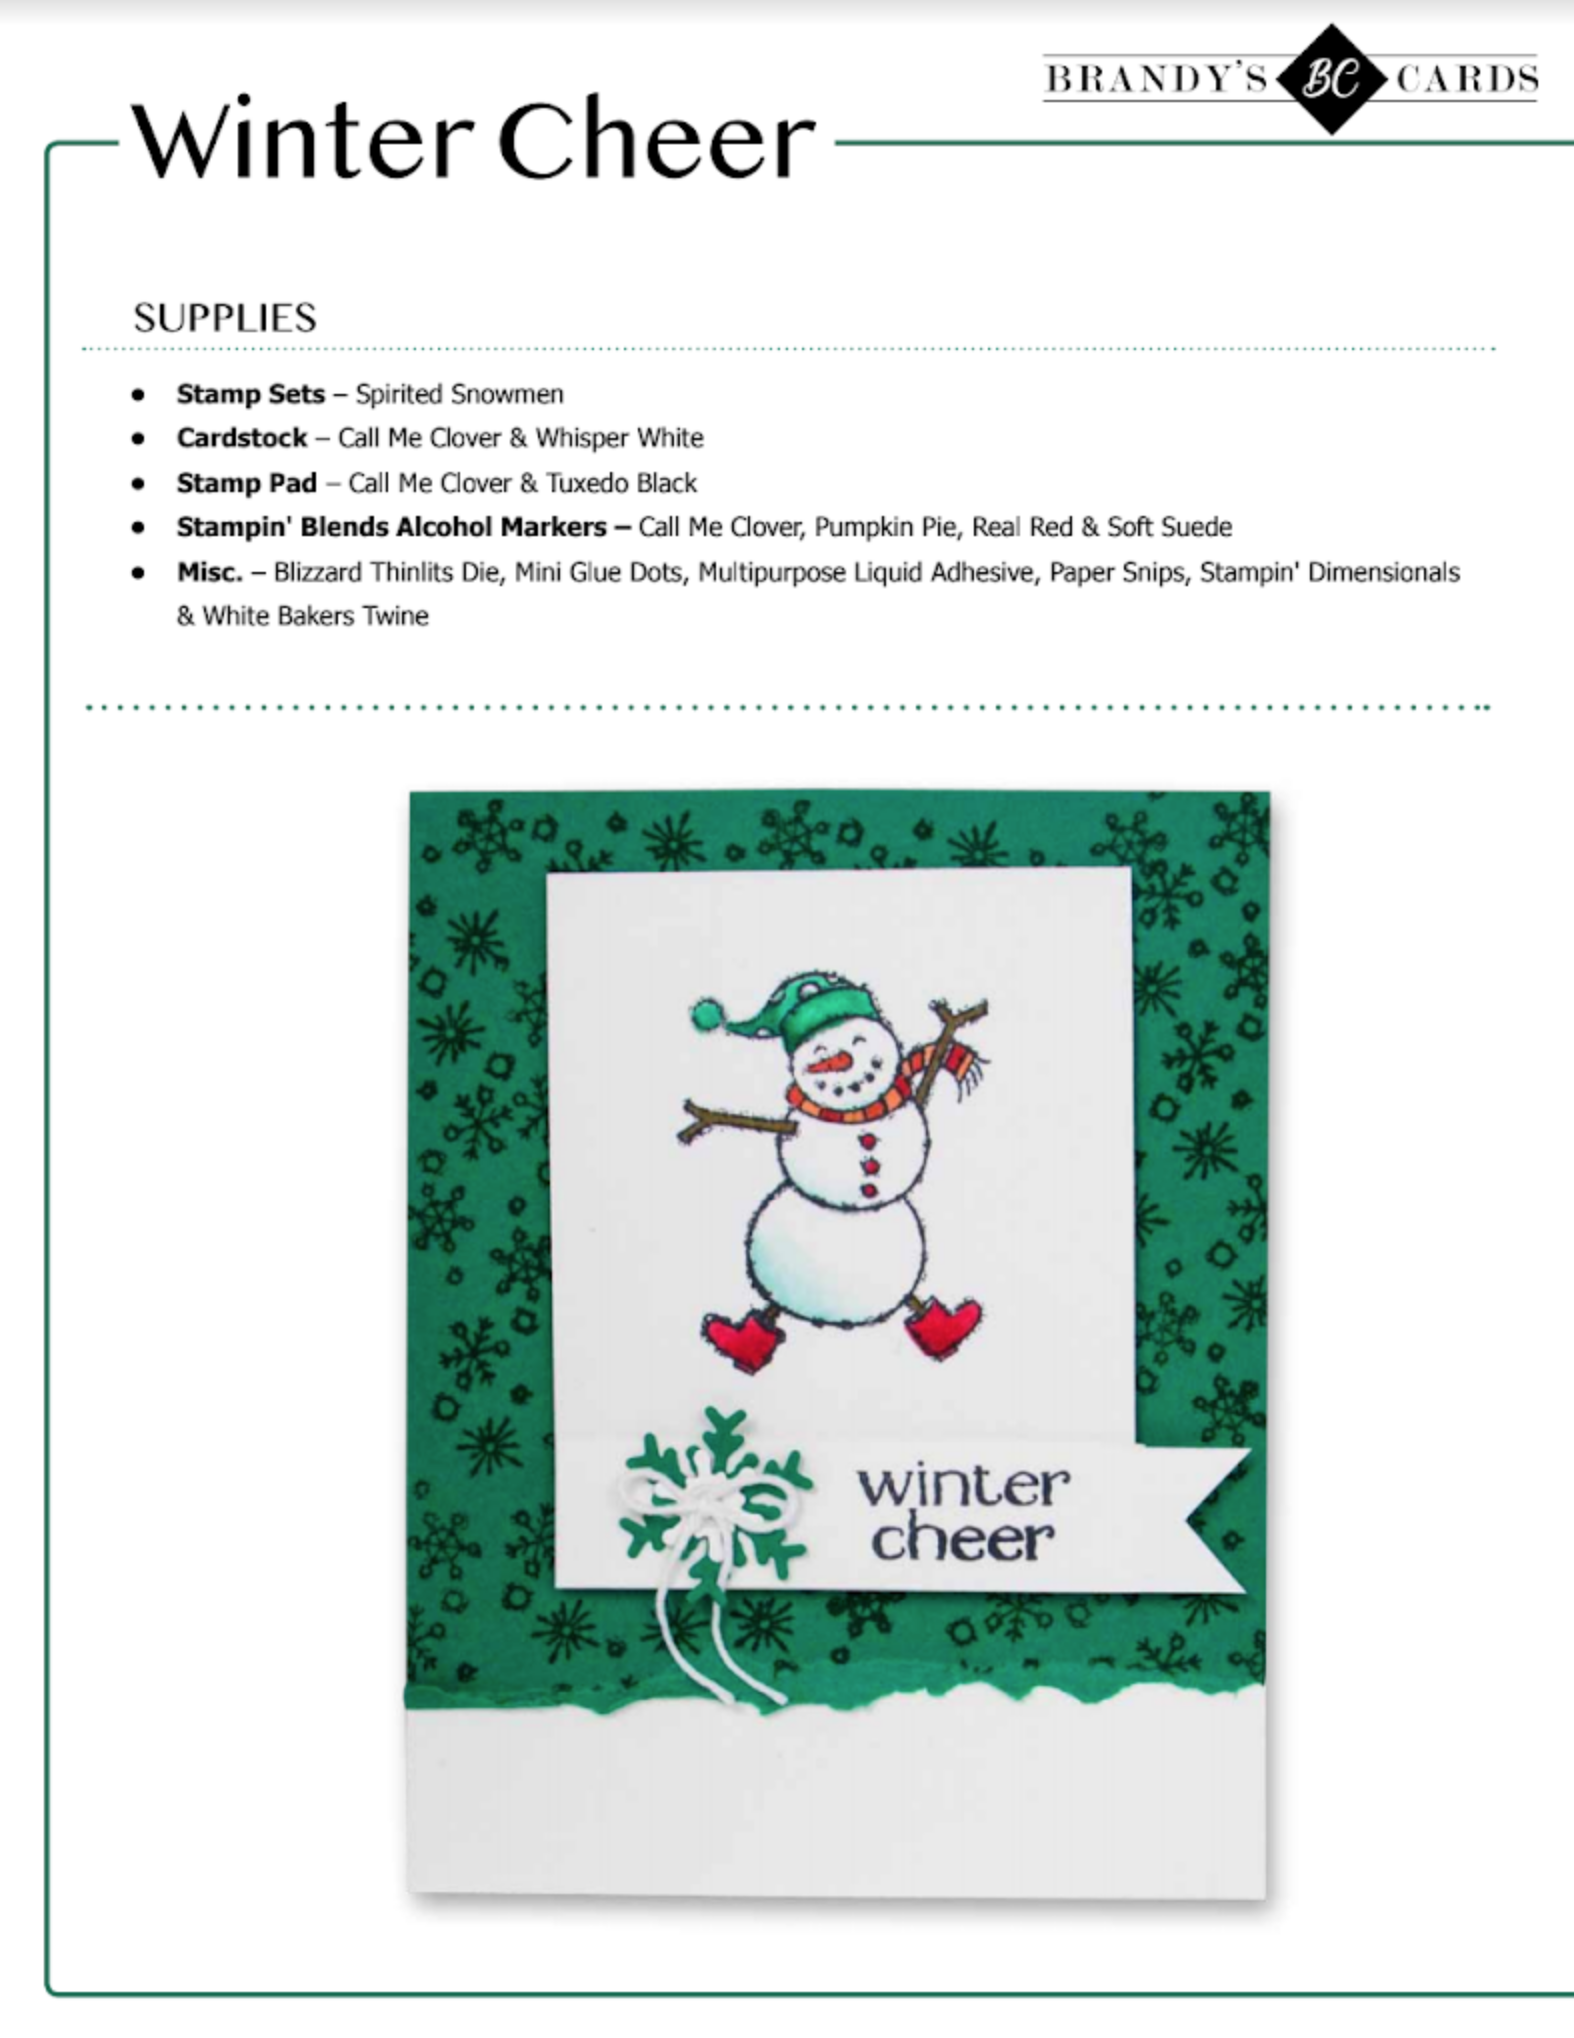
Stampin’ Up! Supplies
STAMPS – Spirited Snowmen
PAPER – Whisper White, Call Me Clover
INK – Call Me Clover, Tuxedo Black
OTHER – Call Me Clover Blends, Soft Suede Blends, Real Red Blends, Pumpkin Pie Blends, Blizzard Thinlits Die, White Bakers Twine, Stampin’ Dimensionals, Mini Glue Dots, Multipurpose Liquid Adhesive
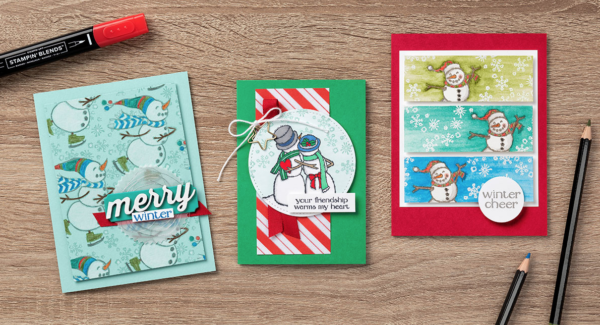
More Inspiration