
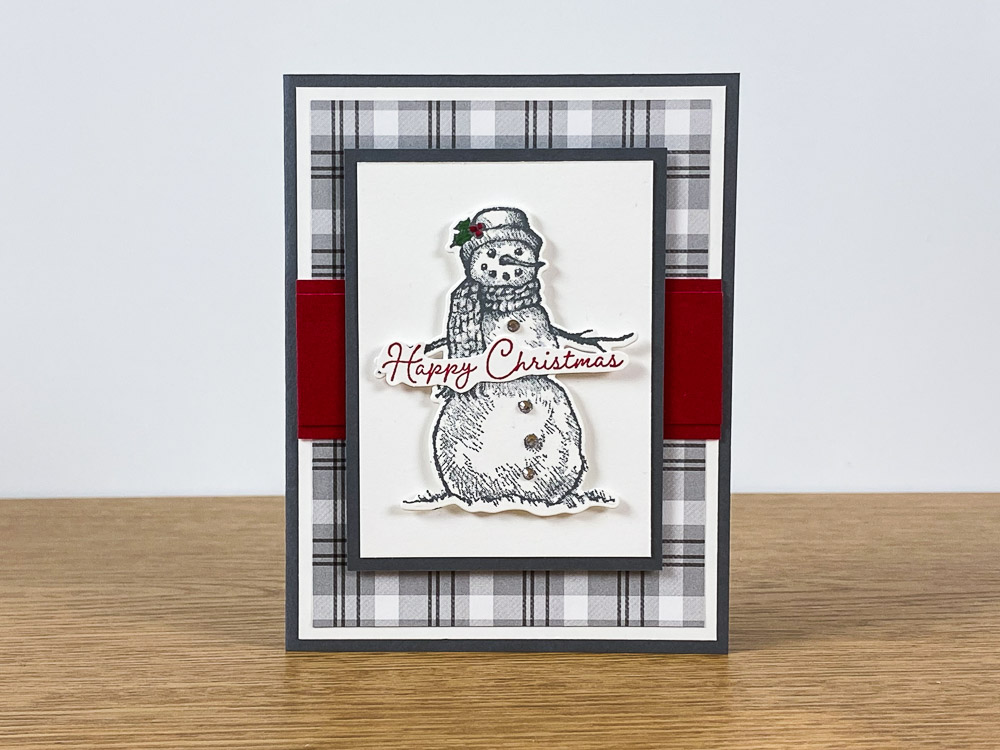
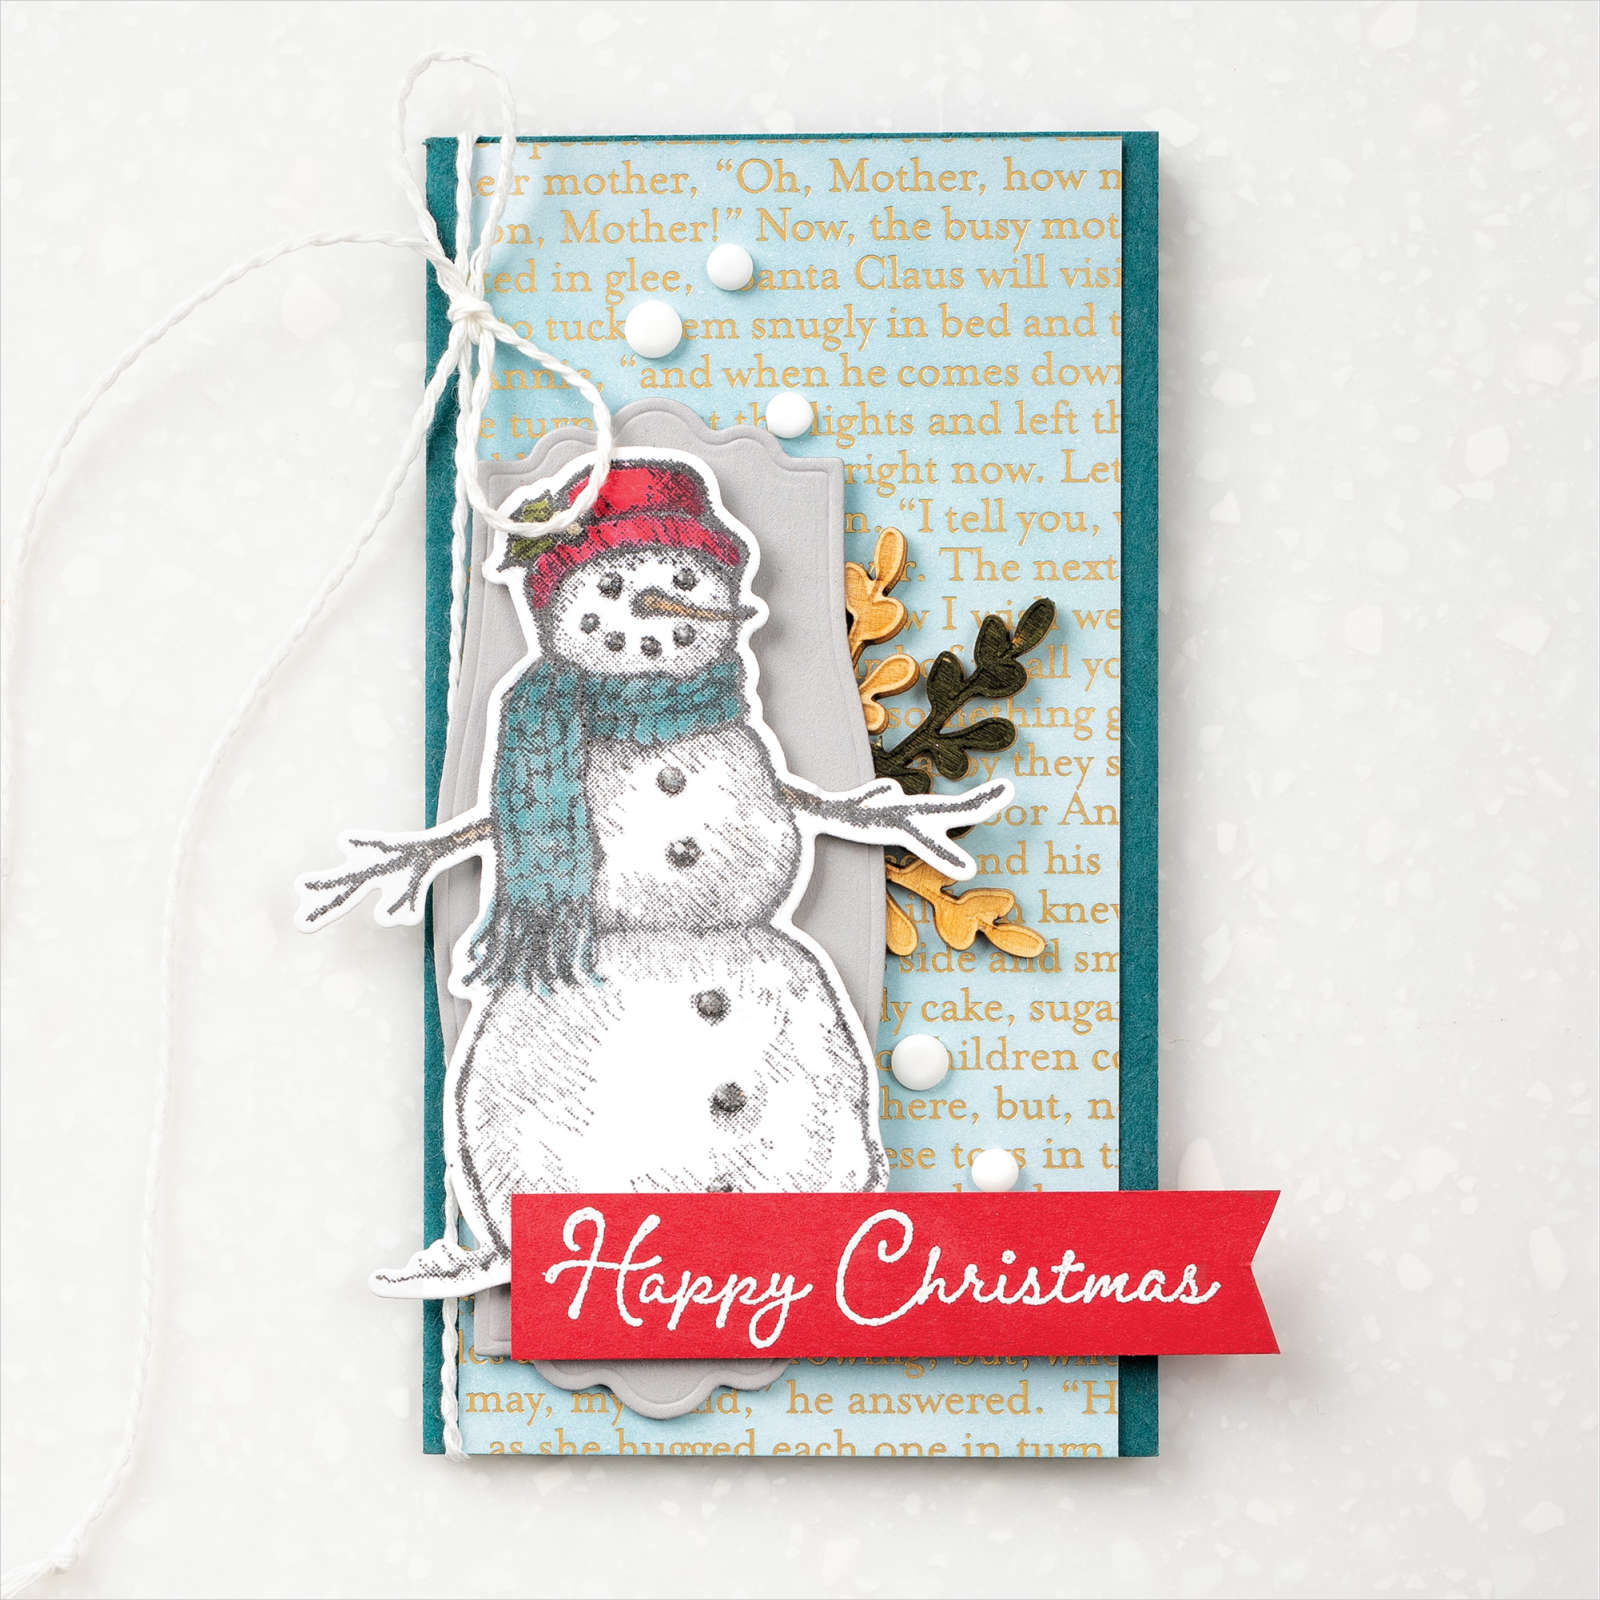
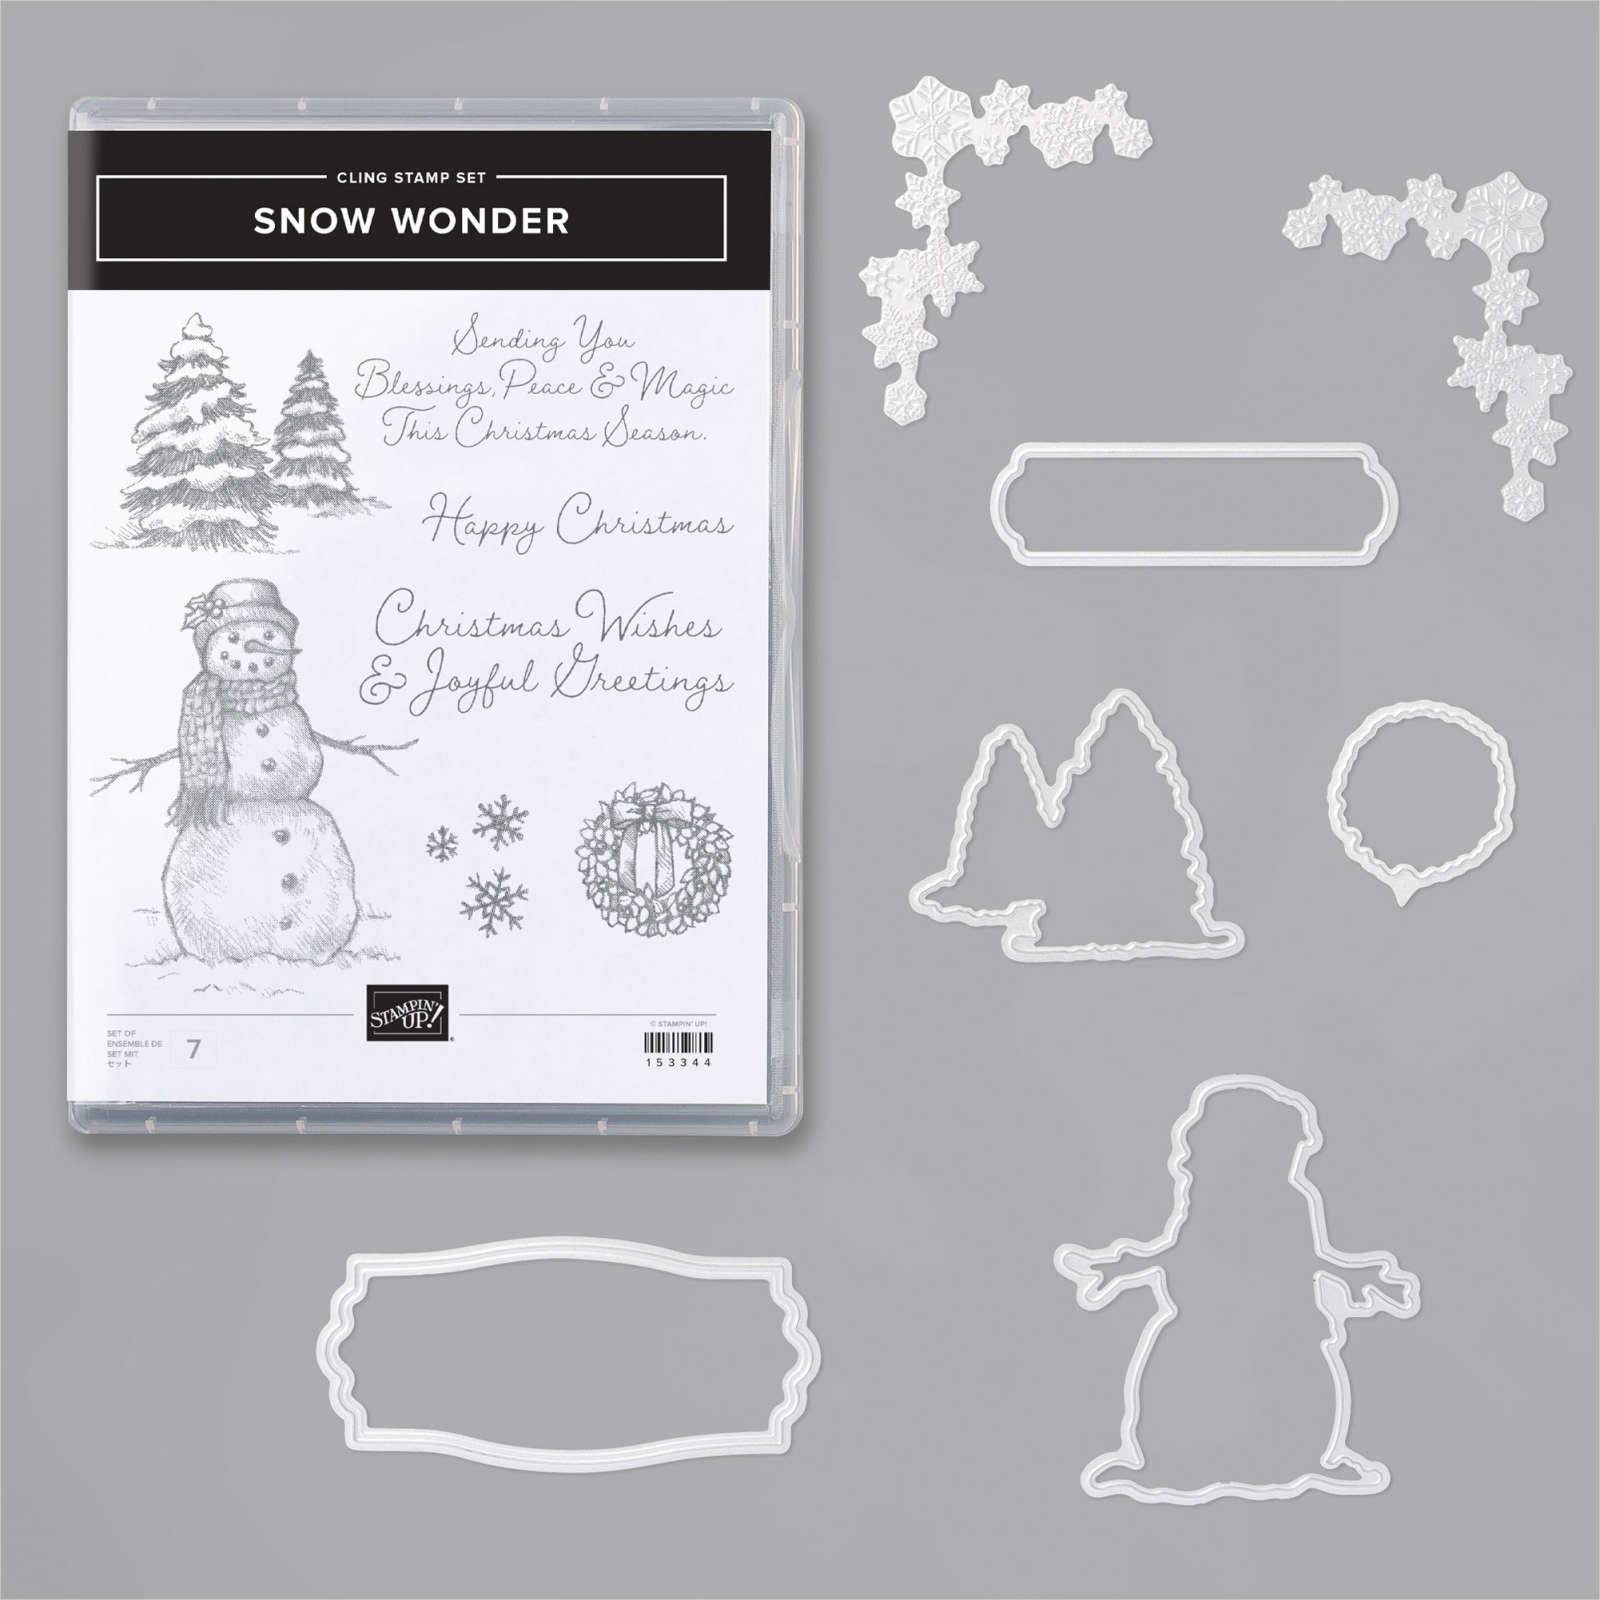
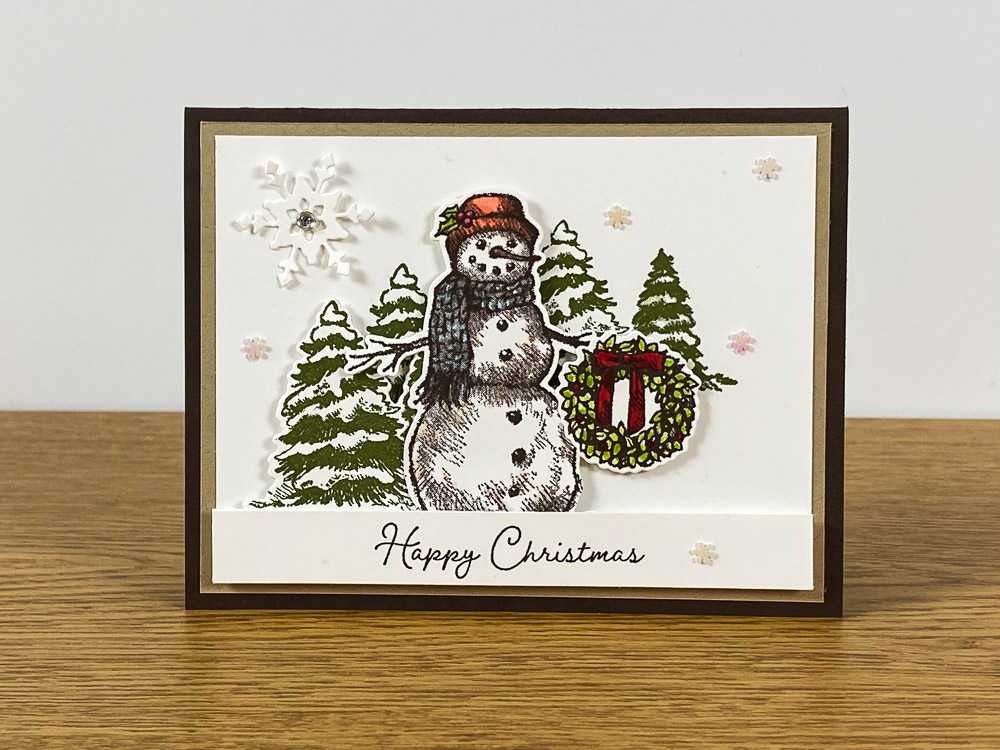
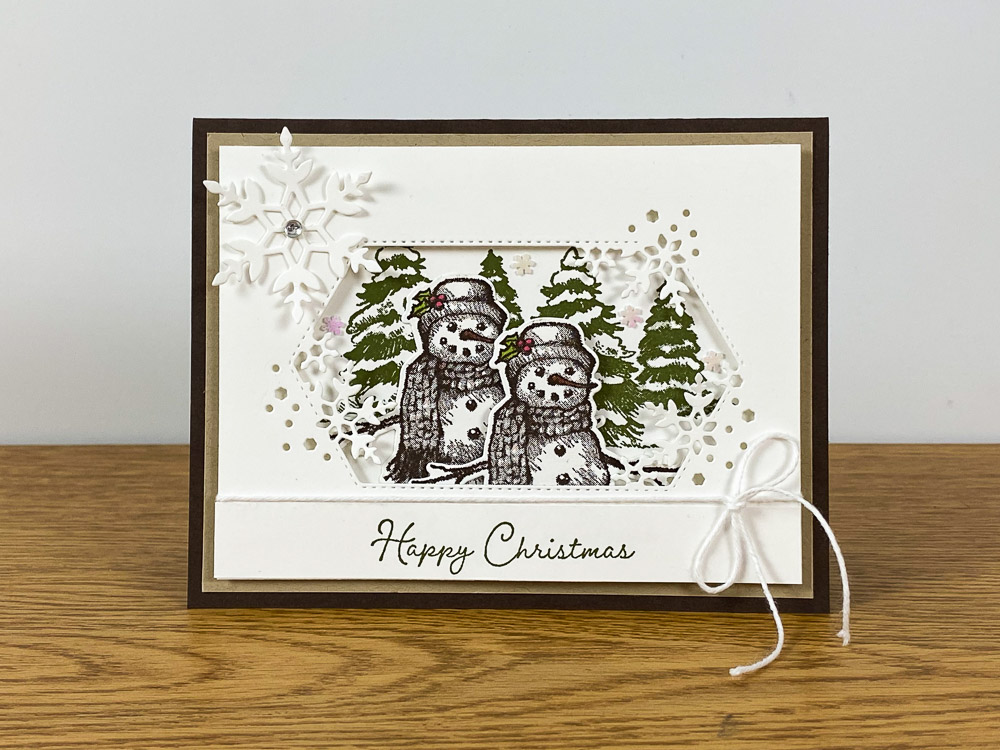
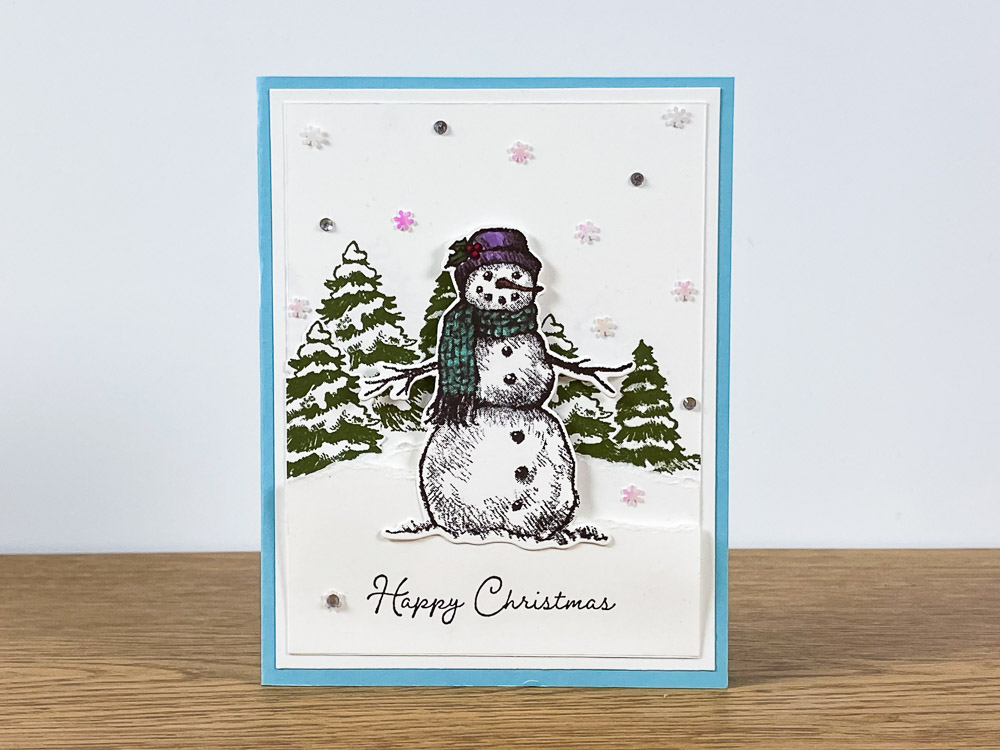
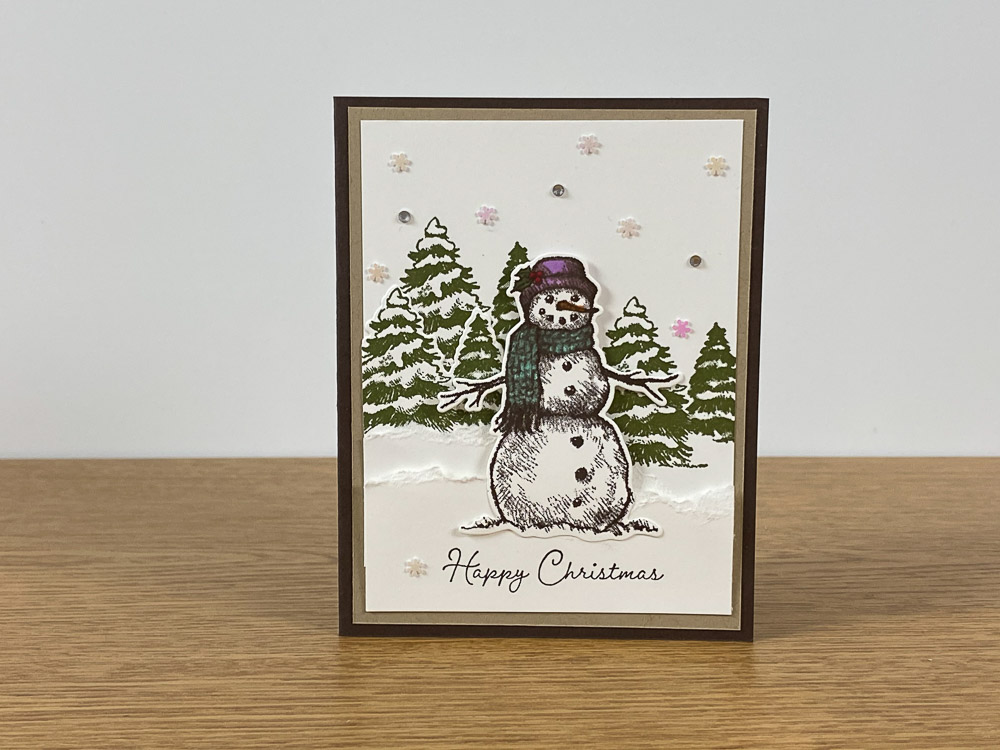
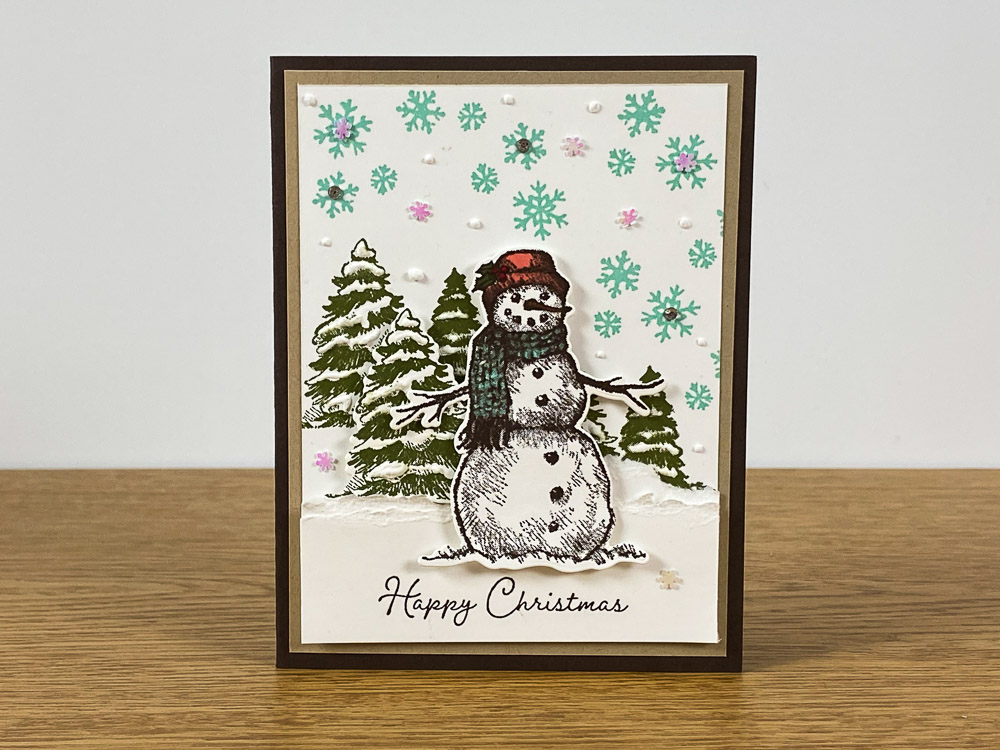
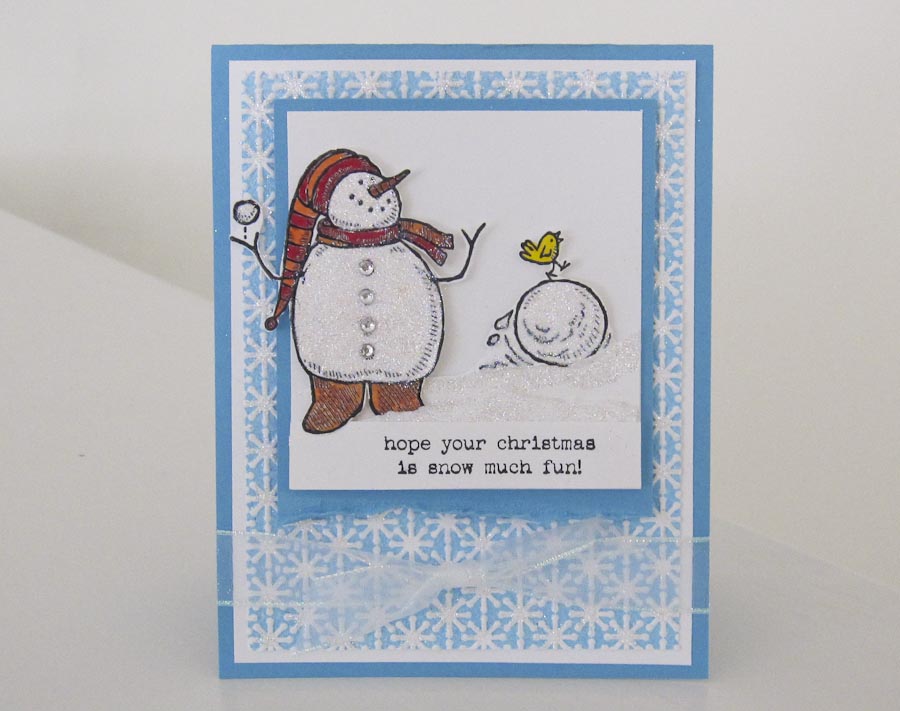
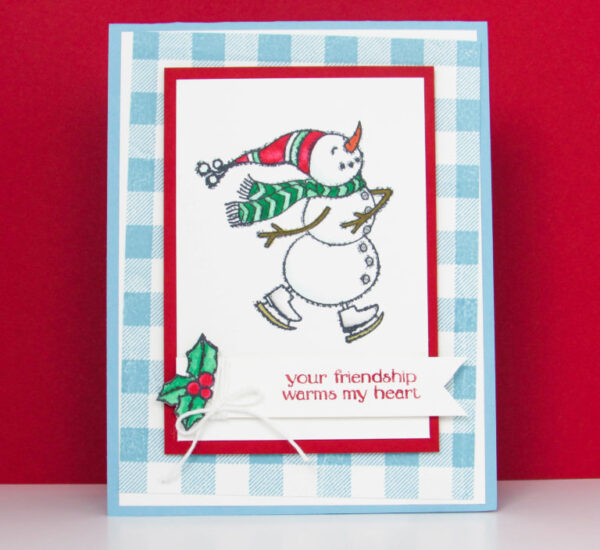
Today’s card features the Stampin’ Up! Snow Wonder Stamp Set and this adorable vintage snowman.
Oh, this set is so easy to use. The snowman looks great stamped in one color or you can bring him to life by adding color to his hat, scarf and nose. Don’t forget to add a few embellishments too. My favorite is the adhesive back snowflakes and jewel rhinestones. I love them!!
Did you notice the beautiful Red Velvet Paper behind the snowman? Our Stampin’ Up! Velvet Papers are fabulous and they add a fun dimension and texture. It’s really nice!!
Thank you for stopping by. I hope you enjoy my video tutorial. Let me know if you have any questions or if you need a set of catalogs. I’d love to help and would appreciate the opportunity to earn your business. Happy Stamping!! Brandy
1. Cut a 5-1/2″ x 8-1/2″ piece of Basic Gray Cardstock and fold it in half. This is your card base.
2. Cut a 4″ x 5-1/4″ piece of Whisper White Cardstok. Center and adhere this piece to the top of your card.
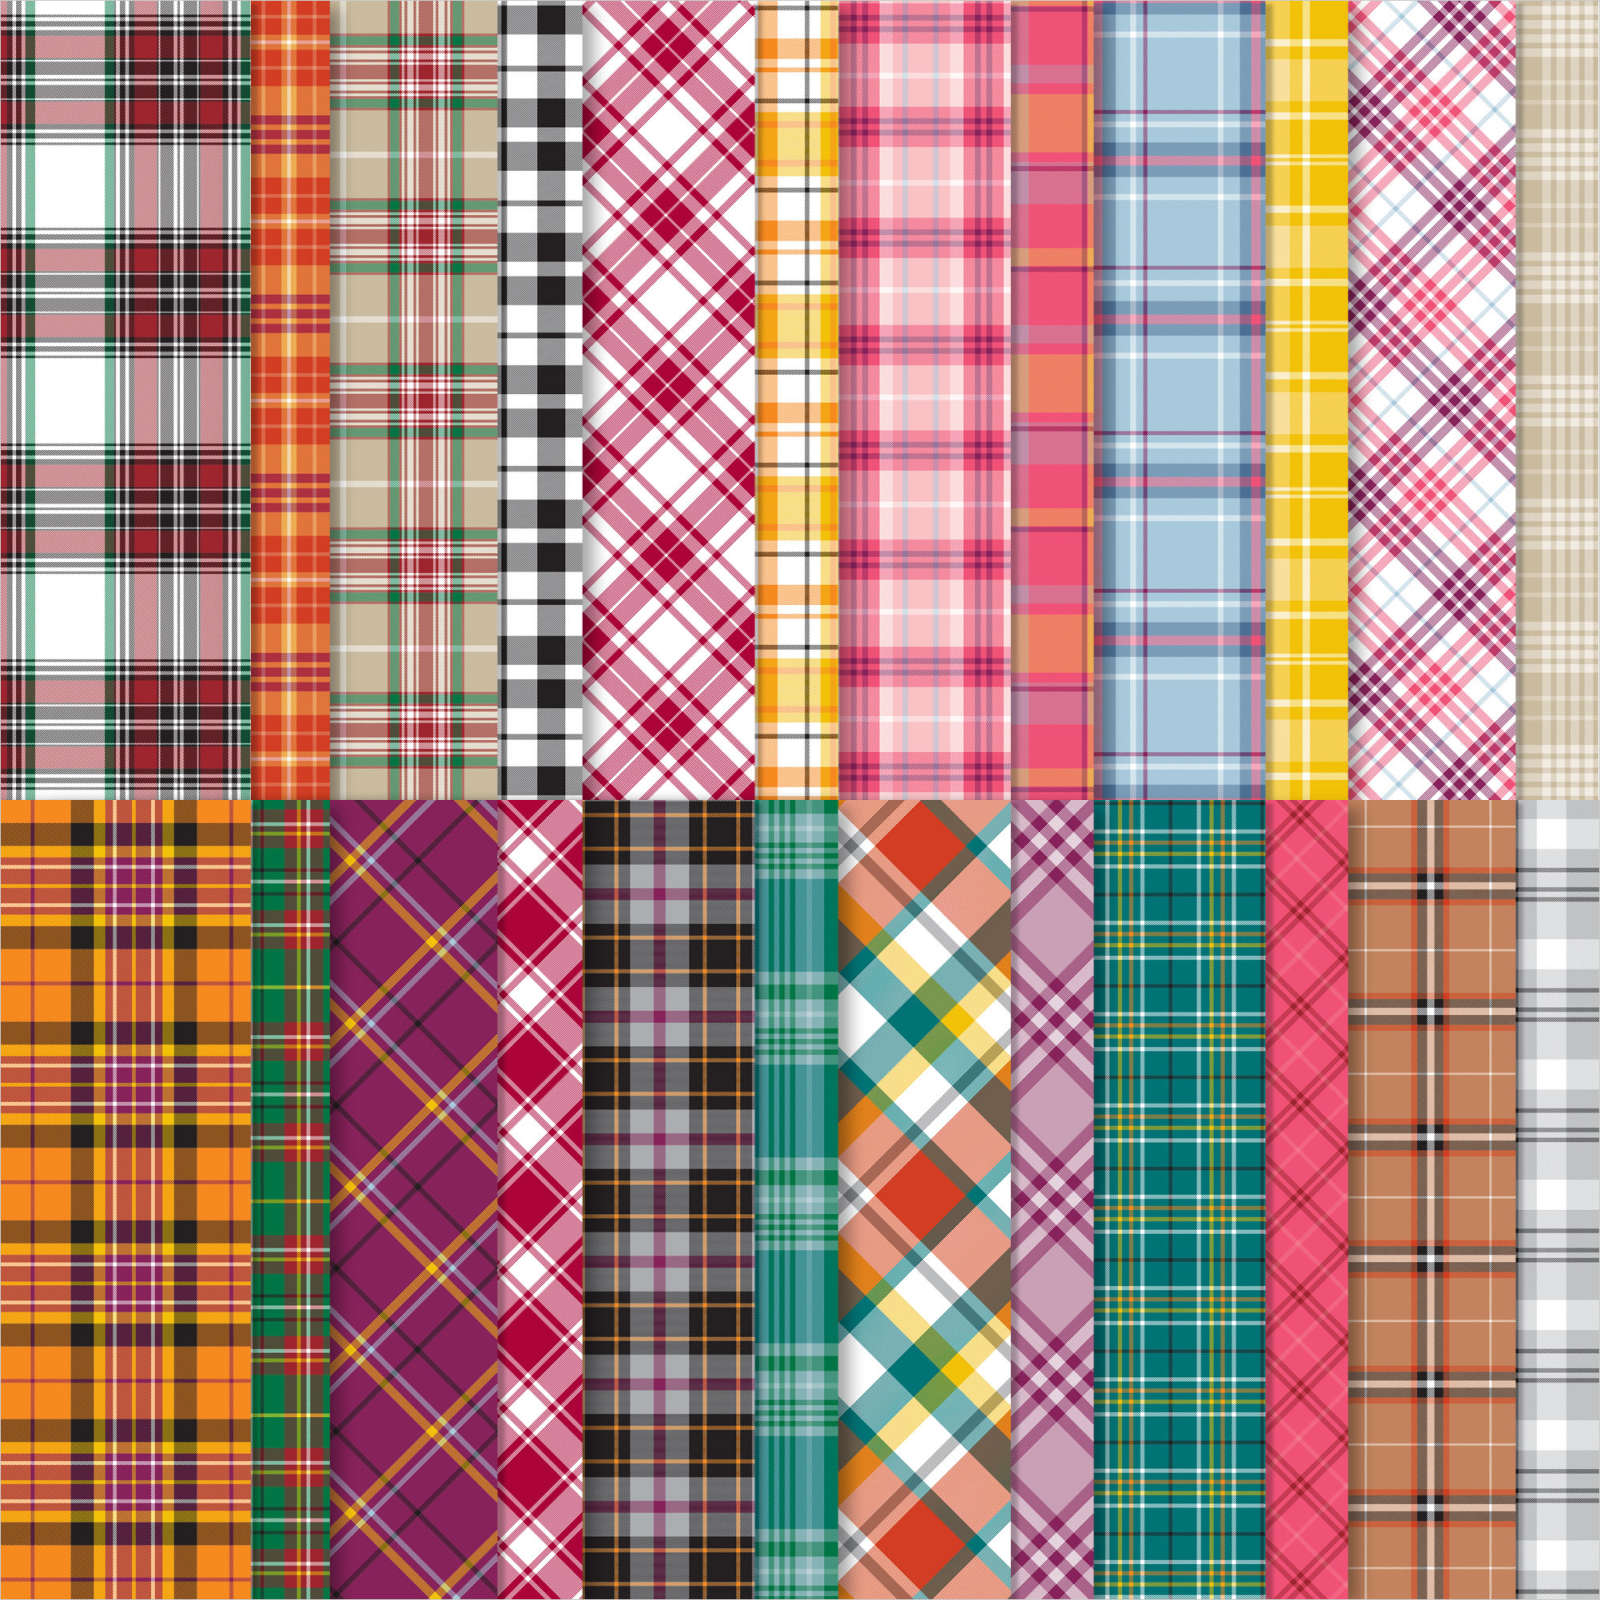
3. Cut a 3-3/4″ x 5″ piece of Plaid Tidings Designer Series Paper. Center and adhere this piece to the top of your card.
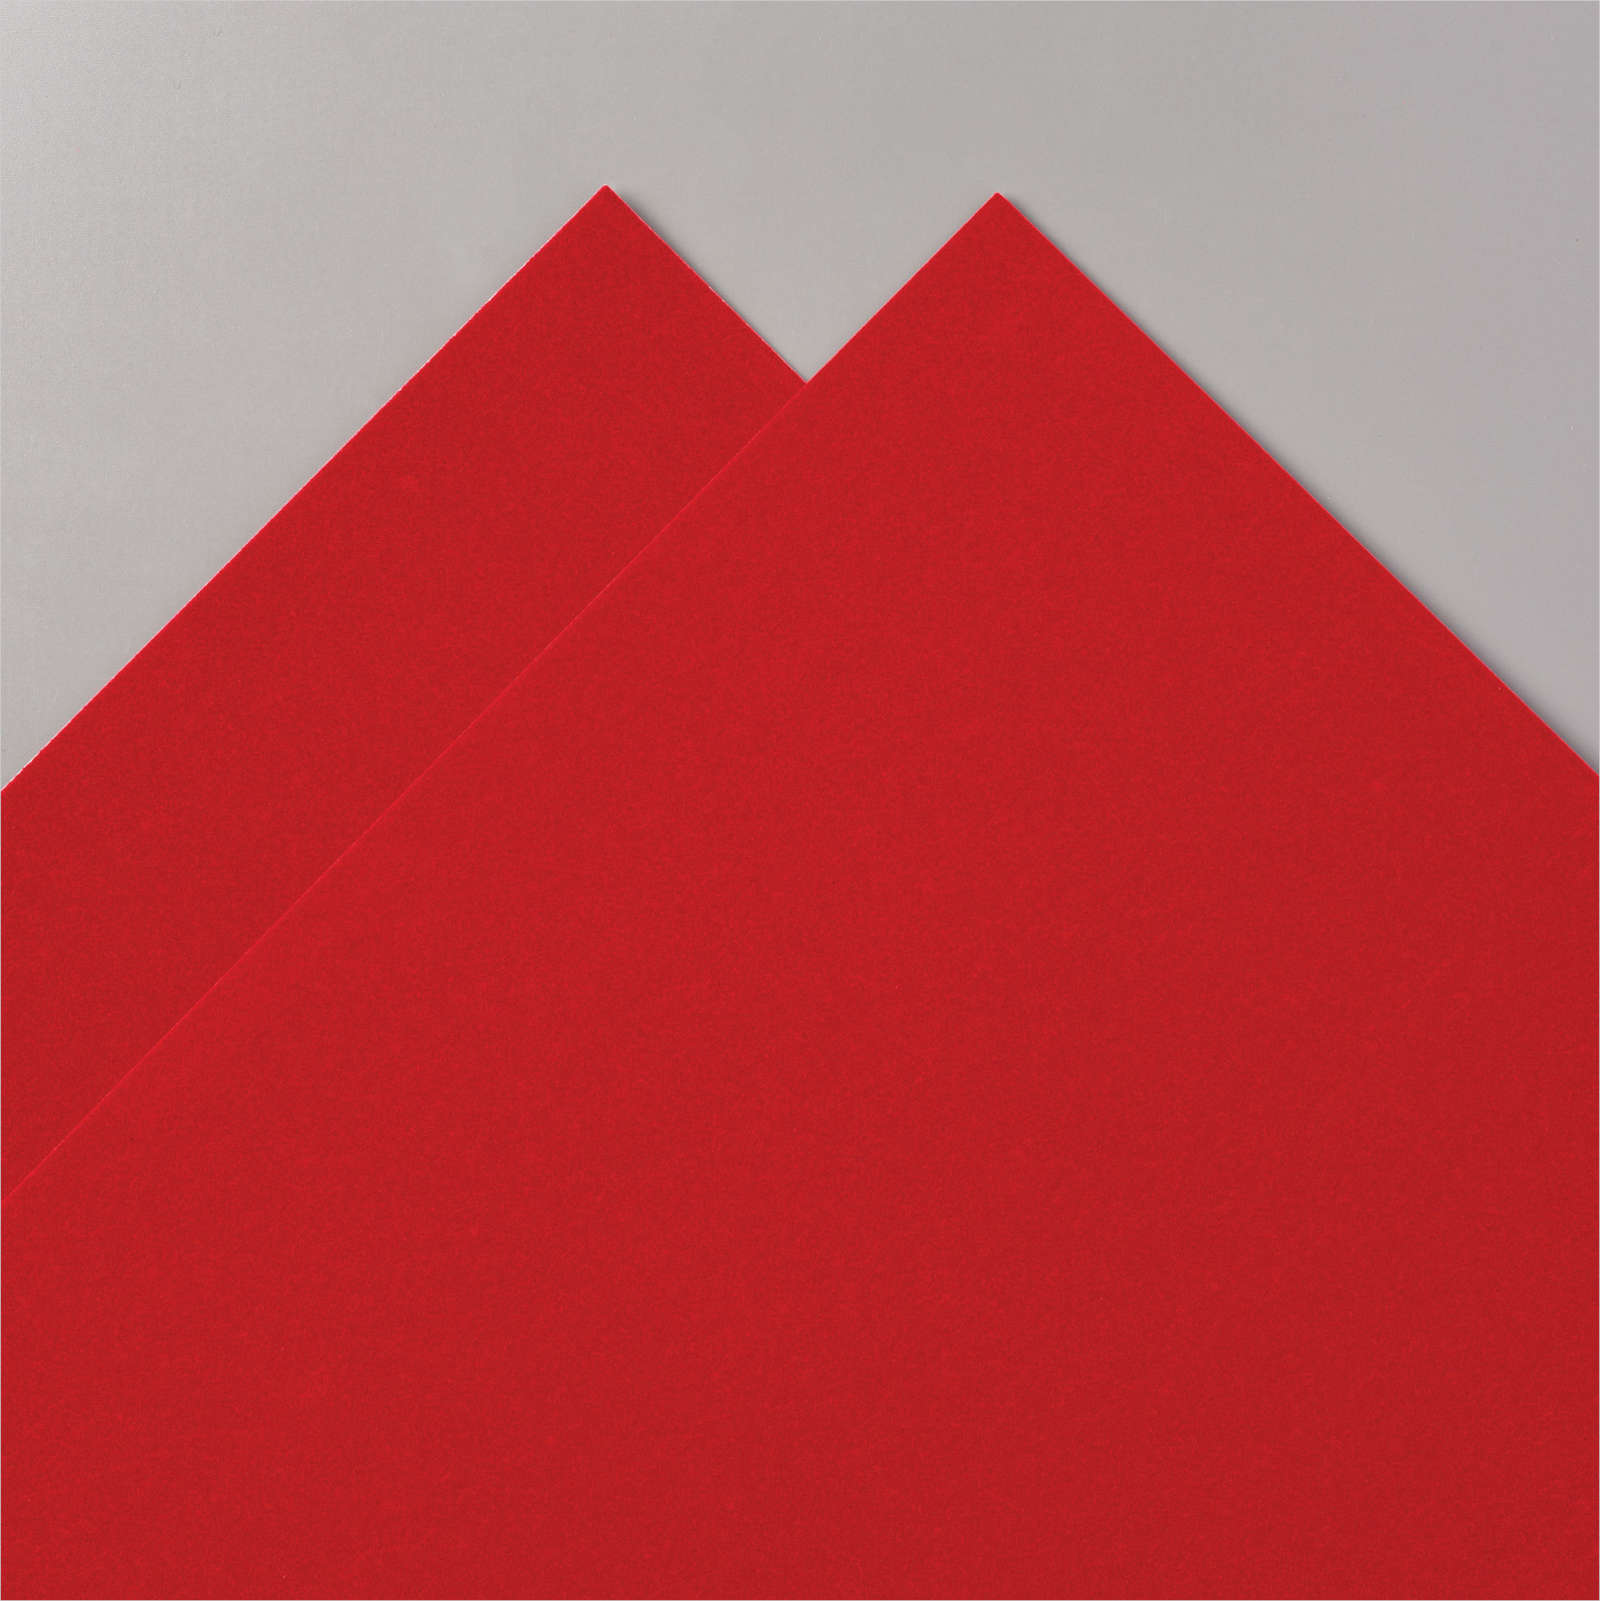
4. Cut a 4″ x 1-1/2″ piece of Stampin’ Up! Red Velvet Paper.
5. Cut a 4″ x 1-1/4″ piece of Red Velvet Paper. Center and adhere this piece to the 4″ x 1-1/2″ Red Velvet Paper.
6. Adhere the Red Velvet Paper to the center of your card.
7. Cut a 3″ x 4″ piece of Basic Gray Cardstock.
8. Cut a 2-3/4″ x 3-3/4″ piece of Whisper White Cardstock. Center and adhere this piece to the top of the Basic Gray mat.
9. Add dimensionals to the back of the Basic Gray Cardstock and adhere it to the top of your card.
10. Using the snowman from the Stampin’ Up! Snow Wonder Stamp Set. Stamp the snowman in Basic Gray on scrap paper.
11. Die Cut your Snow Wonder Snowman using the Stampin’ Up! Snow Time Dies.
12. Color the holly and berries on the snowman’s hat in Granny Apple Green and Real Red.
13. Add dimensionals behind the snowman and adhere him to the top of your card.
14. Stamp “Happy Christmas” in Real Red and hand cut it out.
15. Add your sentiment to your snowman.
16. Embellish your snowman with a few Jewel Rhinestones.
17. If you’d like to finish the inside of your card you’ll want to cut a 4″ x 5-1/4″ piece of Real Red Cardstock. Then layer on top a 3-3/4″ x 5″ piece of Whisper White Cardstock.


Love your snowman cards can’t wait to get started.
I love snowman anyway
Great you tube tonight. The snowmen in all their different iterations were so fun and festive.