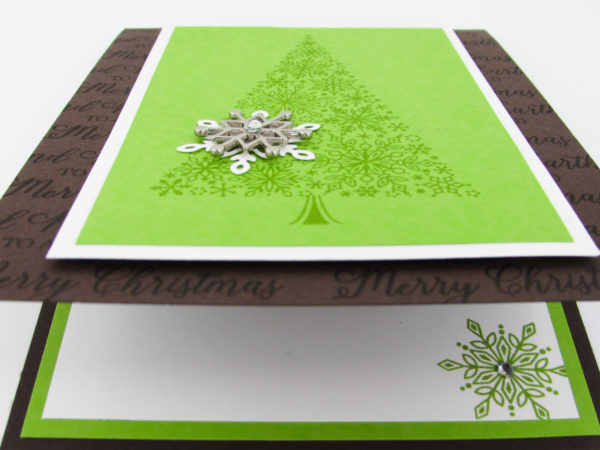
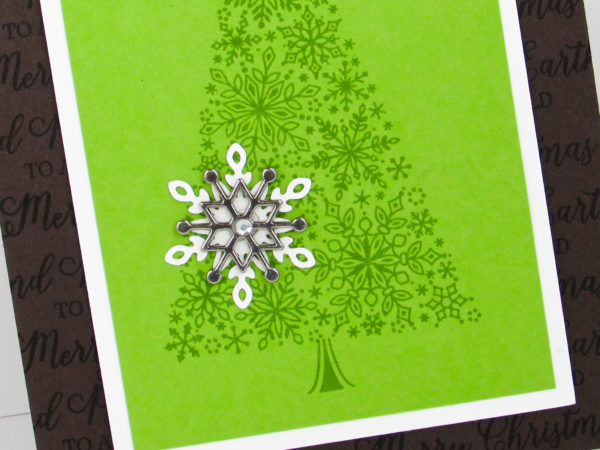
Snowflake & Sentiment
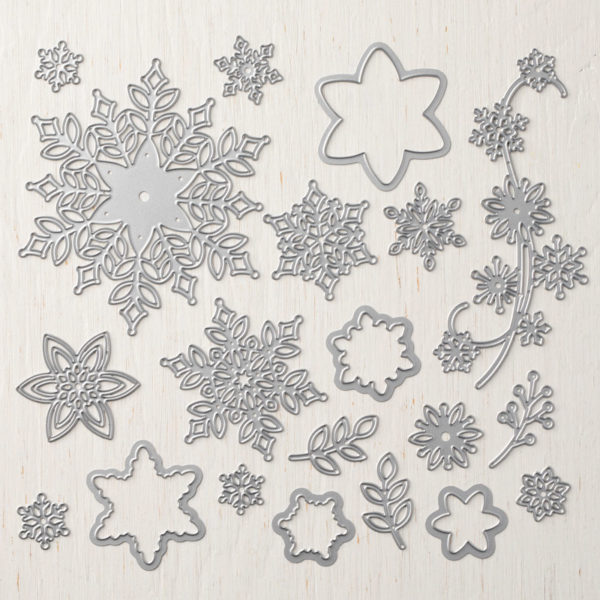
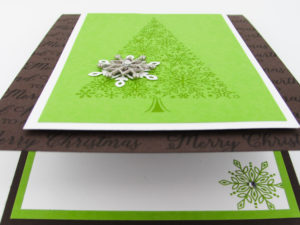
1. Use the Snowfall Thinlits to die cut a Whisper White Snowflake.
2. Use a mini glue dot to add a Snowflake Trinket to the top of the Whisper White Snowflake.
3. Use a mini glue dot to add your layered snowflakes to your tree.
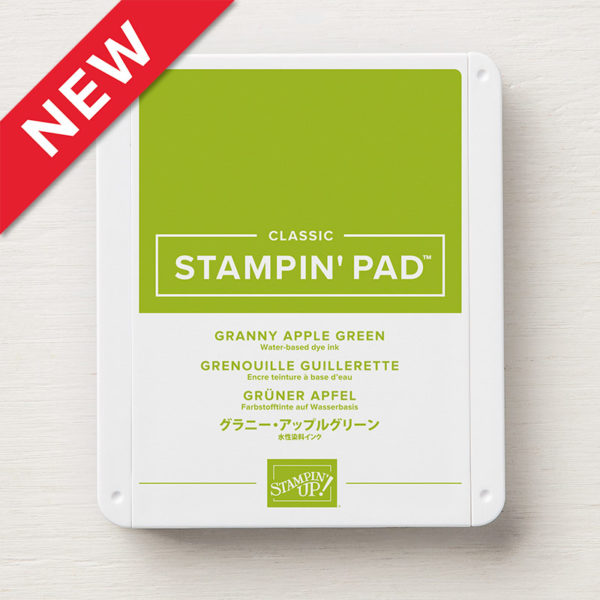
4. Cut a 4″ x 5-1/4″ piece of Granny Apple Green Cardstock. Center and adhere this piece inside your card.
5. Cut a 3-3/4″ x 5″ piece of Whisper White Cardstock. This piece will be your sentiment.
6. In the right hand corner of your insert stamp a snowflake in Granny Apple Green.
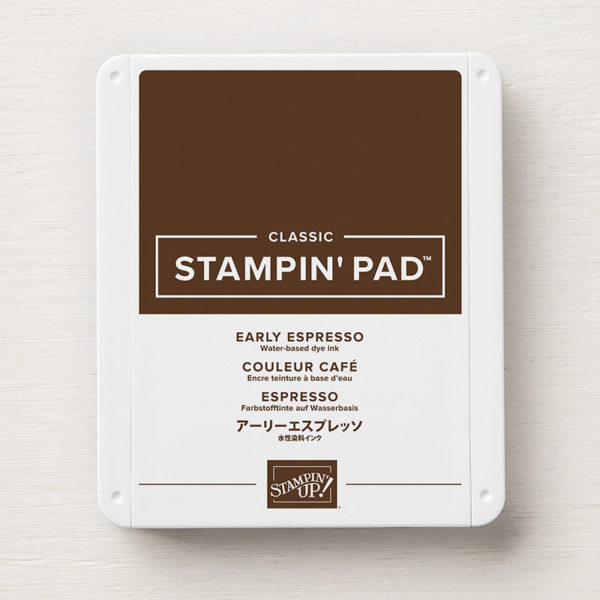
Tip: This is the time to stamp your Merry Christmas Sentiment on the insert using Early Espresso.
7. Center and adhere the stamped insert on top of the Granny Apple Green Cardstock.
8. Embellish the snowflake using a jewel rhinestone.
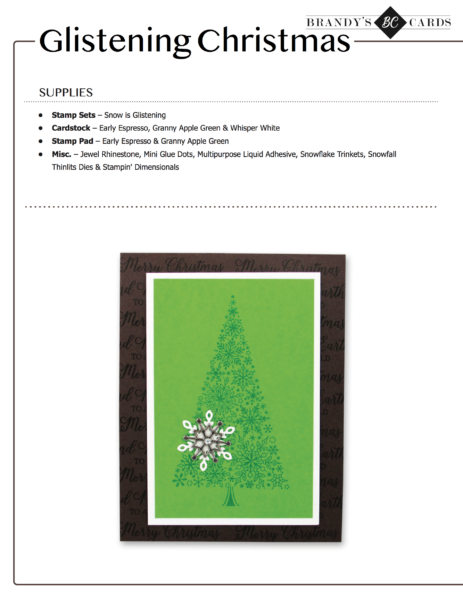
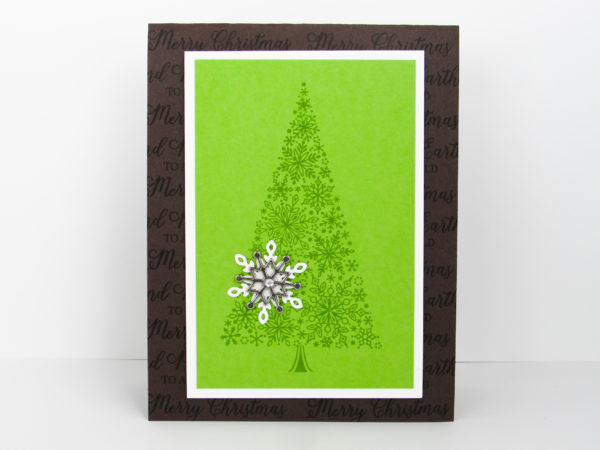
Card Base & Background
1. Cut a 4-1/4″ x 11″ piece of Early Espresso Cardstock and fold it in half. This is your base.
2. Using Early Espresso Ink to Stamp the Merry Christmas sentiment on top of your card base.
Tip: I stamped two columns of the sentiment and tried to end with Merry Christmas showing along the bottom of the card base.
Glistening Tree
1. Cut a 4-3/4″ x 3-1/4″ piece of Whisper White Cardstock. This piece is to mat your image.
2. Cut a 4-1/2″ x 3″ piece of Granny Apple Green Cardstock. This piece is for your image.
3. Stamp your tree and trunk in Granny Apple Green Ink.
Tip: Be sure to stamp your tree and trunk before mounting the image on the Whisper White mat.
4. Once your tree has been stamped center and adhere it to the Whisper White Cardstock.
5. Center and adhere your image to the top of your card base using a few Stampin’ Dimensionals.