
Stampin’ Up! Rise and Shine Stamp Set and start stamping!! Sometimes I can’t sleep because I’m thinking about what I’m going to stamp in the morning. Lol!! And then I start dreaming about a hot cup of coffee while creating.
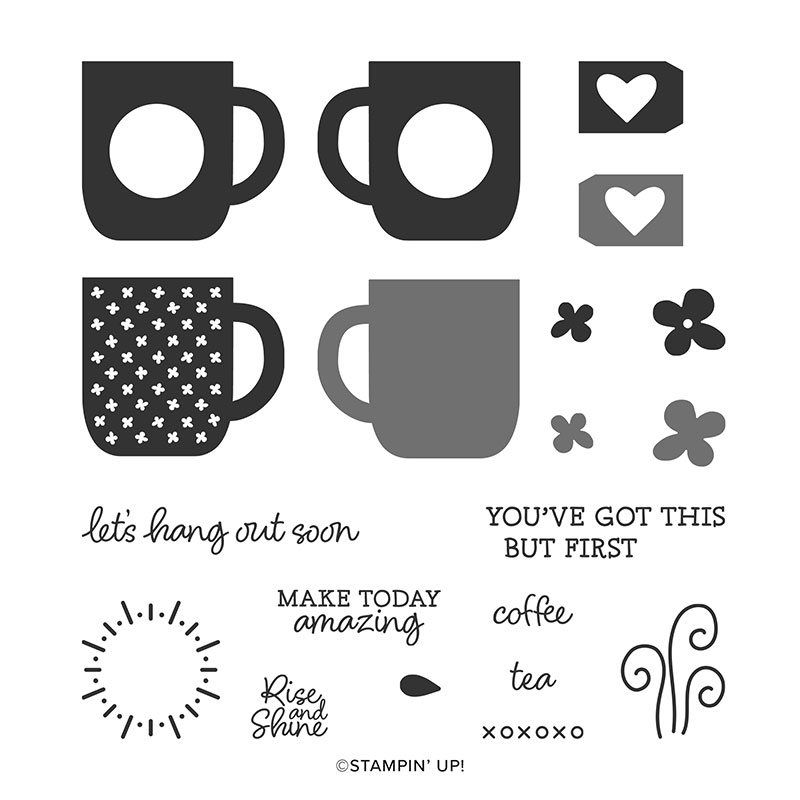
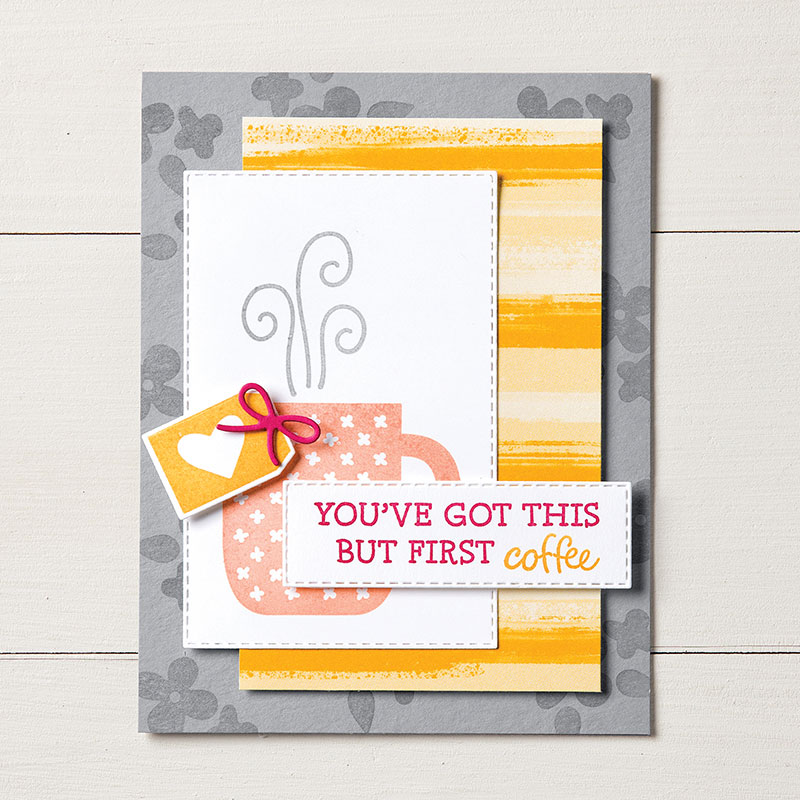
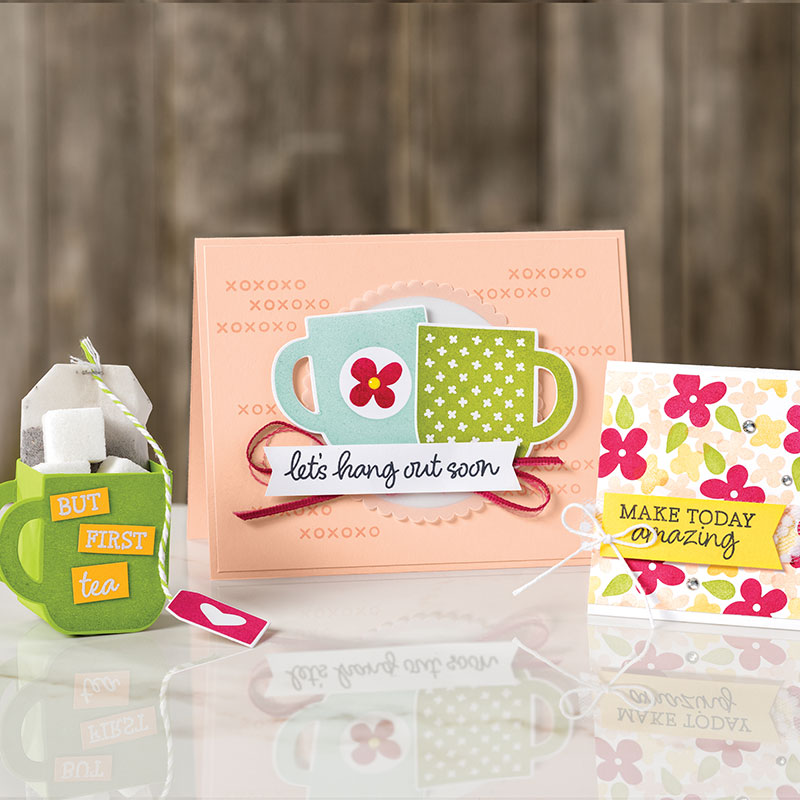
It’s so much fun to use the Stampin’ Up! Rise & Shine Stamp Set to create cards and other projects with hot morning beverages and greetings that are sure to warm anyone’s heart.
This Stampin’ Up Rise and Shine Stamp Set is one of our Reversible Sets, so some of the stamps are two sided with an image on each side of the stamp for more creative options.
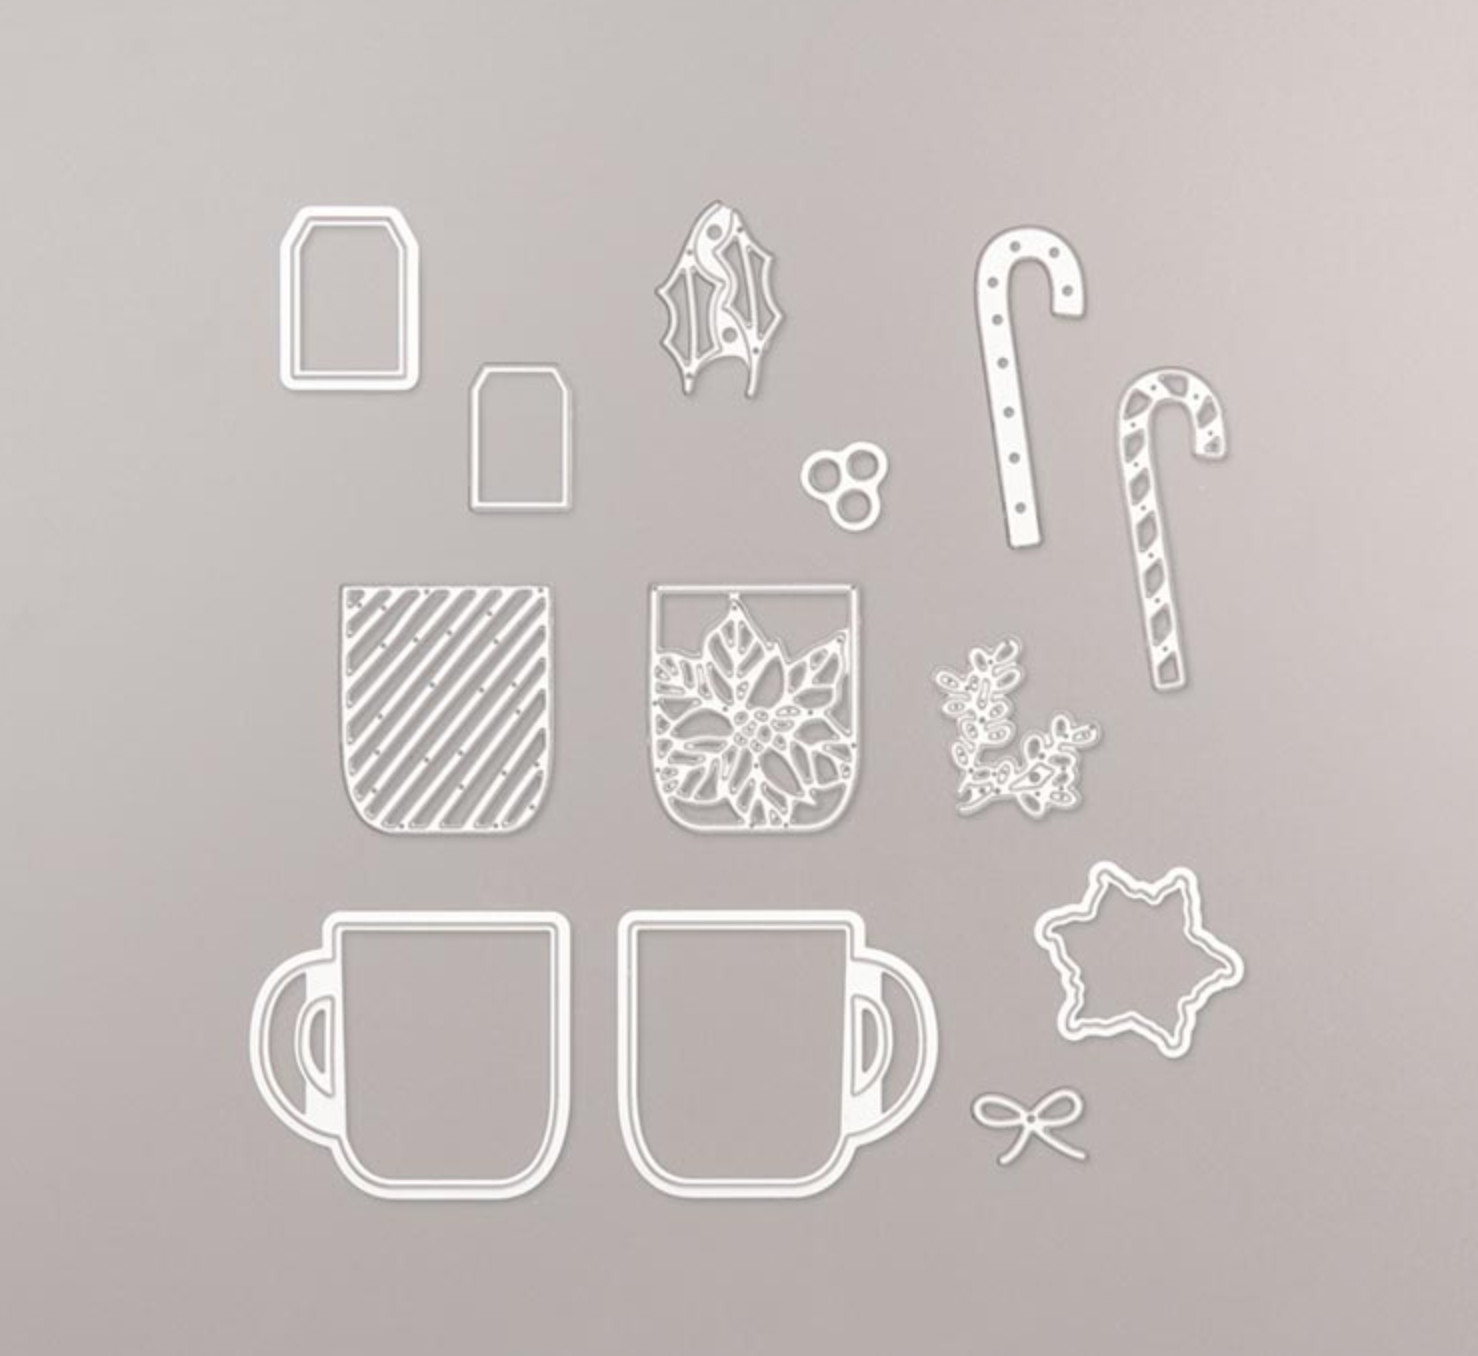
You can earn this stamp set FREE through March 31, 2020, during our Sale-A-Bration promotion. And don’t forget this stamp set has coordinating die that you can purchase. They are the Stampin’ Up! Cup of Cheer Dies. Yay!!
Thanks for stopping by Brandy’s Cards. I hope you enjoy my video tutorial today. Let me know if you have questions. I’m always glad to help.
Happy Stamping!! Brandy
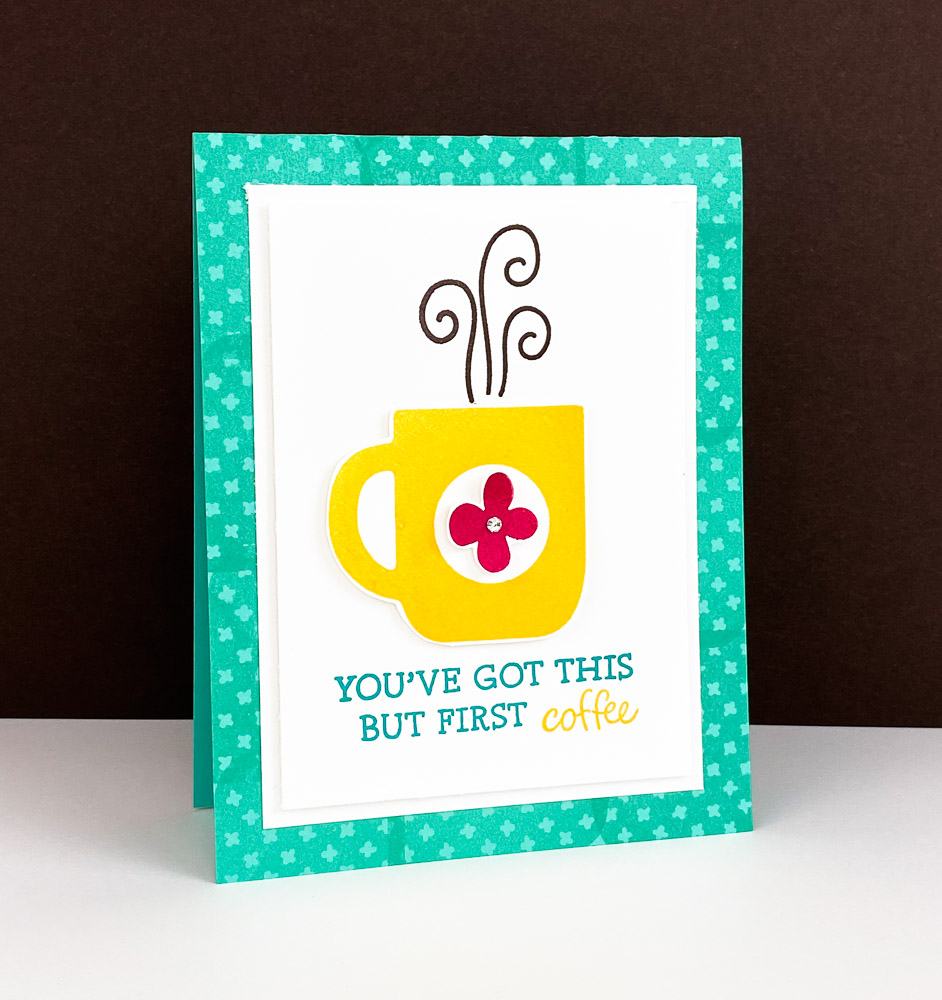
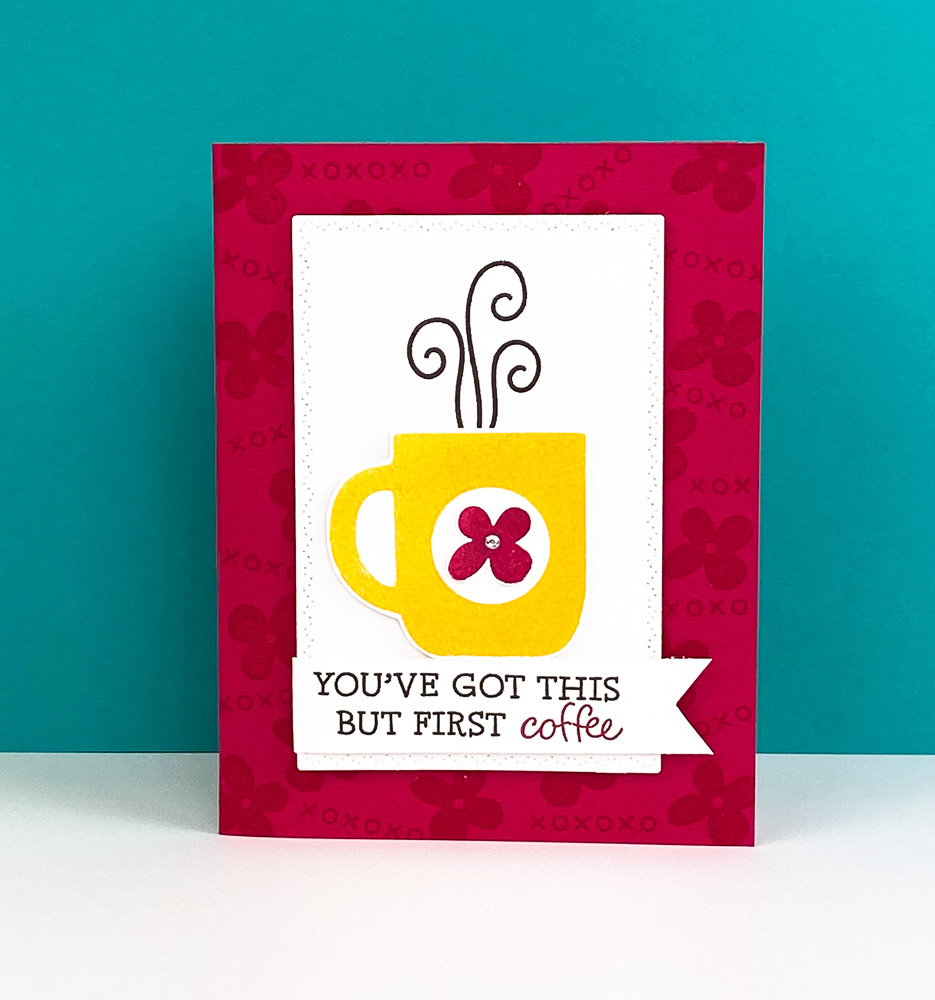
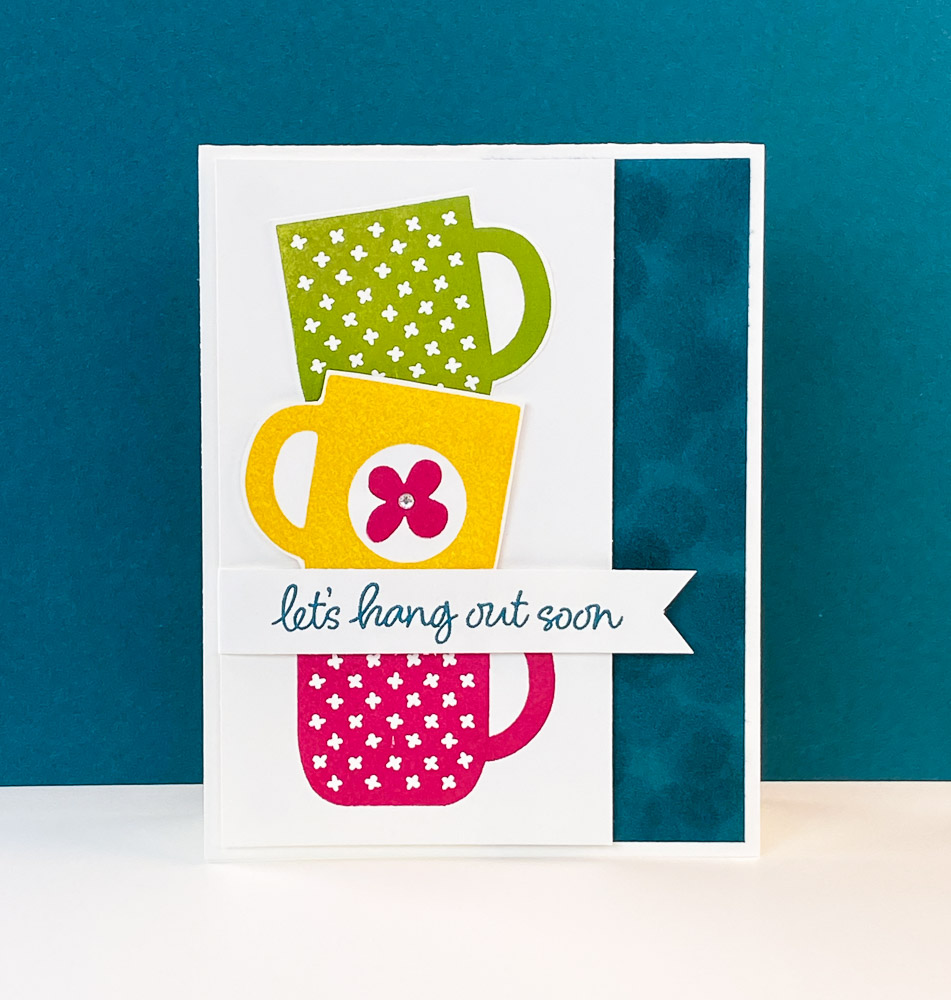
1. Cut a 4-1/4″ x 11″ piece of Coastal Cabana Cardstock and fold it in half. This is your card base.
2. Use a Bermuda Bay Ink Pad to stamp your card base background.
Tip: It’s totally ok if you overlap stamps. It doesn’t have to be perfect.
3. Cut a 4-3/4″ x 3-1/2″ piece of Whisper White Cardstock. This piece is the mat layer for your image.
4. Cut a 4-1/2″ x 3-1/4″ piece of Whisper White Cardstock. This piece is for your image.
5. Stamp your sentiment, in Bermuda Bay Ink towards the bottom of your Whisper White Cardstock.
Tip: Stamp your “coffee” or “tea” in Crushed Curry Ink.
6. Stamp your cup, in Crushed Curry Ink, on scrap paper. Hand cut it out or use the Stampin’ Up! Cup of Cheer Dies to die cut the mug.
7. Place your cup above your sentiment and once you figure out placement… above the cup stamp the steam in Early Espresso Ink.
8. Use stampin dimensionals to adhere your coffee cup.
9. Stamp the small flower in Lovely Lipstick Ink and hand cut it out. Adhere your flower to your coffee cup.
10. Cut a 4″ x 5-1/4″ piece of Whisper White Cardstock. Stamp the small flower in the bottom corner. Center and adhere this piece inside your card.
11. Finish your flower with a Jewel Rhinestone.
#152303
#151150
March Host Code – 9E2T24FE

- Saddle Brown Stazon Ink
- VersaMark – Watermark Stamp Pad
- Make A Splash Photopolymer Stamp Set
FREE with an order of $50 or more (before shipping and tax). One gift per host code order and you must add the host code upon checkout on Stampinup.com to qualify.


Hi Brandy!
Just watched your video and love the cup of coffee card…tea for me! So cute. Life has been busy but now Key West has totally shut down everything…even the beaches! I have been let go from my job till further notice so there is time to watch your videos and catch up 🙂 My sister Sally always tells me which new cards she likes that you make. Wish she was closer so I had someone to make them with. I need to dig out my catalogs and place a new order. Thanks so much for the inspiration and for keeping in touch!
Blessings on your day sweet friend…Sincerely, Suzanne
Thank you so much for showing us such a cute card AND sharing how you made it! I just placed an order and did not know about the new Sale-A-Bration gifts. Now I will have to place another order before the end of the month. LOL
I love the stacked cup card! CASing for sure, thanks for the ideas!
Thank you Brandy, love the tutorial.
Thank you, love the tutorial. Bless you
Beautiful cards! Thanks for sharing your talents with us.