

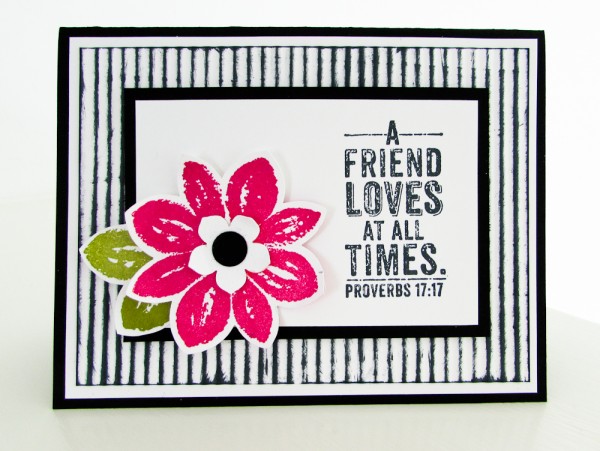
Today’s card features the Stampin’ Up! Petal Potpourri stamp set and super fun crimper tool!!!
I really had fun making this card because you can create any color textured background you’d like. This particular card I used black ink; however, I also made one in tempting turquoise and Melon Mambo. They were both flirty and fun!!
I loved the fun, retro look to this card! I searched hard to find the right sentiment to fit this design. When I found this sentiment from the Stampin’ Up! Blessed By God stamp set I knew it would be perfect!!
Thank you for stopping by Brandy’s Cards. I hope you enjoy today’s project and video tutorial. Have a Blessed Day! Brandy
Base
1. Cut an 8-1/2″ x 5-1/2″ piece of Basic Black Cardstock and fold it in half. This is your base.
2. Cut (2) 5-1/4″ x 4″ pieces of Whisper White Cardstock. One to adhere on the inside of your card and the other for the top of your card.
3. Cut (1) 5-1/4″ x 3-3/4″ piece of Whisper White Cardstock. This piece you will crimp.
Tip: If I am crimping vertically then you want to leave your horizontal length a bit longer to accommodate the crimping. Crimping with shorting your length. If you are crimping horizontal then you want to leave your vertical length a bit longer for the same reason. Its confusing but once you try it I promise you’ll understand!
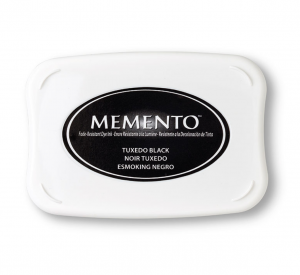
4. Lay your crimped cardstock flat and open a stamp pad. Use the stamp pad to apply color to the raised portion of your crimped cardstock.
Tip: I used the Memento Black Stamp Pad; however, you can use any color you’d like. Have fun… Get Creative!!
5. Once you crimped your cardstock you want to trim it so that it finishes 5″ x 3/4″ and adhere it to the top of your card.
Tip: You should already have a 5-1/4″ x 4″ piece of Whisper White Cardstock on the top of your card. You’ll want to adhere and center your crimped piece to the top of your card.
Sentiment
1. Cut a 3-3/4″ x 2-3/4″ piece of Basic Black Cardstock.
2. Cut a 3-1/2″ x 2-1/2″ piece of Whisper White Cardstock. Center and adhere this piece to the top of your Basic Black Cardstock.
3. Using Memento’s Black Ink to stamp your sentiment.
Tip: I used a sentiment from the Stampin’ Up! Blessed By God stamp set!
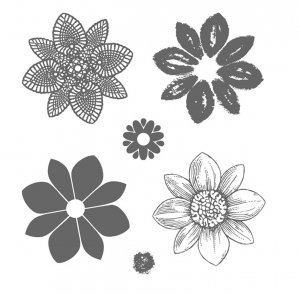
Petal Potpourri Flower
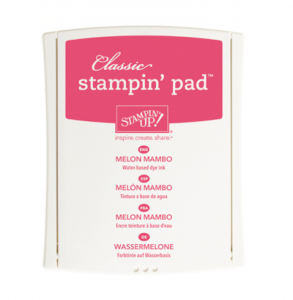
1. Use a Melon Mambo Ink Pad to stamp the Petal Potpourri flower on a scrap piece of cardstock.
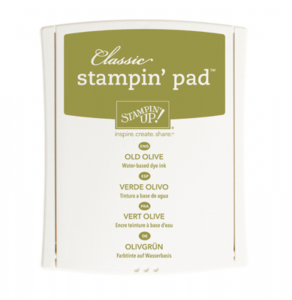
2. Clean your stamp and ink it up again in Old Olive. Stamp another flower in Old Olive.
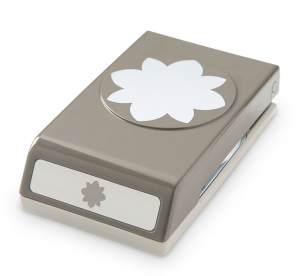
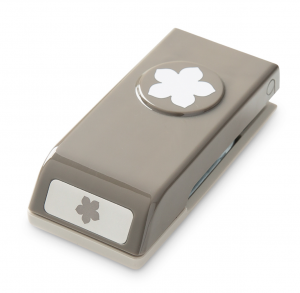
3. Use the Flower Medallion Punch to punch out both flowers.
4. Cut the Old Olive Flower so that you can use two petals for the leaves of your flower.
5. Adhere the Melon Mambo flower next to your sentiment. Add your Old Olive leaves under your flower.
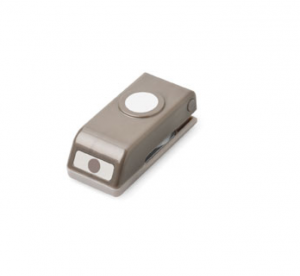
6. Use the Petite Petal Flower Punch to punch a small Whisper White Flower and layer it on top of your Melon Mambo Flower.
7. Use the 1/2″ circle punch to punch a Basic Black circle to layer on top of your Whisper White Petite Petal Flower.

Catalog Request Form
If you are interested in receiving a Stampin’ Up catalog, please fill out the request form below. If you currently have a demonstrator, please ask your current demonstrator for the catalog, because I do have to pay for the catalogs and for shipping. However, if you don’t have a demonstrator and are interested in purchasing Stampin' Up products, I’d love the opportunity to share Stampin’ Up with you, answer any questions and earn your business.


I’ve been watching your videos & really appreciate the ideas. I made this one using Blackberry Bliss, Tangerine Tango, & Pear Pizzazz. I was surprised I knew where my crimper was since it’s been so long since I used it. I used the Thank You from Lotus Blossom. They’re for my husband to give a gift card to clerical staff in honor of Administrative Professionals Day. Thanks again for the great ideas.
Love this card! Simple but nice. I would like to order the set
Great card, Brandy! I don’t have a crimper but I’m going to pull out some embossing folders and try the technique with those.
This is an absolutely lovely card, and Brandy makes it look so easy to produce! It is just so cute and I must give it a try! I appreciate being a part of your mailing list, and your tutorials are very educational. Thank you for sharing your lovely cards Brandy
Hi Brandy thank you so much for sharing your tan on the stamping. You certainly have a gift of teaching.
The comment that I just wrote did not come out like I wanted it to. I was trying to tell you that I’m very grateful that you are willing to share your stamping talent with us.
Hi Brandy, This card was great!!! I’ve never used a crimper before but I always like to try new things. I will most definitely try this card. Thank you for all of your wonderful cards. You are truely an inspriation… Sincerely, Bev
I just love this card. I didn’t have a crimper so of course I had to have one. Joannes had them half price. I then had a friend over and we each made 4 cards with the crimper each in different colors. Today she went and bought a crimper. Thanks for such a beautiful card.
Love love love this card. I have the wavey crimper so think I’ll try it using it. Thank you for all your videos. So easy to follow along with you.
I was so inspired that I ran to my craft room and made this card with a tweak or 2 since I don’t have the crimper, I used a striped paper. Thanks for all you share.
Beautiful cards Brandy!
Brandy – This card is absolutely beautiful. i love the colors and glad you showed how the other colors would work. Thanks for sharing.
Linda D.
Hi Brandy,
I’m making some of these today…thanks for another great card.
Just an FYI your measurement for the base card in black should be 8-1/2? x 5 -1/2?. 🙂
Hi Brandy , I love this one , I already made four , 2 strawberry slush and 2 coastal cabana ,
There sooo pretty , thanks again for sharing , love all your projects!!!
Have a nice day,
Hugs Frenchie,
Wow! I love the look of these cards, and so nice of you to remind us to pull out the paper crimper, too. I have one, and it will be doing some work very shortly, now that I remembered it. Thank you for the wonderful video and ideas.
As always – I am blown away and amazed at the wonderful cards that you make. I look forward to each and everyone of your video’s. I love the look that the different colors make – thank you for sharing. I don’t own a crimper tho so not sure what could be used — I do love the look it created using the crimper. t
Such a wonderful card – thank you so much!
Love this card. I have the supplies and can’t wait to do some of these. Thank you once again for sharing.
I absolutely love this card and your videos, i learn so much from them.. Thank you and have a blessed day!!!
Lovely card Brandy!! Great idea using the crimper, haven’t pulled that out in a while to use. Thanks for sharing that card in a video!!
Wow! Brandy you are so awesome! lol. I am heading to my little ‘corner’ to make this card. You always have the greatest videos! Thanks for sharing with us followers that are not really that creative on our own. Love the great ideas you have.
You did another great card. I just love it. So many ways to do it. Thanks again for wonderful ideas.
Such a beautiful spring card and a very educational tutorial. I absolutely loved that you showed the different colors.
Thank you so much for being such an awesome friend and for your leadership.
Blessings,
Teresa
Hello Brandy, love your cards. What would you suggest using if you don’t have a crimper?
Love this card Brandy! So cute. I;m going to give this one a try.
Looking at the measurements in your directions though, I think the size in step 3 needs to be edited. Currently showing as 5-1/4″ x 3/4″.
Thanks for sharing your creative talents with us.
Thanks Glady’s, you were right. I’ve fixed them now. Thank you !!!!