1. Cut a 4-1/4” x 11” piece of Whisper White Cardstock and fold it in half at 5-1/2″. This is your card base.
2. Cut a 4” x 5-1/4” piece of Real Red Cardstock. Use the Winter Knit 3D Embossing Folder to emboss the background.
3. Center and adhere the embossed cardstock on top of your card base.
4. Cut a 3” x 3-3/4” piece of Whisper White Cardstock. This piece is for your sentiment and tree.
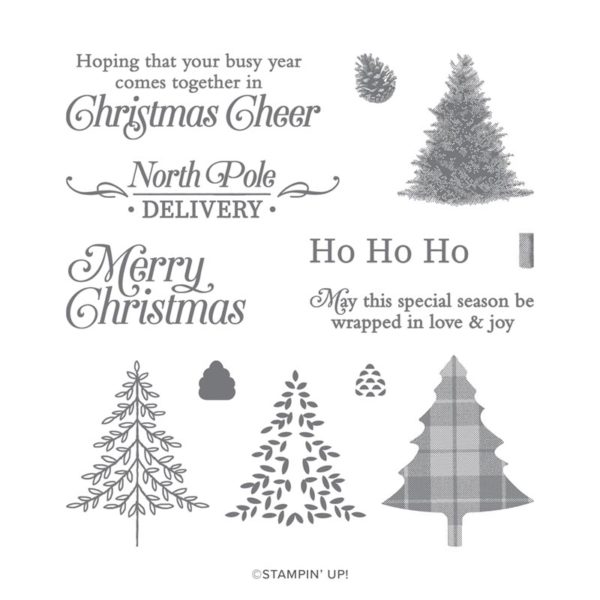
5. Stamp your “Christmas Cheer” sentiment in Real Red Ink.
6. Then stamp the rest of your sentiment in Early Espresso Ink.
7. Center and adhere this piece to the top of your card base using Stampin’ Dimensionals.
8. Stamp a plaid tree on Garden Green Cardstock using Garden Green Ink.
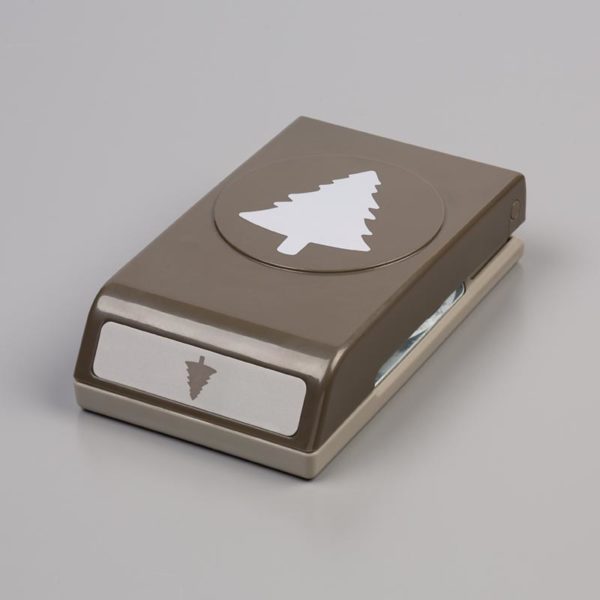
9. Use the Pine Tree Punch to punch out the stamped tree.
10. Center and adhere it to the top of your card using Stampin’ Dimensionals.
11. Stamp a snowflake using Bermuda Bay Ink. Punch out the snowflake using the Every Season Punch Pack.
12. Adhere the snowflake to the pine tree using a mini glue dot.
13. Finish your snowflake with a Jewel Rhinestone.
EDITOR NOTE: This post was originally posted on Sept. 24, 2019. The Perfectly Plaid Stamp Set is still available in the 2020 /2021 Annual Catalog.
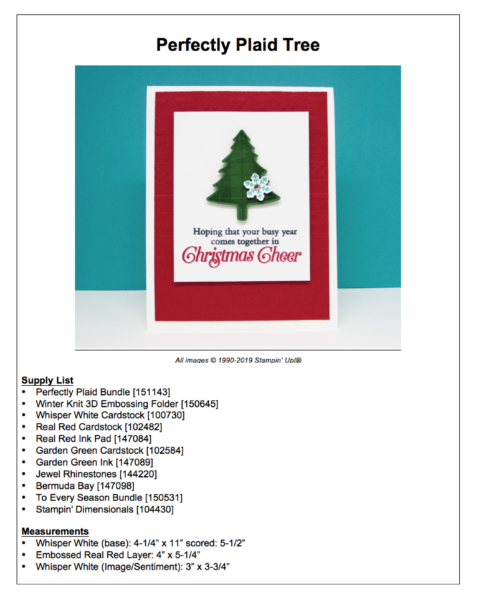
Today’s card features the Stampin’ Up! Perfectly Plaid Stamp Set and Pine Tree Punch. You can find this suite, in your 2019 Holiday Catalog, on pages 12 – 14.
It’s a bit hard to see but the embossed background features the Stampin’ Up! Winter Knit 3D Embossing Folder. When you see this pattern up close, it gives you the sense of warm and cozy. I love that!
Don’t forget to check out the rest of the Wrapped In Plaid Suite. You can get really creative by adding a few coordinating products such as the Jingle Bells, Gold Mini Pizza Boxes, Designer Series Paper and Ribbon. Your options are endless!!
Thank you for stopping by Brandy’s Cards. I hope you enjoy my project today. Don’t forget to download my PDF Tutorial and save for your idea and inspiration binder. Hugs, Brandy


#149418
#149521