
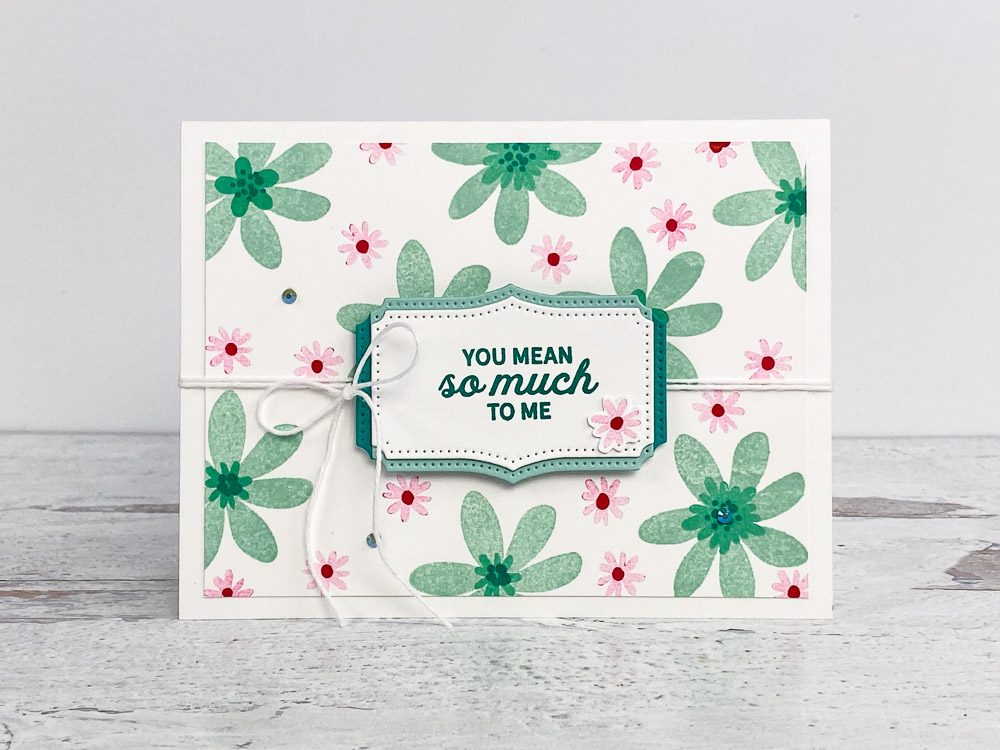
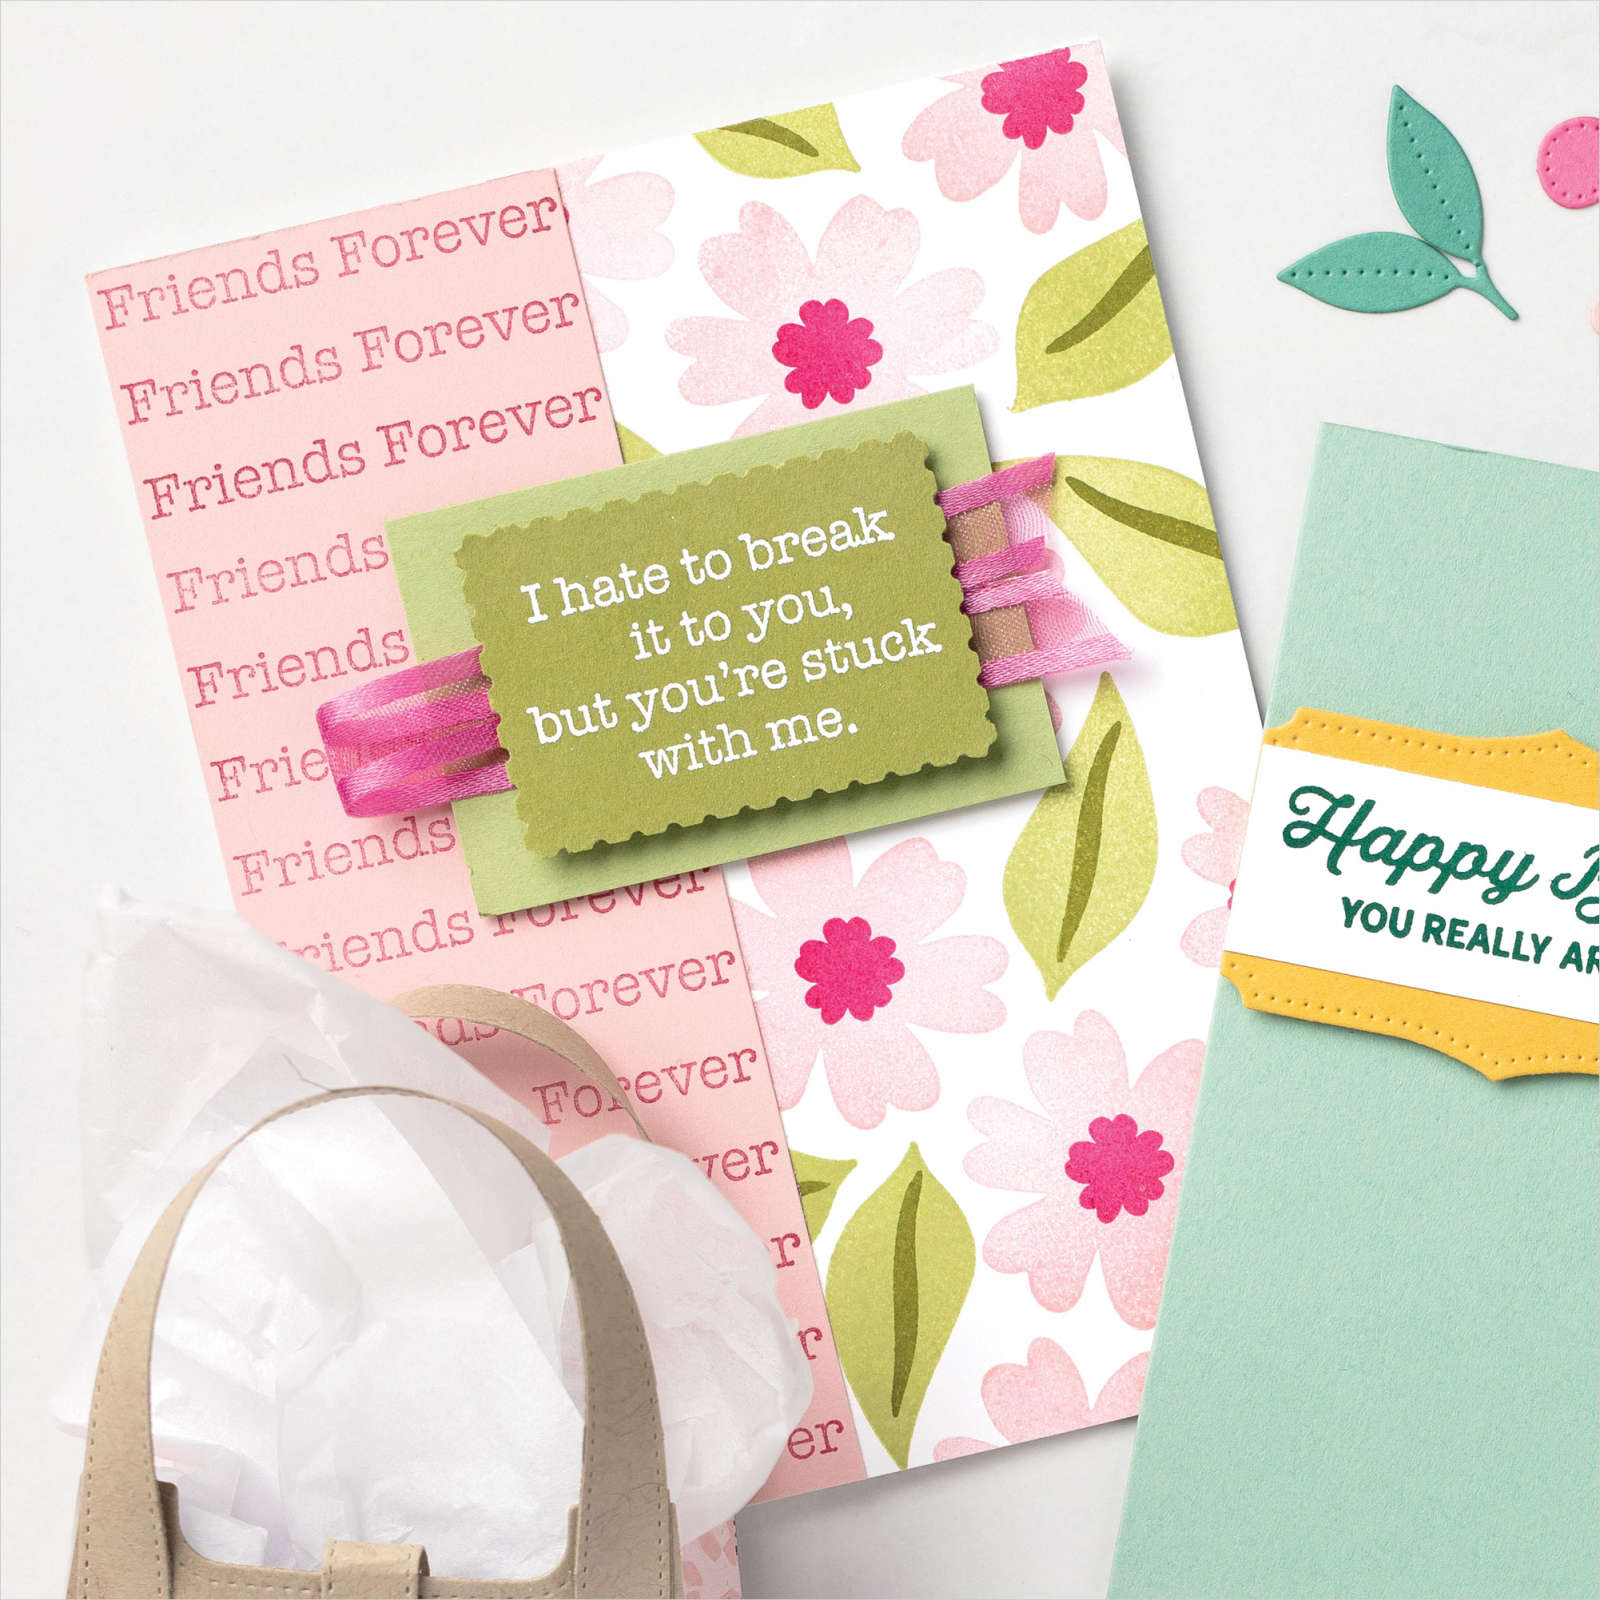
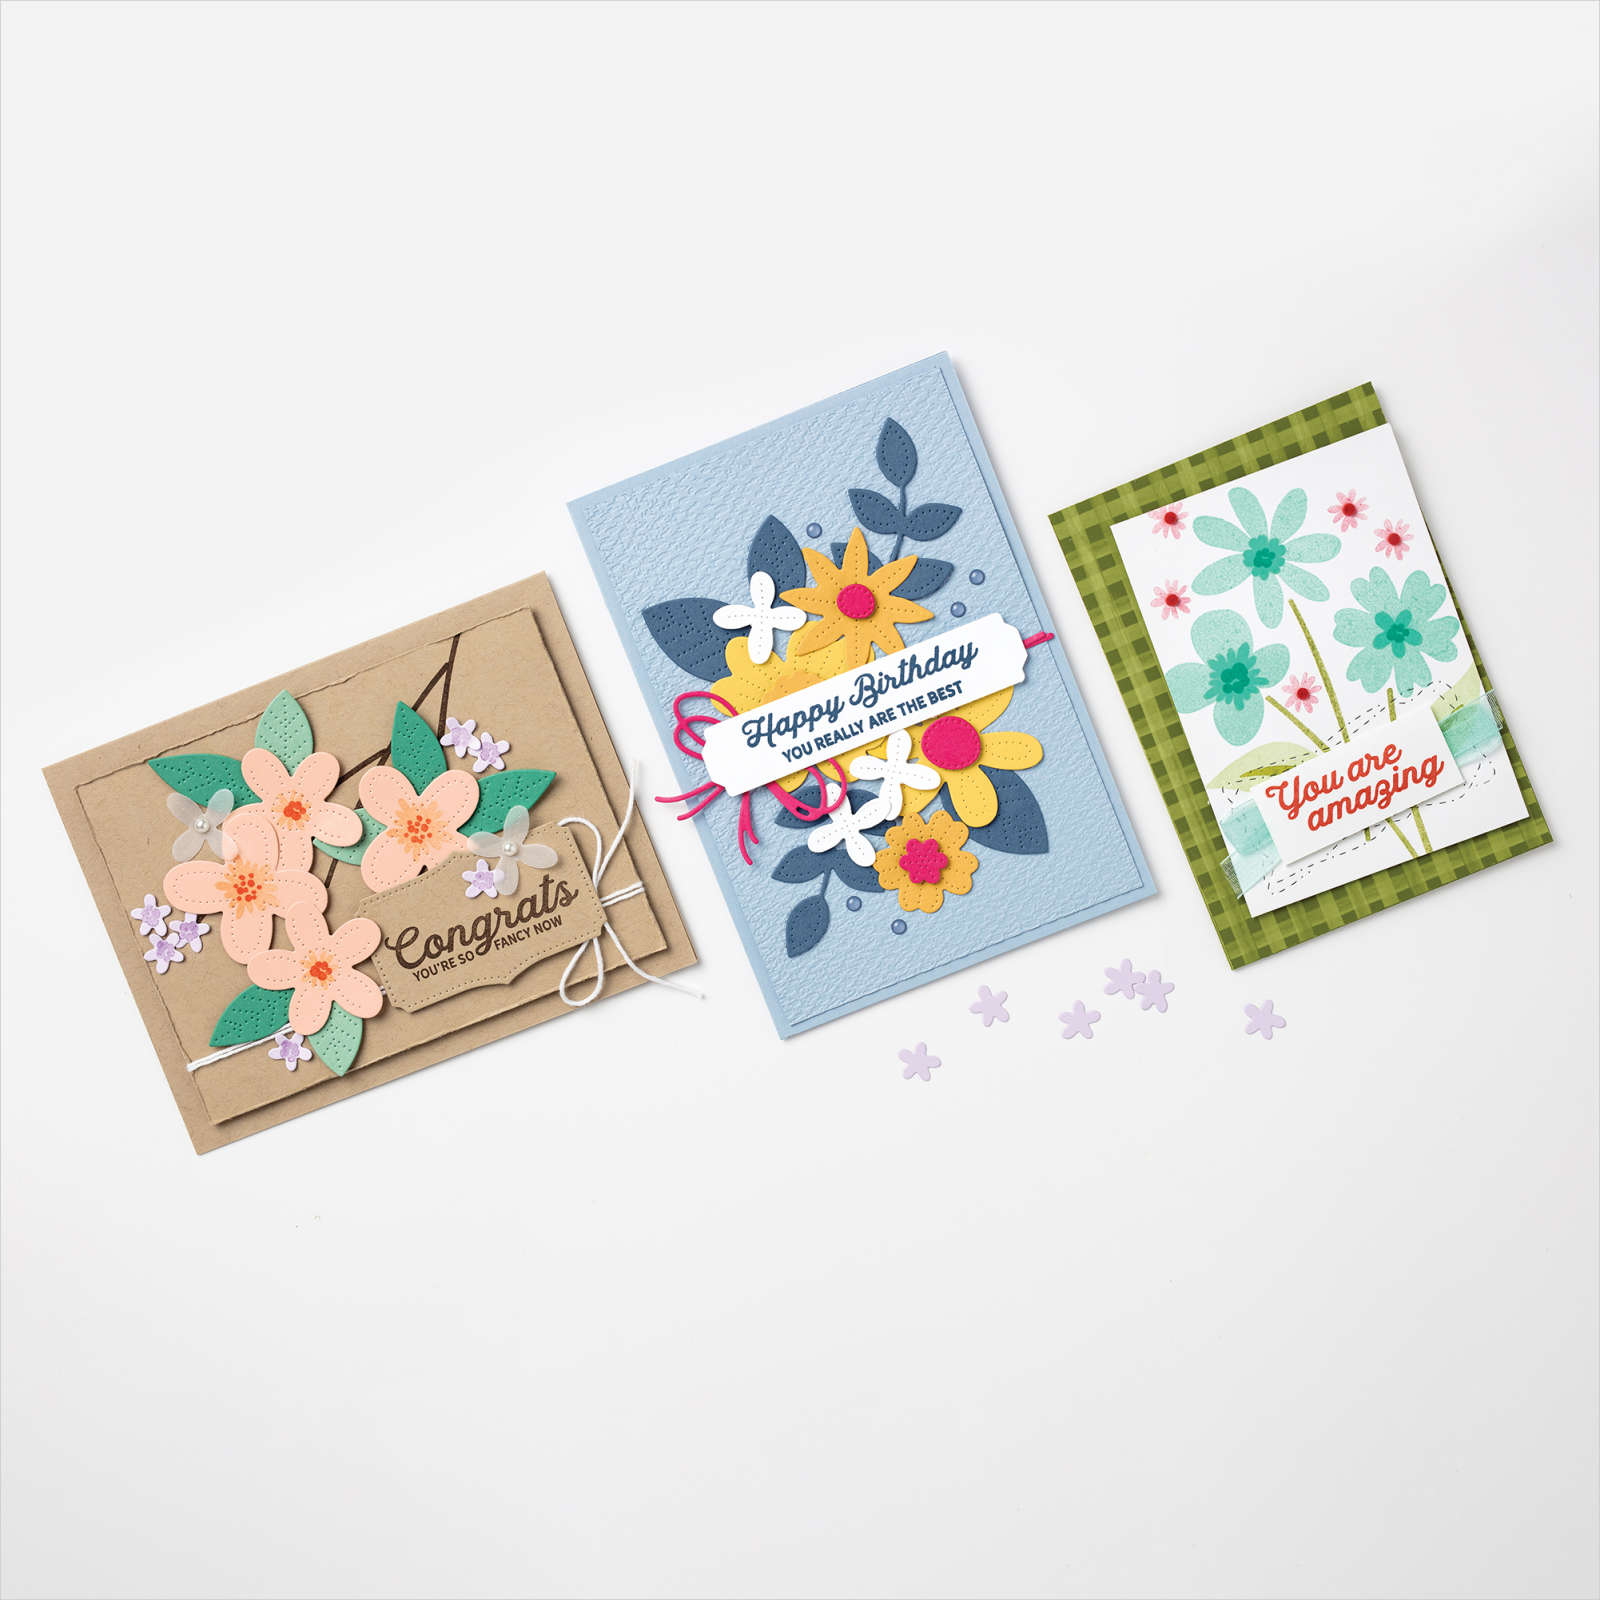
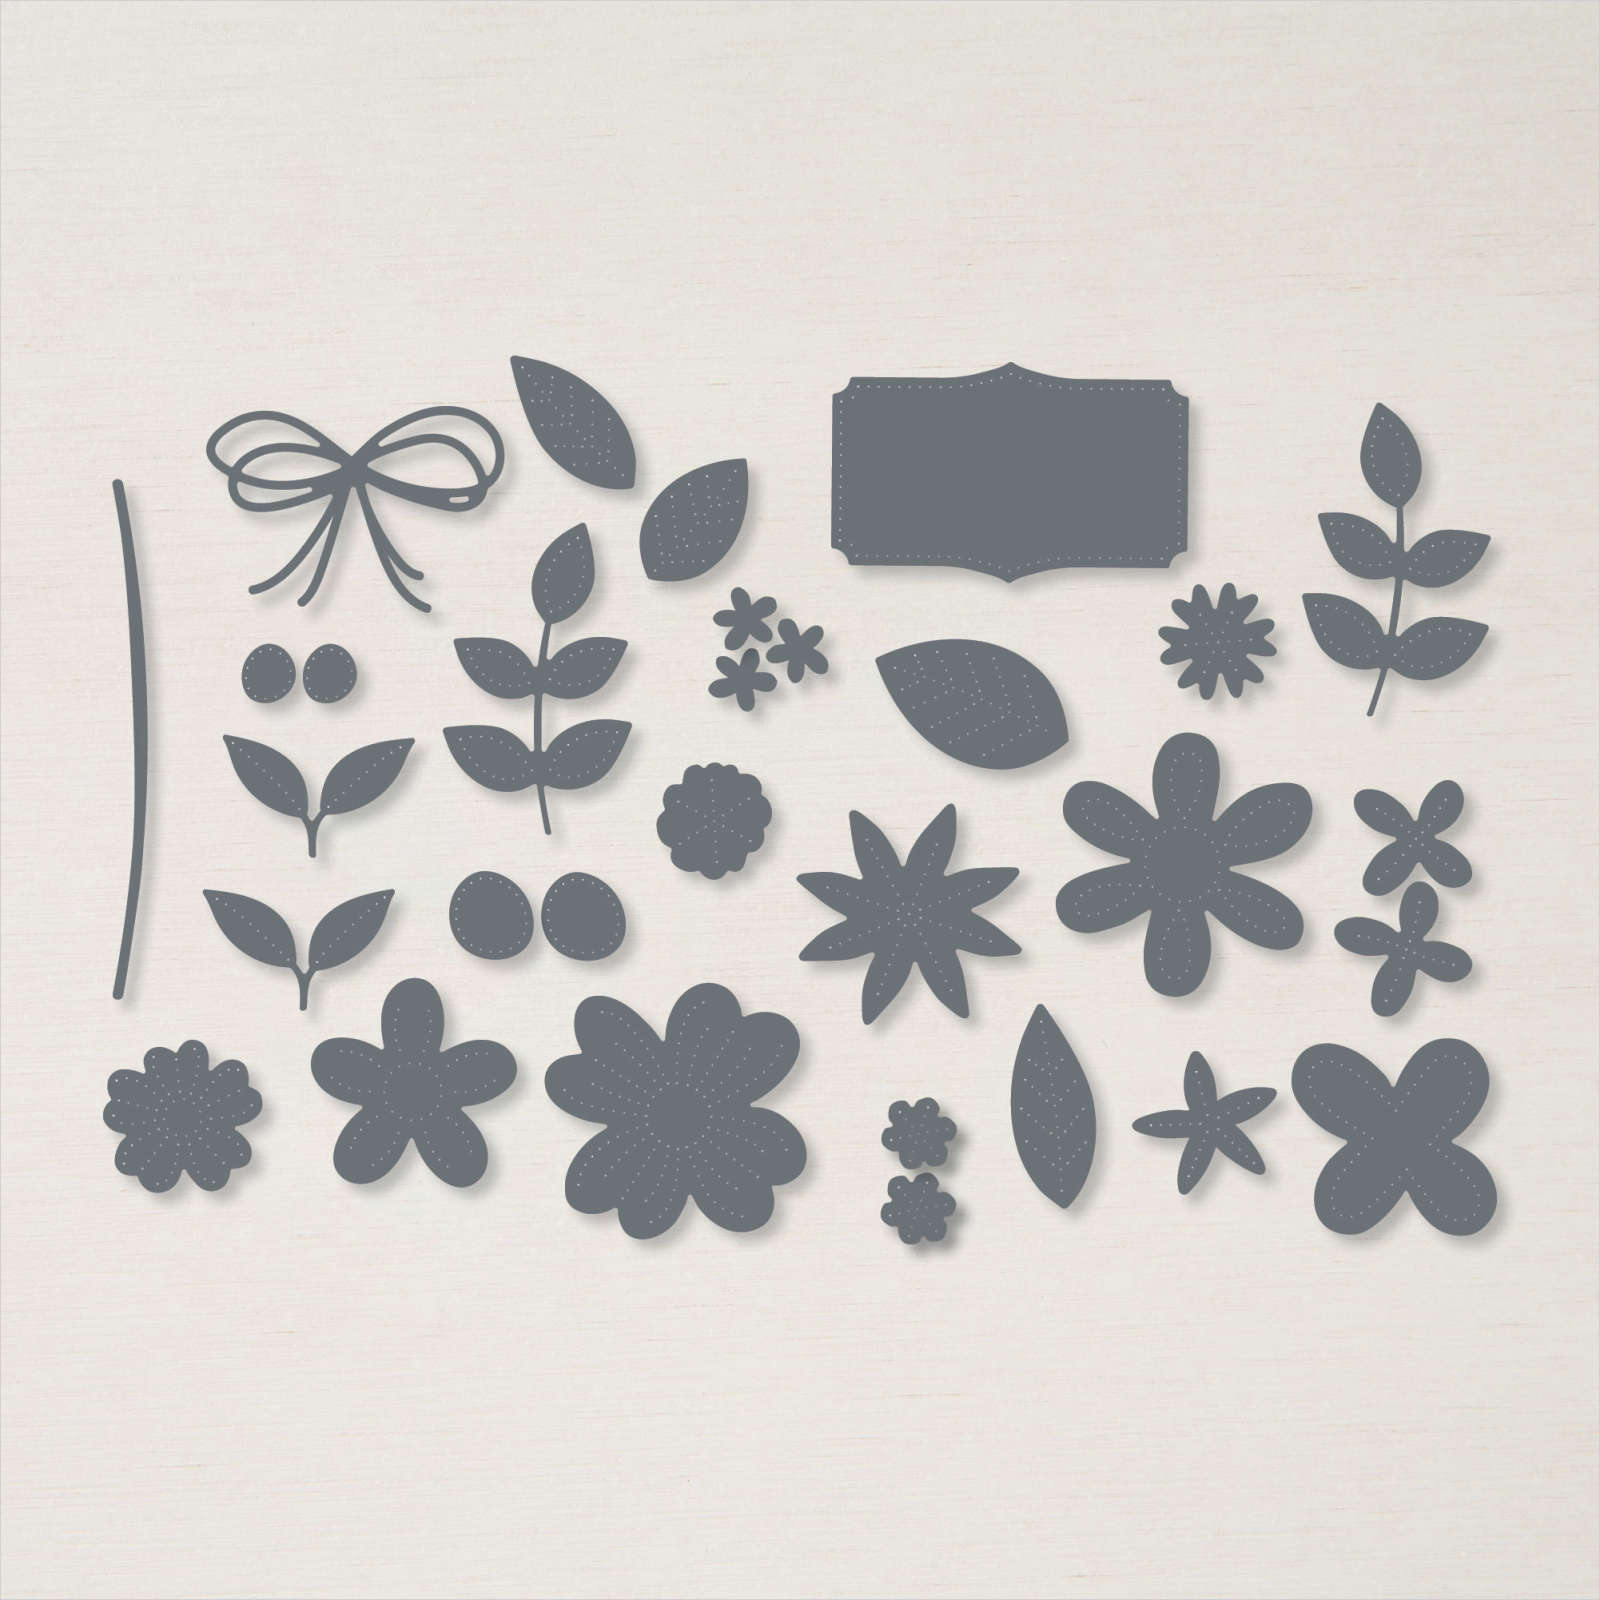
Today’s cards feature the Stampin’ Up! In Bloom Stamp Set and coordinating Pierced Blooms Dies.
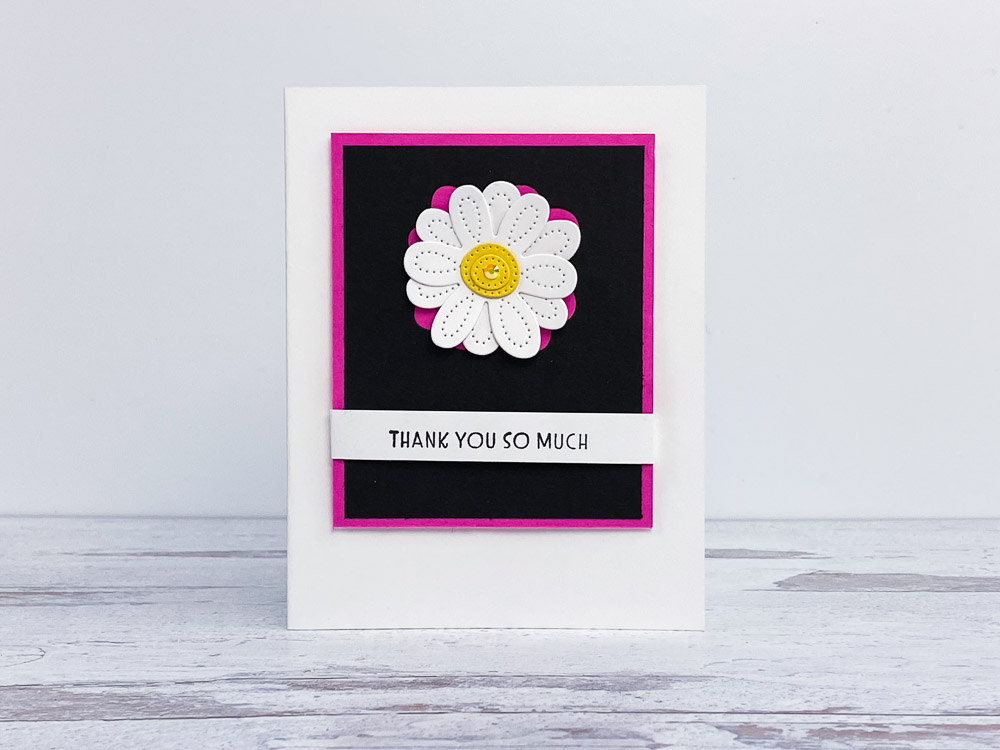
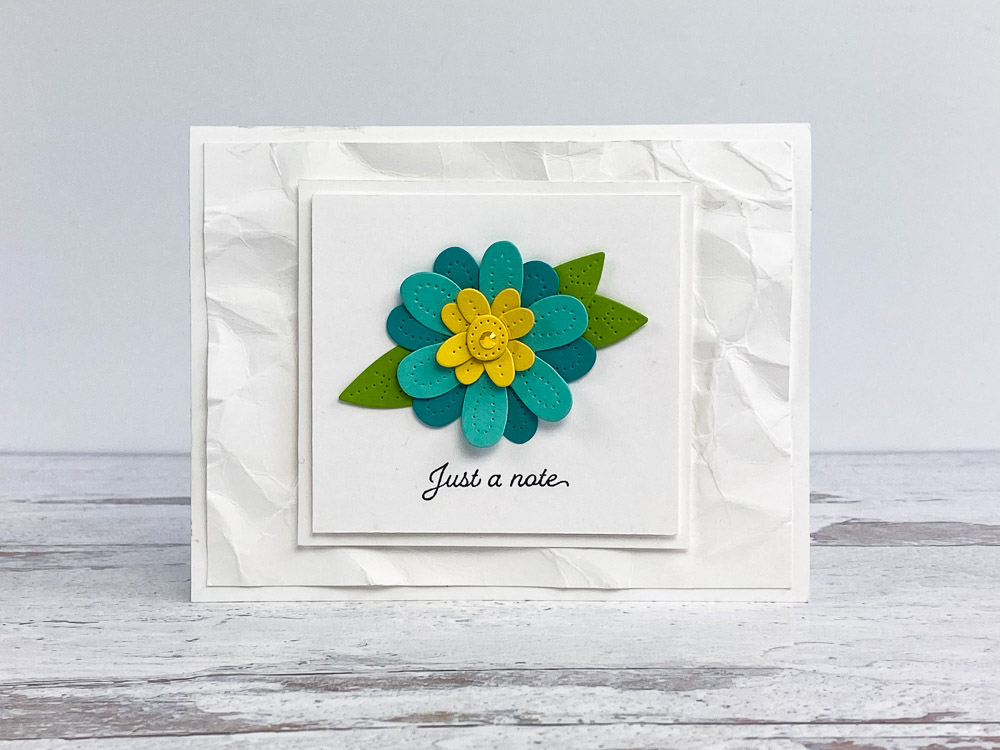
Cutting the stitched flowers is so fun!! I also love just stamping a beautiful background with them too. When you stamp or die cut several colors of flowers and centers… the combinations are endless!!
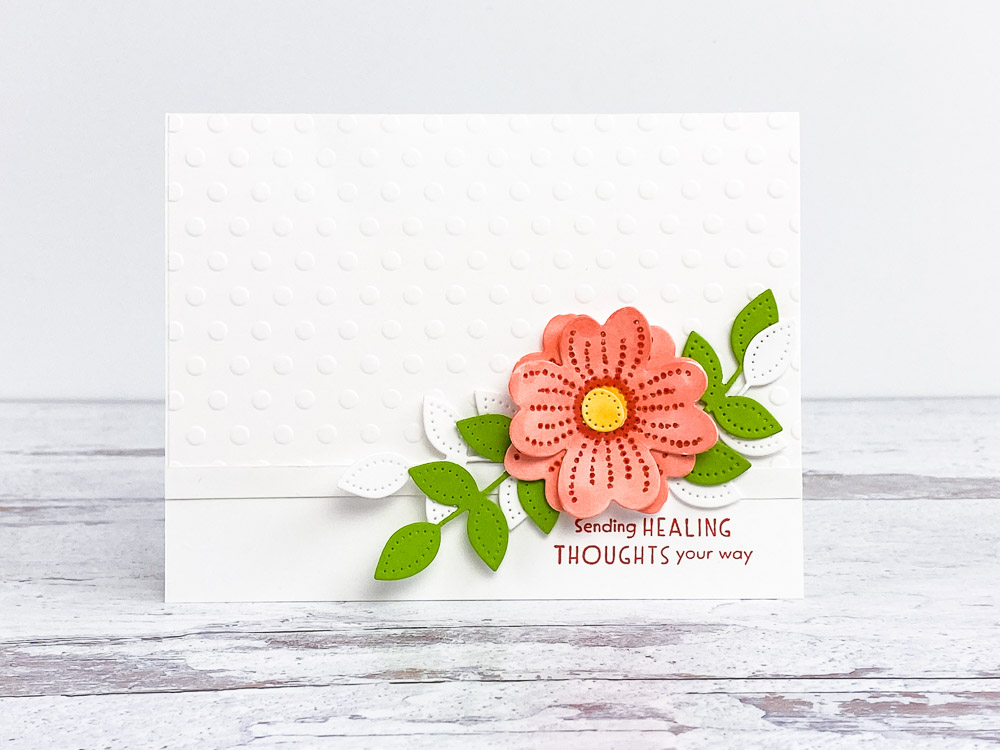
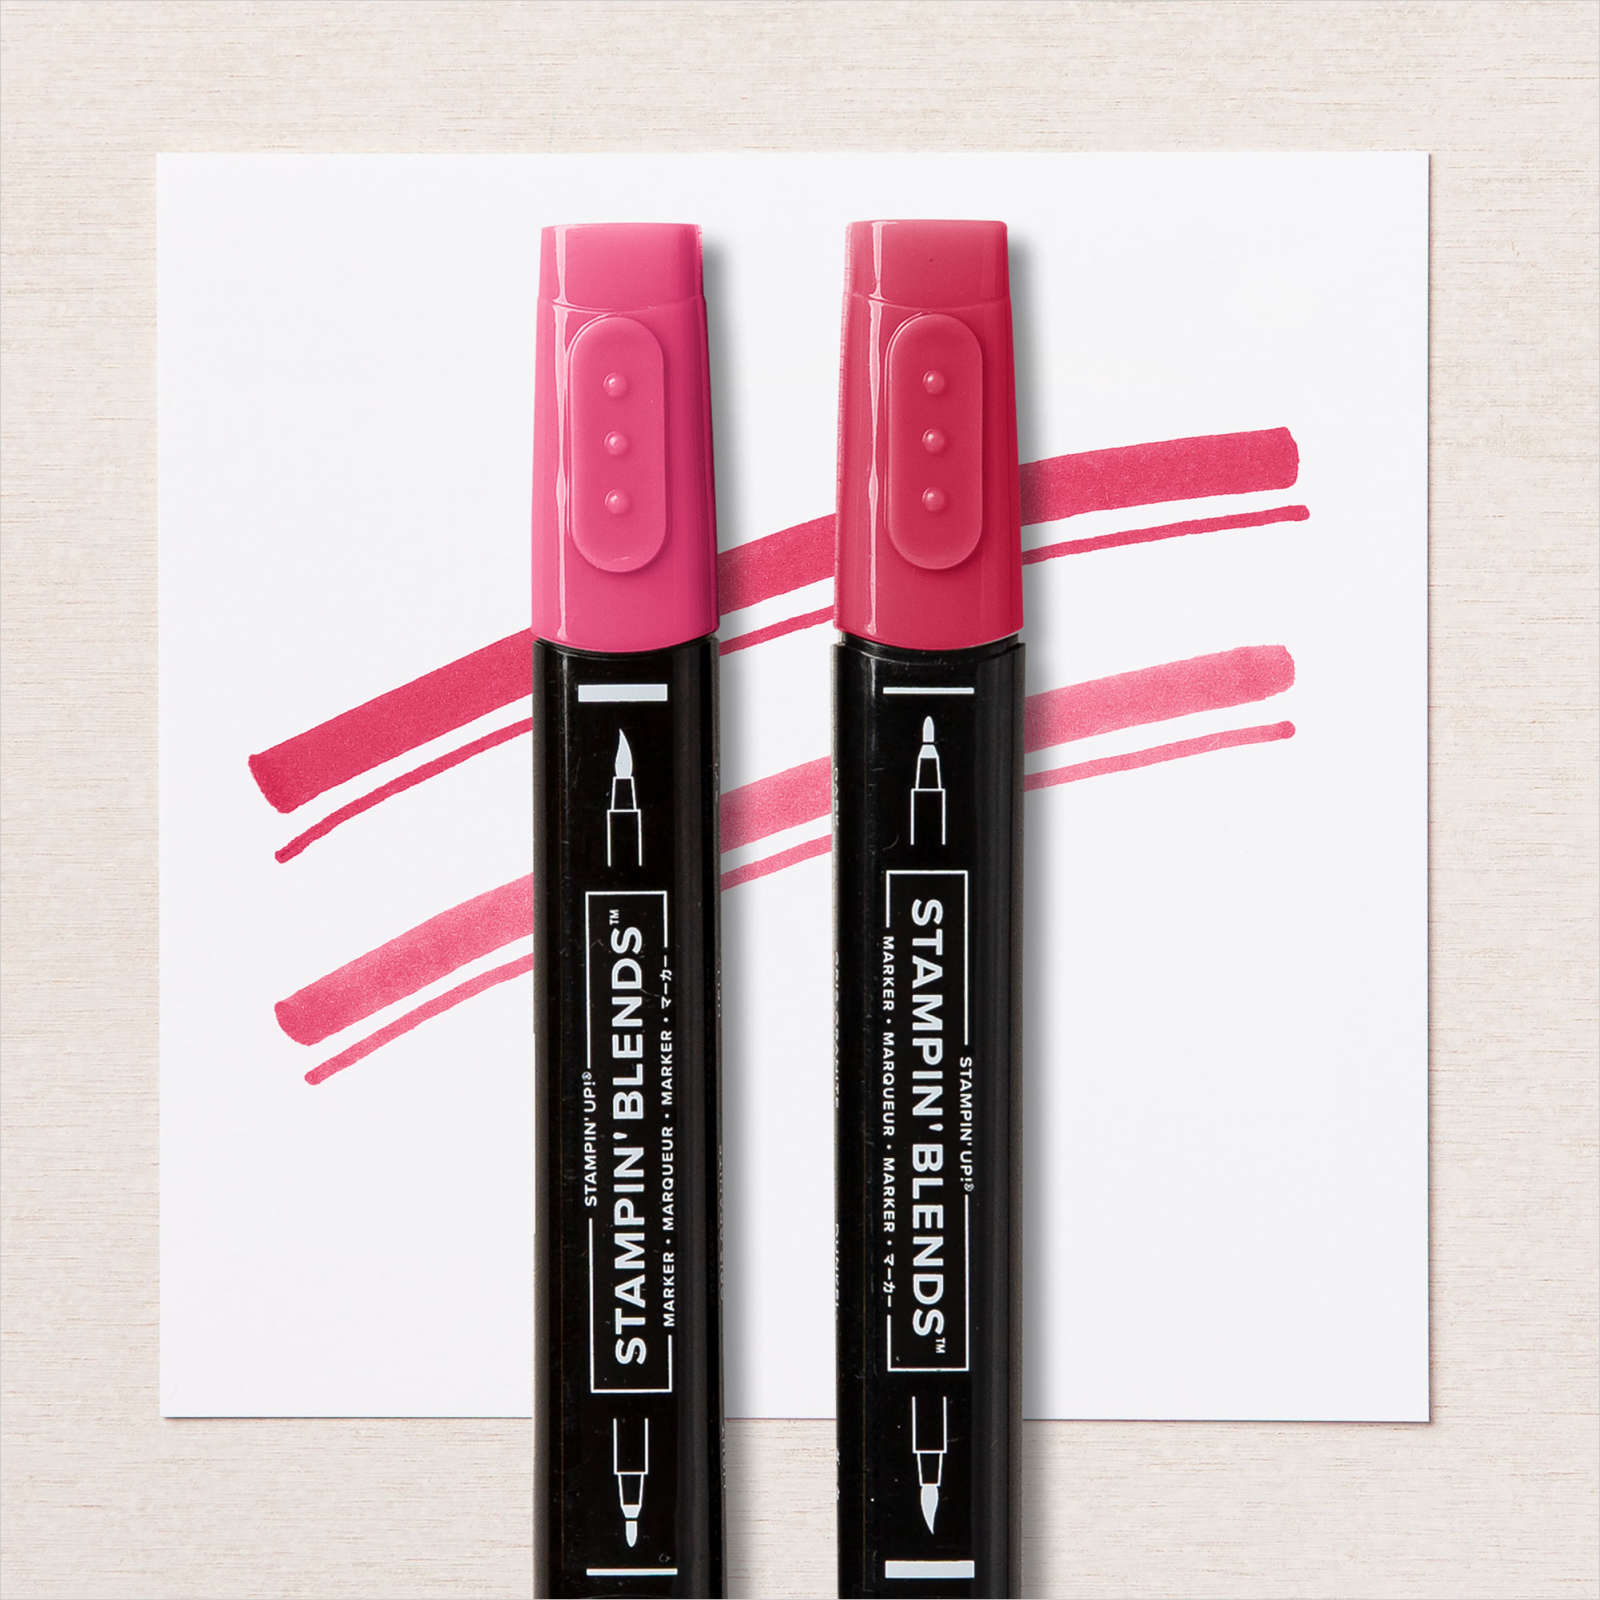
Did you notice the pop of Real Red in the center of the flowers? I used a Stampin’ Blend Marker to add the little red center. It worked perfectly!!
Thanks for stopping by. I hope you enjoy my video tutorial. Please let me know if you need something or have any questions. I’m always glad to help!! Happy Stamping!! Blessings, Brandy
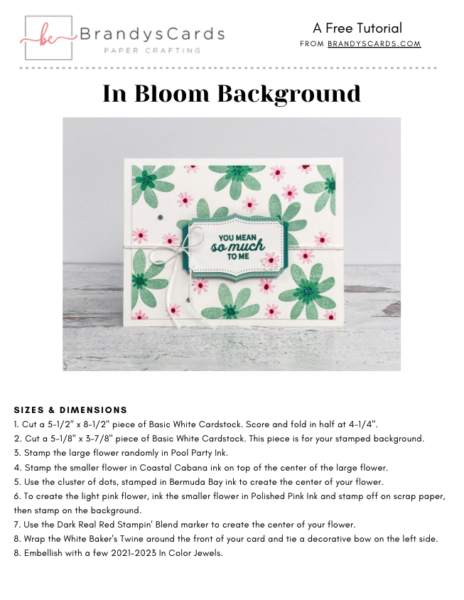
1. Cut a 5-1/2″ x 8-1/2″ piece of Basic White Cardstock. Score and fold in half at 4-1/4″.
2. Cut a 5-1/8″ x 3-7/8″ piece of Basic White Cardstock. This piece is for your stamped background.
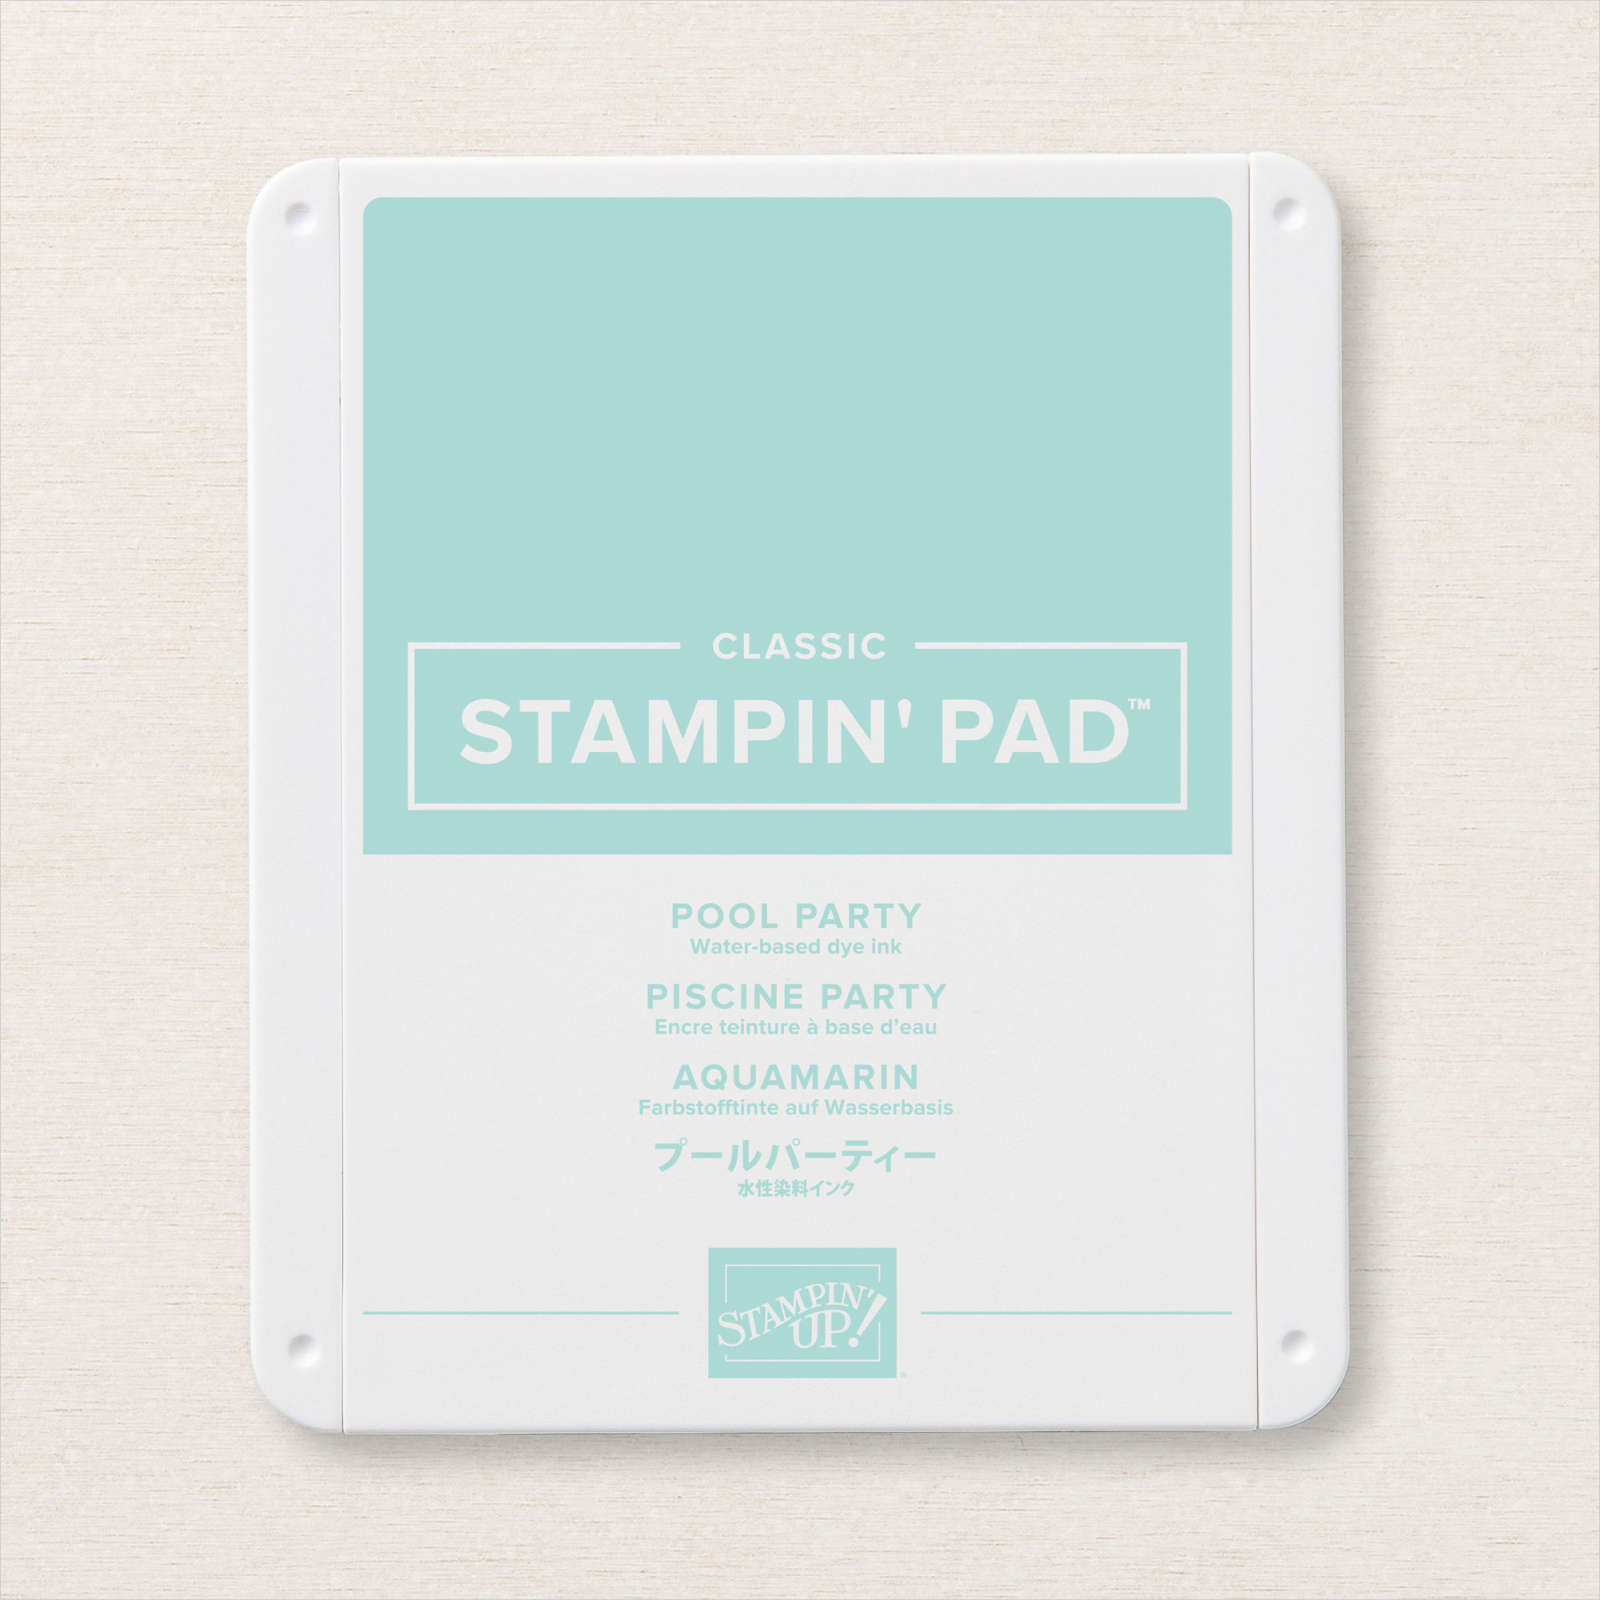
3. Stamp the large flower randomly in Pool Party Ink.
4. Stamp the smaller flower in Coastal Cabana ink on top of the center of the large flower.
5. Use the cluster of dots, stamped in Bermuda Bay ink to create the center of your flower.
6. To create the light pink flower, ink the smaller flower in Polished Pink Ink and stamp off on scrap paper, then stamp on the background.
7. Use the Dark Real Red Stampin’ Blend marker to create the center of your flower.
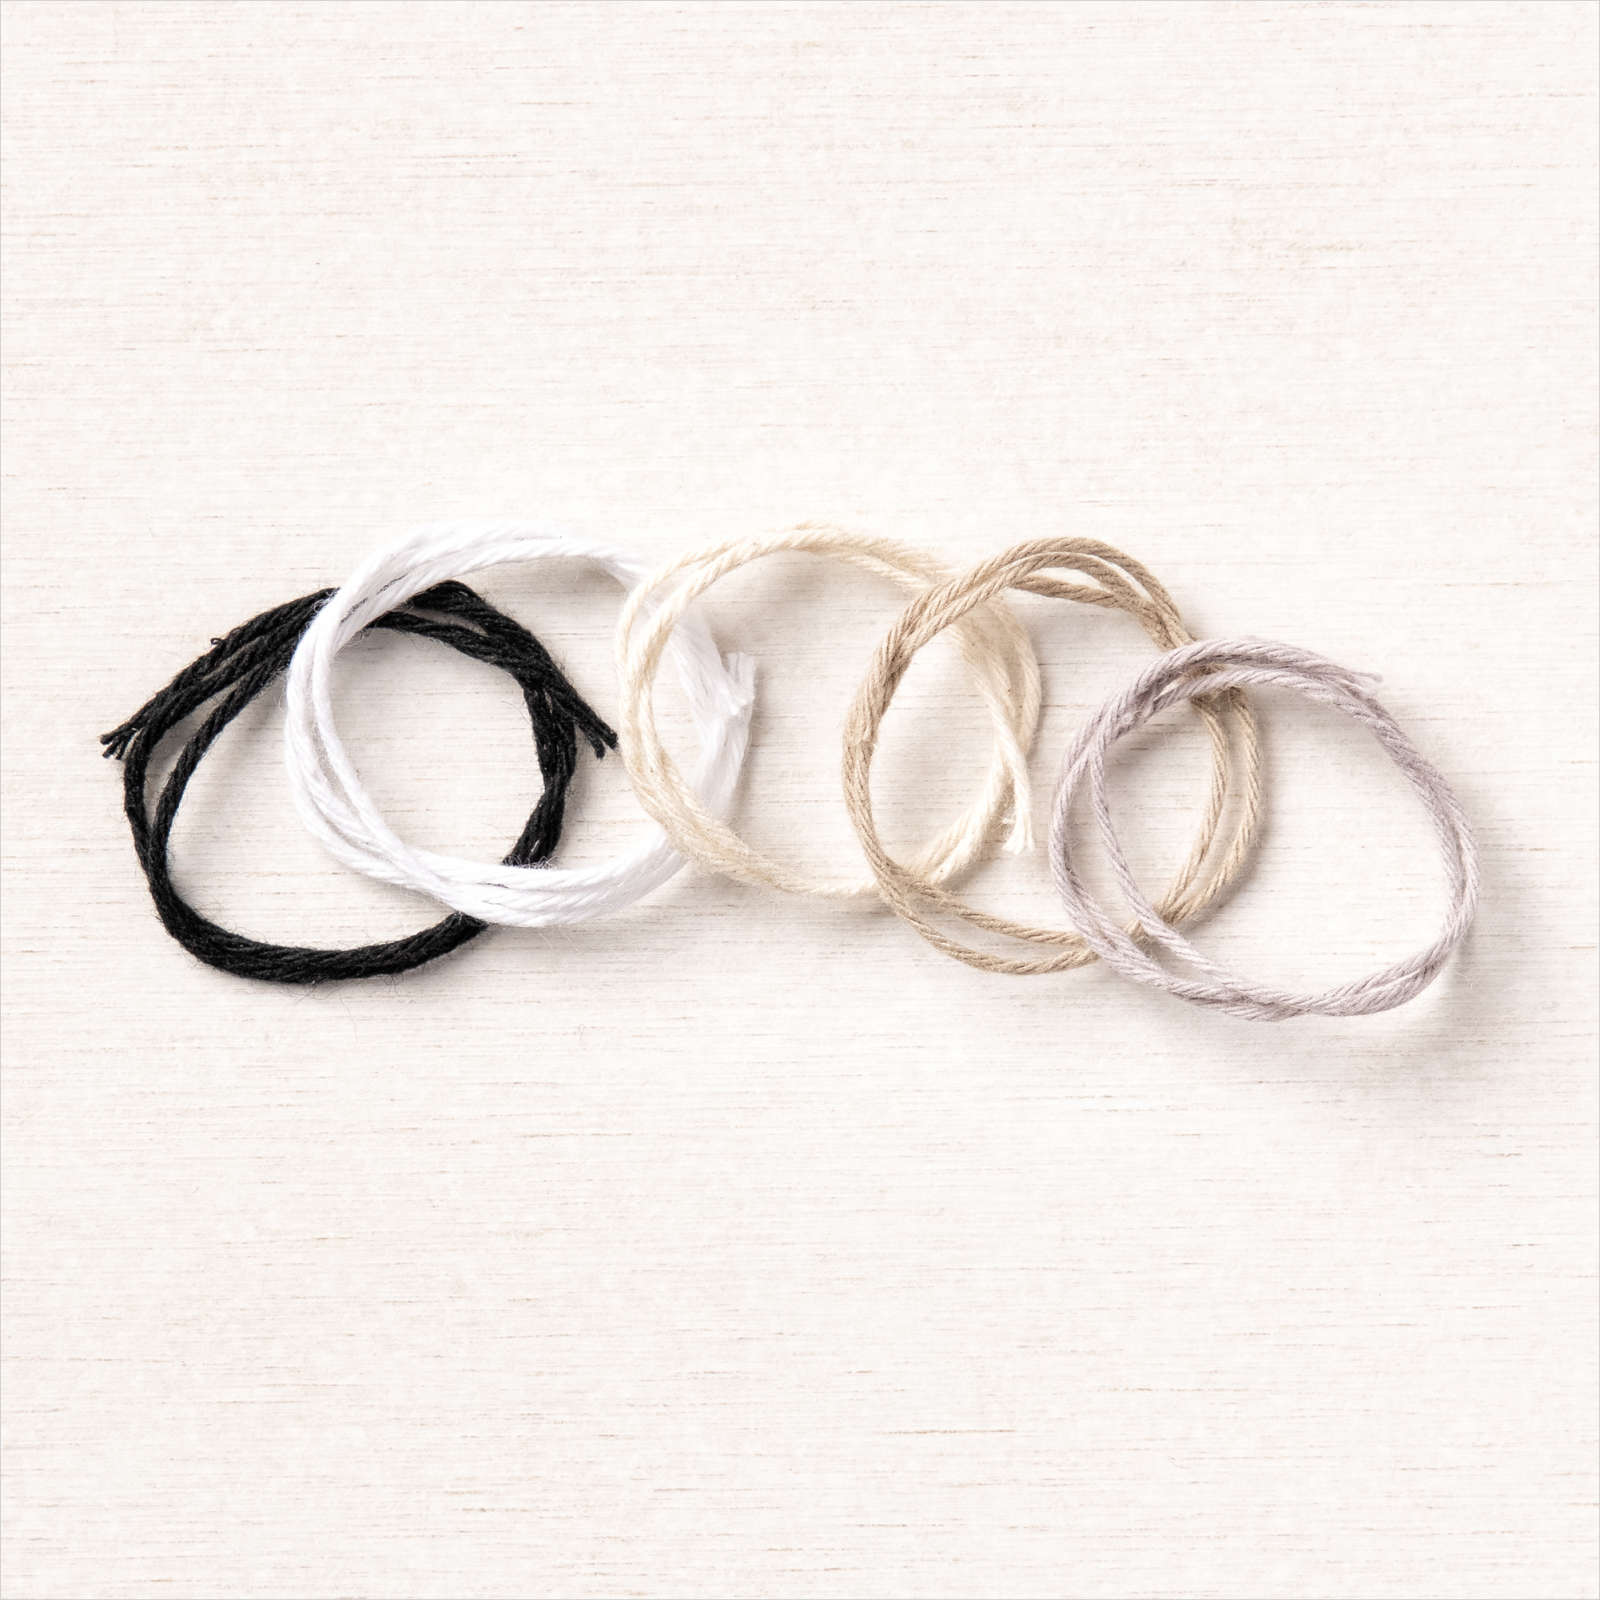
8. Wrap the White Baker’s Twine around the front of your card and tie a decorative bow on the left side.
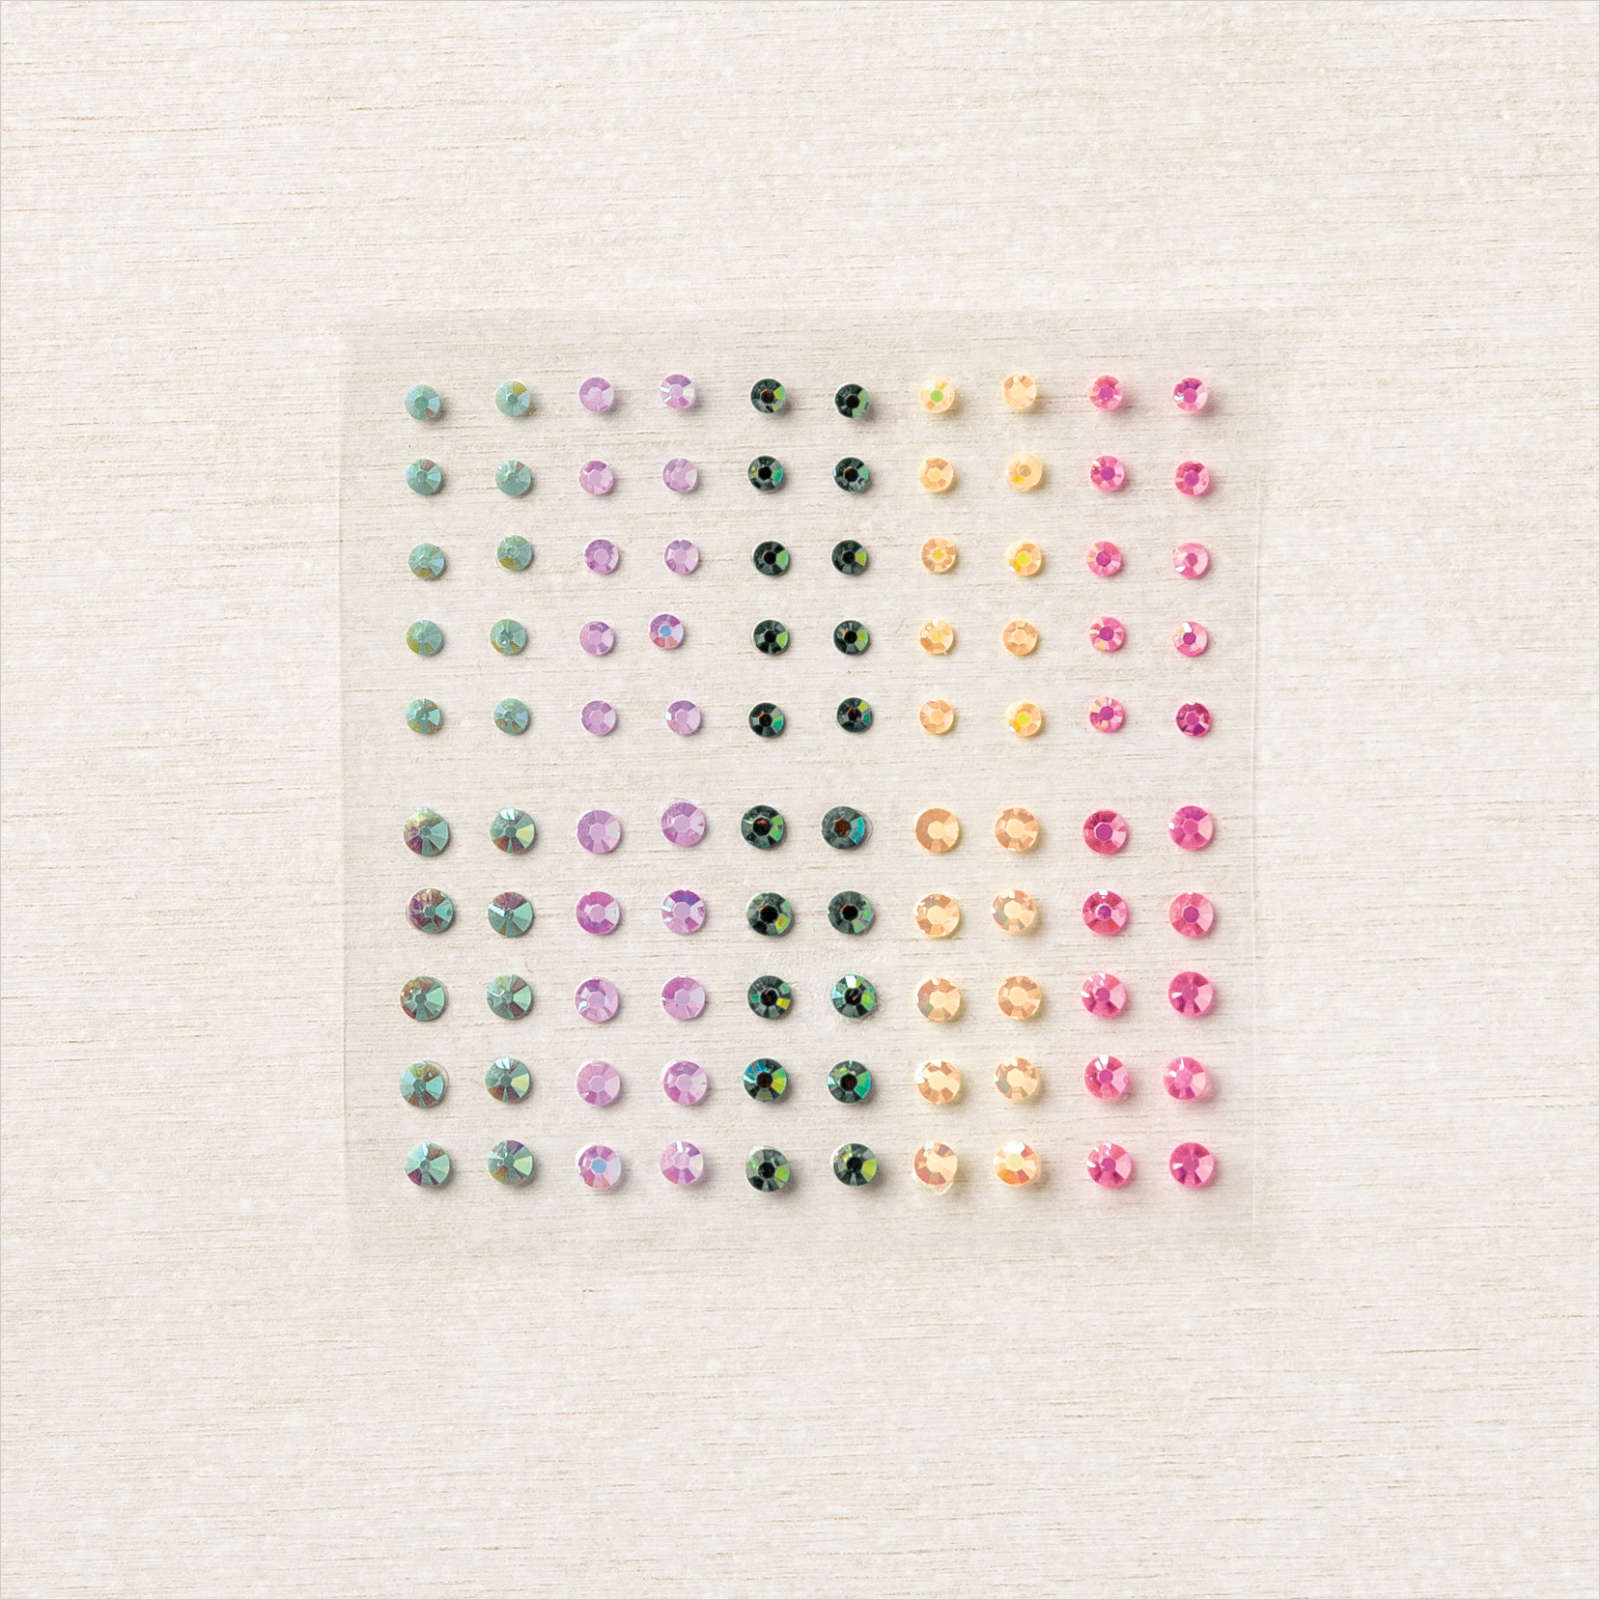
8. Embellish with a few 2021 – 2023 In Color Jewels.
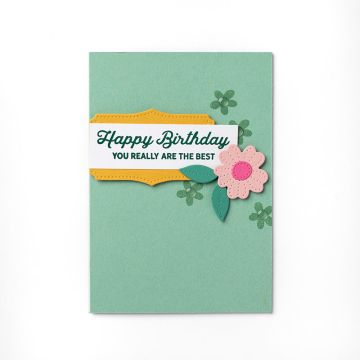
1. Die cut a label in Pool Party Cardstock, Bermuda Bay Cardstock, and Basic White Cardstock.
2. Stamp the sentiment in Bermuda Bay Ink on the Basic White Label.
3. Cut the Pool Party label in half horizontally.
4. Cut the Bermuda Bay label in half vertically.
5. To create the layered label, adhere one of the Pool Party halves behind the Basic White label at the top. Repeat this for the bottom half of the remaining Pool Party half.
6. To create the layered label, adhere one of the Bermuda Bay halves behind the Basic White label at the right. Repeat this on the left side of the remaining Bermuda Bay half.
7. Add dimensionals behind the layered labels. Center and adhere it to the front of the card using dimensionals beside the decorative bow.
8. Embellish the label by stamping a stamped-off Polished Pink flower and hand cut it out. Adhere the flower to the label using a mini glue dot.

#158218
#154312
#155571
#155475
#147107
#147096
#147097
#155712
#122924
#131197
#159229
#154899


