
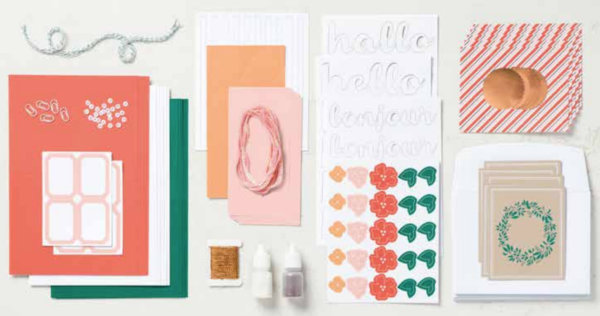
Base
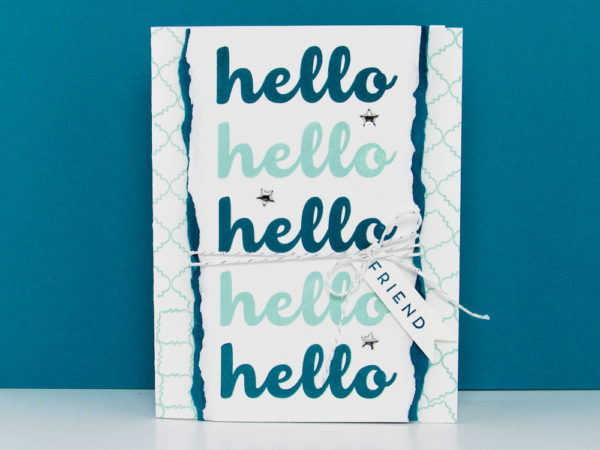
1. Cut a 5-1/2″ x 8-1/2″ piece of Whisper White Cardstock. Fold it in half. This is your card base.
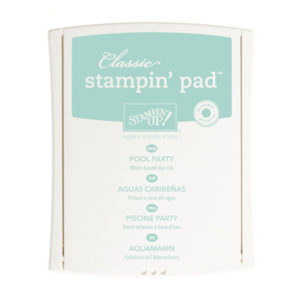
2. Using a Pool Party Ink Pad to stamp the background on the top of your card base.
3. Cut a 4-1/4″ x 5-1/2″ piece of Island Indigo Cardstock. This piece will layer under your “Hello’s”
4. Cut a 4-1/4″ x 5-1/2″ piece of Whisper White Cardstock. This piece is for your stamped images.
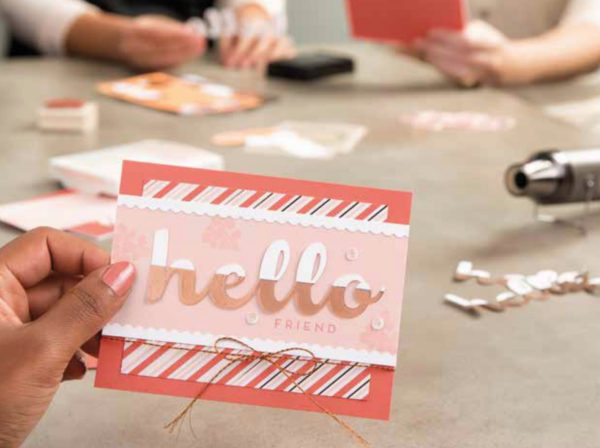
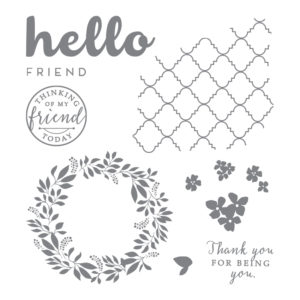
Hello
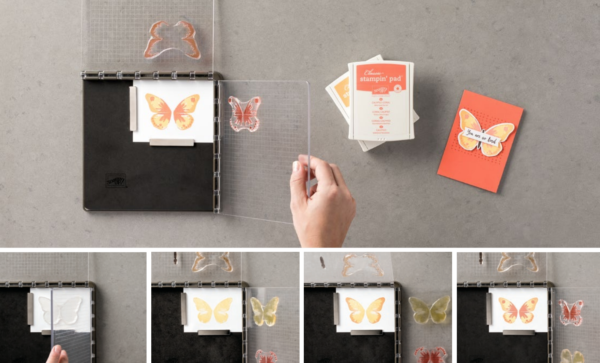
 1. Place the 4-1/2″ x 5-1/2″ piece of Whisper White Cardstock on the Stamparatus. Be sure its firmly tucked into the top corner. Don’t forget to use your magnets to hold your cardstock in place.
2. Place your stamp on as though you were stamping your hello on your cardstock. Find the perfect placement and then close your Stamparatus. This will secure it to your acrylic plate.
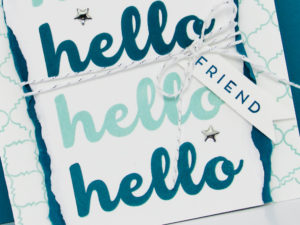
3. Ink up your Hello in Pool Party Ink and stamp it on your cardstock.
4. Put your acrylic plate in the upright position and pull it out of the hinges. This will allow you to move it down and secure it back in the hinges.
5. Repeat the process of inking up your Hello, stamping it and moving it down the hinges to create the perfect alignment.
Tip: You can use different colors or maybe create an ombre effect. This is were you can get super creative!
6. Using your thumbs as a guide and tearing towards your body… create a fun torn textured edge along each side of your stamped cardstock.
7. Using a liquid adhesive to center and adhere the image to the Island Indigo Cardstock.
8. Using your thumbs to guide you and tearing towards your body… to tear and texture the edge of the Island Indigo Cardstock.
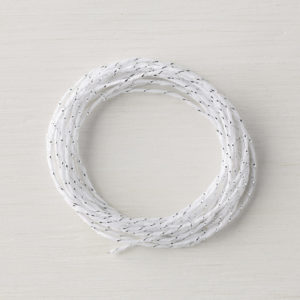
9. Add your Silver Baker’s Twine before adhering the Island Indigo Cardstock to your card base.
10. Add Stampin Dimensionals to adhere your torn and textured Island Indigo Cardstock to the top of your card base.
Friend & Embellishments
1. Stamp the word “Friend” in Island Indigo and hand cut it out.
2. On one end cut up the center and then cut from each corner to the middle. This will give you a banner effect.
3. Wrap your Silver Bakers Twine around the Island Indigo cardstock with the sentiment and tie a decorative bow.
Tip: I liked my Silver Bakers Twine under the (3) Hello. You can secure the bow using a mini glue dot.
4. After cutting your Friend Banner secure it under your bow using a dimensional.
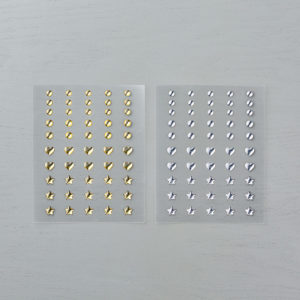
5. Don’t forget to add Metallic Enamel Shapes to add interest!
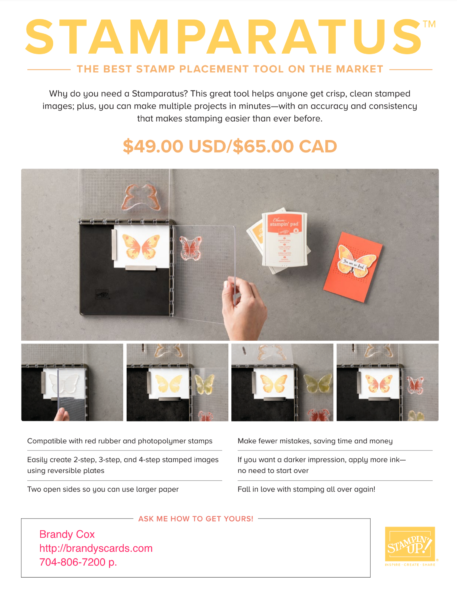
Stamparatus – Available June 1, 2018
CLICK HERE to learn more about the Stamparatus and to download flyer!


I love your videos. You speak so clearly and not too fast. Its enjoyable to watch and I learn so much. Im a senior citizen and really like making the cards.
Thank you for always including me I love your videos Janis