

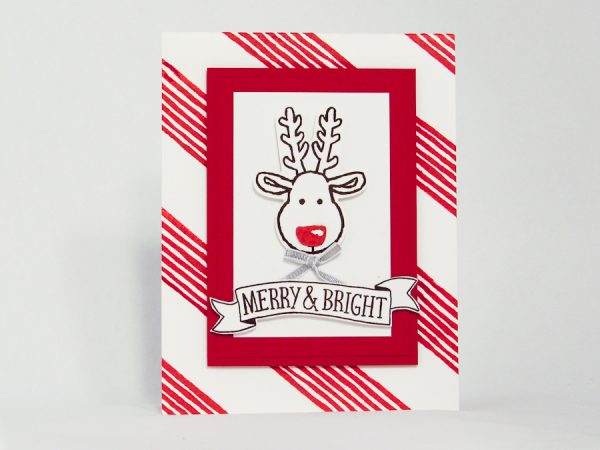
This fun reindeer can easily turn into Rudolph by stamping it twice and cutting his red nose out.
The fabulous stripes are from the Stampin’ Up! Basket for You Hostess Stamp Set, which is available now through June 2017.
The sentiment is from the Stampin’ Up! Stitched with Cheer Stamp Set. Keeping in mind, you can certainly change up the sentiment or background.
Thanks for stopping by!! Have a Blessed Day!! Brandy
Base
1. Cut a 4-1/4″ x 11″ piece of whisper white cardstock and fold it in half. This is your base.
2. Using your striped stamp and a real red stamp pad to add your background design.
Tip: Stamp one set of stripes on a piece of scrap paper and cut it out. This will help you keep your place and a uniform width when you stamp your stripes.
Rectangles
1. Cut a 4-1/4″ x 3″ piece of real red cardstock. This is your base rectangle.
2. Cut a 4″ x 2-3/4″ piece of real red cardstock. This rectangle will layer on top of the base rectangle.
3. Cut a 3-3/4″ x 2-1/2″ piece of whisper white cardstock. Adhere this rectangle to the top of your real red rectangle.
Reindeer
1. Using the Cookie 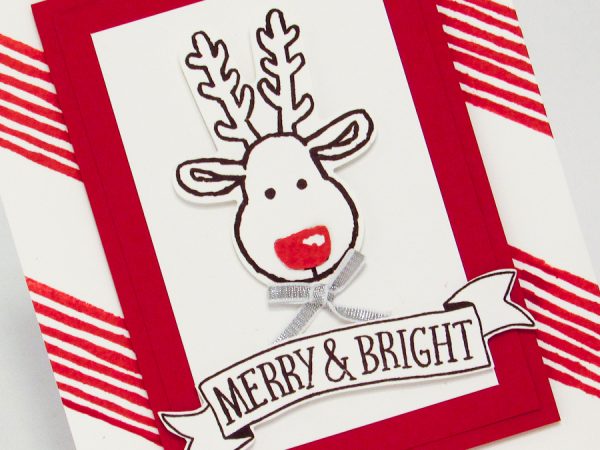 Cutter Stamp Set and Chocolate Chip Ink to stamp your reindeer.
Tip: Stamp your reindeer a second time on scrap paper in real red ink. Use your scissors to cut out his nose. If you adhere it to the top of your original image, you get Rudolph!
2. Use the Stampin Up coordinating Cookie Cutter Builder Punch to cut out your reindeer.
3. Stamp your sentiment in Chocolate Chip and cut it out using scissors or the Bunch of Banners Framelits Die.
4. I used the 1/8″ Silver Ribbon to tie a bow. I used a mini glue dot to add it to my card.
Items Used Include:
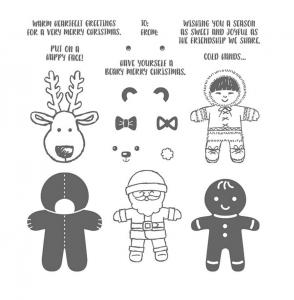
Cookie Cutter Stamp Set
Item #142043
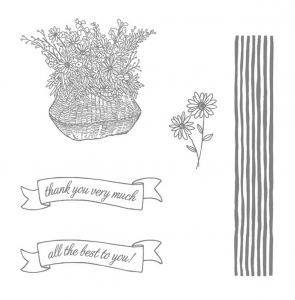
Basket for You Stamp Set
Item #141812
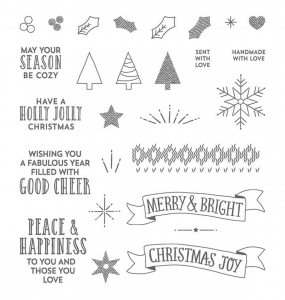
Stitched with Cheer Stamp Set
Item #142182
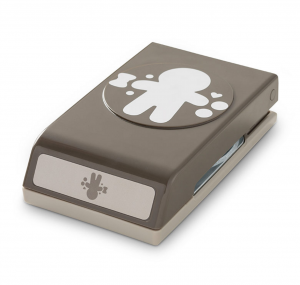
Cookie Cutter Builder Punch
Item #140396
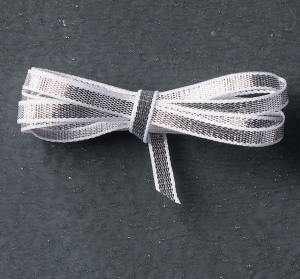
1/8″ Silver Ribbon
Item #132137
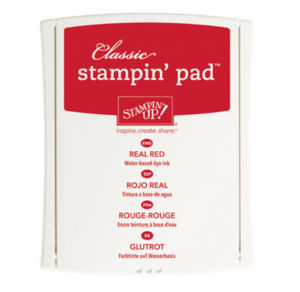
Real Red Ink Pad
Item #126949
Catalog Request Form
If you are interested in receiving a Stampin’ Up catalog, please fill out the request form below. If you currently have a demonstrator, please ask your current demonstrator for the catalog, because I do have to pay for the catalogs and for shipping. However, if you don’t have a demonstrator and are interested in purchasing Stampin' Up products, I’d love the opportunity to share Stampin’ Up with you, answer any questions and earn your business.


Beautiful Christmas Card Brandy!
Cute, cute reindeer! Thanks.
Betty Blue
Love how you used the stripe stamp to make the background!
Hi Brandy, I Love Love that reindeer card, never would have thought of the gingerbread man punch. You are so inventive. Love watching your videos. They give me inspiration. Carolyn
Love Raindeer card.
Thank you for your wonderful ideas and sharing. Would not have guessed the cut out was one for the reindeer and gingerbread! Kool! Thanks for all you do.
Oh, Brandy!
Cute card, very creative ideas, thank you for sharing. Take care…
OOPS! I meant to say I have striped DSP I can cut diagonally to look like the cute stamped background you created. Or, I can use the stripe background stamp similarly. Ooh, you have my creativity wheels turning. Thanks!
Such a cute card. And a great template for other focal images. I don’t have the set, but I do have the DSP which will compliment lots of focal images. TFS!
Oh my,your ideas are wonderful and very creative I only wish I had the same juices you use..lol……. thanks for another GREAT card and thanks Kathy, a responder, for your tip on dimensional backing removal……GREAT ALSO.
Hi Brandy~ I just love watching the actual card making process on your tutorials! It is nice to see how the sets go together with the punches. I would never have guessed that reindeer could fit inside that gingerbread man punch 🙂 I am making a list of things to order. Thanks again for taking care of Tina and I as customers way down here on the island!
Sincerely, Suzanne
Very cute card, Brandy! Thanks for all the great tips. I love how the stripes look like ribbon!
I love your card. Such a cute idea.
I just love this card!! Cute and quick to make…thanks for sharing.
Laura
What a pretty card! I like the clean look. it’s not too fussy.
You might know this, but if you push your fingernail down on the back middle of your dim atonal, once you have it on your paper, they peel off so much easier..love your videos, paper hugs, kathy