
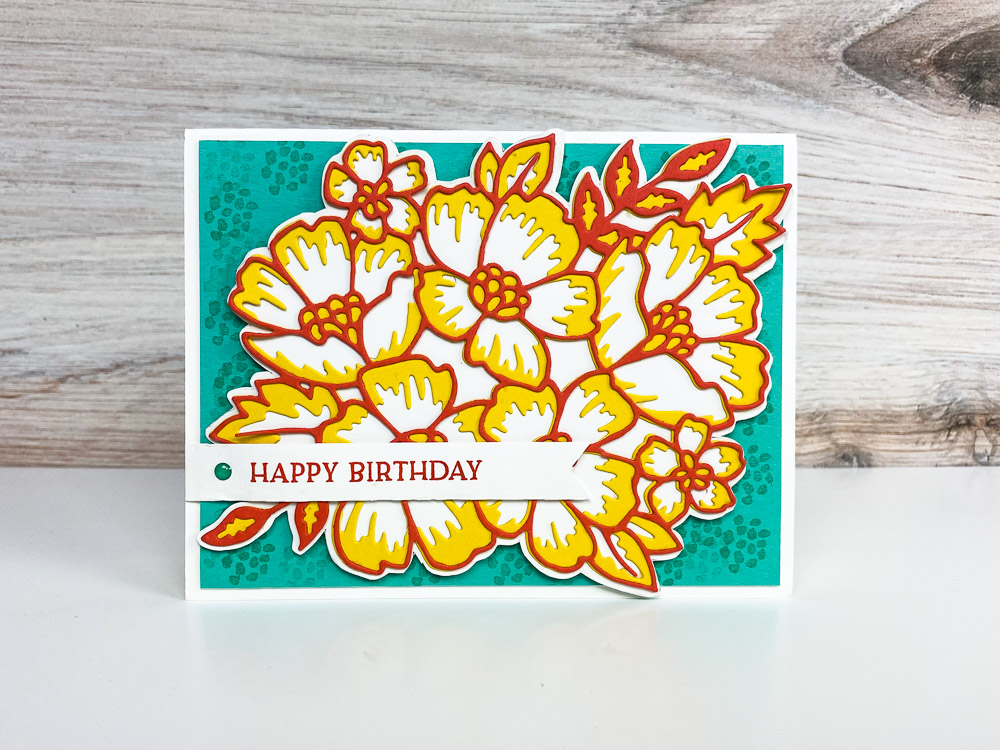
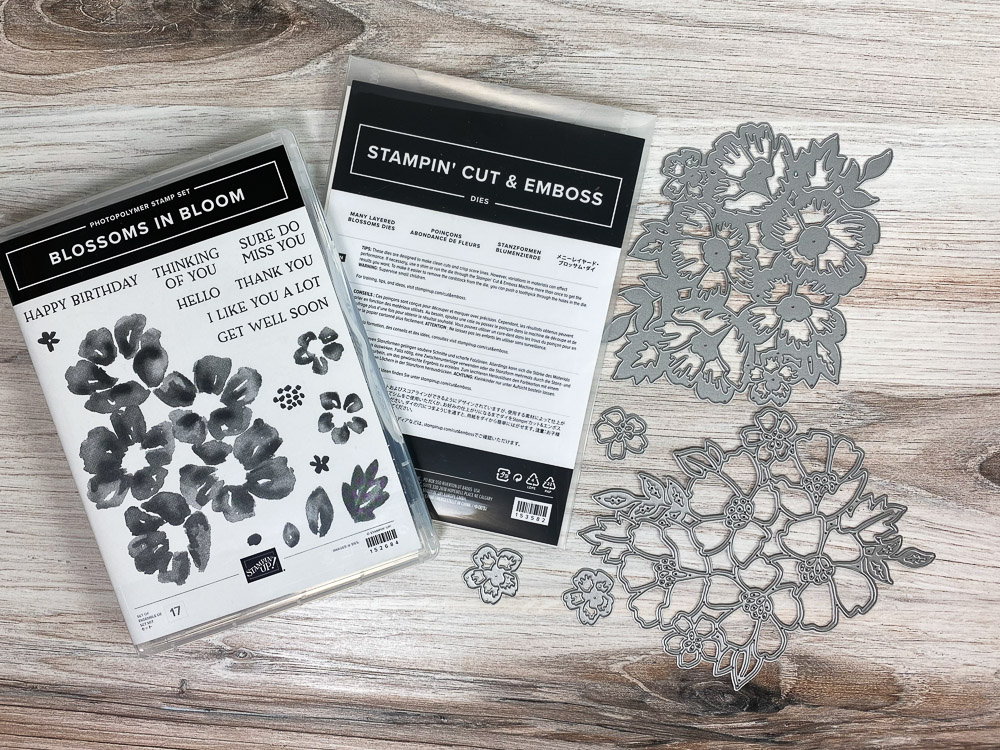
Today’s card was created using the Stampin’ Up! Blossoms In Bloom Stamp Set and coordinating Many Layered Blossoms Dies. This set can be found in our New 2020 Annual Catalog, on pg. 51.
Oh, I had so much fun working with this set and creating for you. I played with so many color combinations and had fun mixing and matching them.
I hope you enjoy my video tutorial and be sure to let me know if you need something or have any questions. I’m grateful you stopped by and appreciate the opportunity to continue to earn your business.
Happy Stamping!! Brandy
1. Cut a 5-1/2″ x 8-1/2″ piece of Whisper White Cardstock. This is your card base.
2. Cut a 5-1/4″ x 4″ piece of Coastal Cabana Cardstock. Use Coastal Cabana Ink to stamp your dots then center and adhere this piece to the top of your card.
Tip: The dots are from the Stampin’ Up! Blossom In Blooms Stamp Set.
3. Use the Many Layered Blossom Dies cut a set of Daffodil Delight Blooms.
4. Flip over the die that was used to cut the Daffodil Delight Blooms and trace it on white paper with a pencil. Use snips to cut out the image and use your pencil eraser to clean up any pencil.
5. Die cut a set of Calypso Coral Cardstock. This is the outline of the blooms.
6. Next layer your flowers by adding the Daffodil Delight to the top of your traced white piece. Then add your Calypso Coral outline.
Tip: To add glue to the fine lines of the outline use a fine tip glue pen.
7. Add a few dimensionals behind your layered blooms and center and adhere them to the top of your card.
8. Cut a 3-3/4″ x 1/2″ piece of Whisper White Cardstock. Use your paper snips to create a banner on one end.
9. Stamp your sentiment in Calypso Coral Ink.
10. Add your banner to the top of your card.
11. Add a 2020 – 2022 Just Jade In Color Enamel Dot.

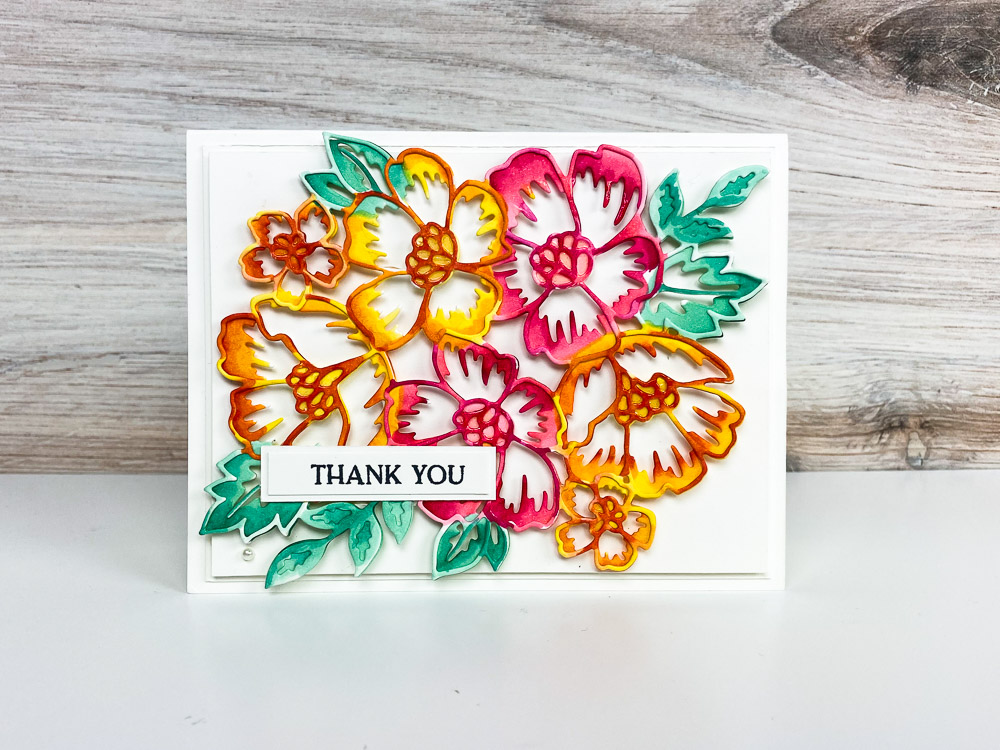
This card uses the following Stampin’ Blends to color both die cut images: Bermuda Bay, Daffodil Delight, Calypso Coral, Lovely Lipstick, Pool Party, and Pumpkin Pie.
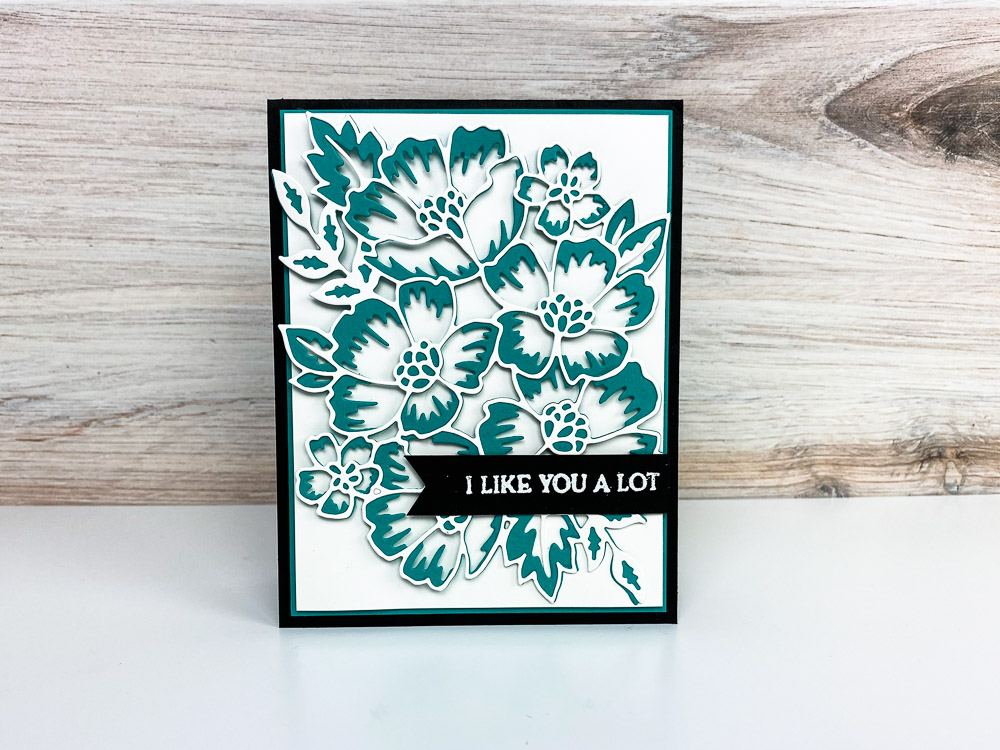
This card features Bermuda Bay Blooms layered on a Basic Black card base. The sentiment was heat embossed using Whisper White Embossing Powder.
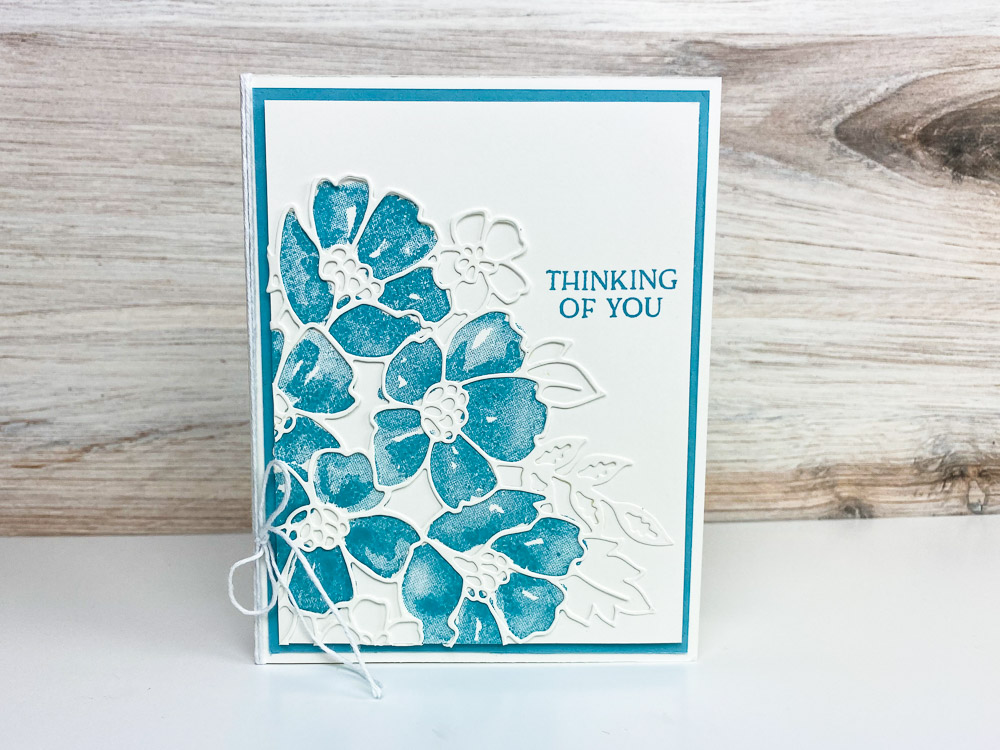
This card features Balmy Blue Ink and the card base is has a mat Balmy Blue layer. You’ll notice the blooms are stamped in Balmy Blue and outlined with the Whisper White Blossoms.
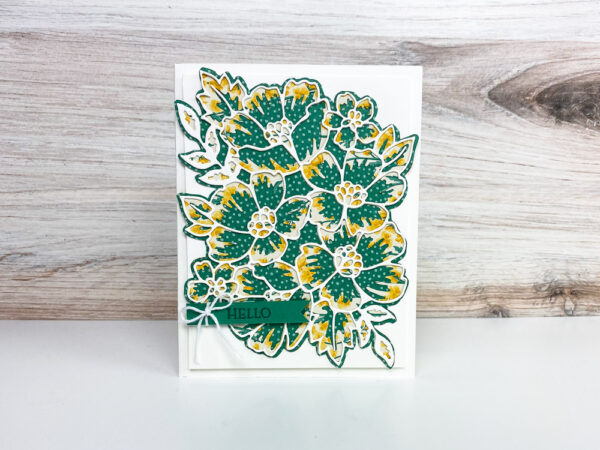
This card is very similar to the card I shared above. It features the Flowers For Every Season 6 x 6 Designer Series Paper with a traces base piece.


You are darling and so inspirational! I love watching your videos!
I enjoy watching the replays of your videos. Thank you for all of your tips.
Awesome video!!!!
Great video. Thanks for sharing your ideas.
Hi Brandy,
I have finally found enough courage to send you a message. I am on your mailing list, but I live in the UK and I am a senior citizen , but that’ts enough about me I felt that I had to share a comment with you; this demo is just marvelous. You have explained exactly what you have done, and you talked to us not down at us. You are a breathe of sunshine and I enjoyed every minute.
Your cards are awsome, keep up th e good work.
Keep safe Brandy and all your family too.
THANK YOU FOR THE BEAUTIFUL CARDS I ENJOYED THE VIDEO VERY MUCH. I WOULD TO S EE YOU AND YOUR VIDEOS SOME MORE THANK YOU AND GOOD HEALTH