
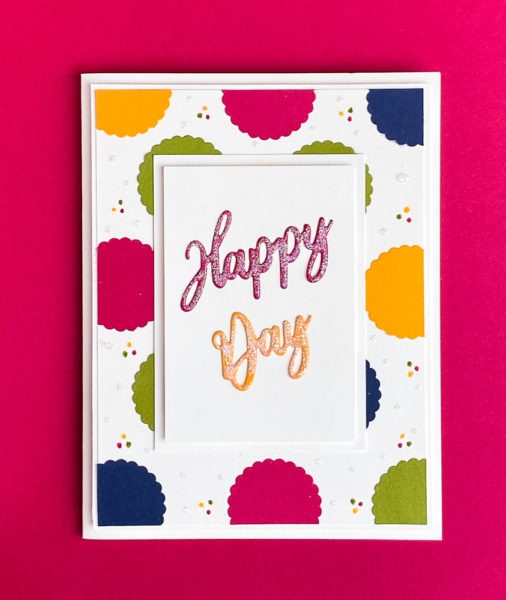
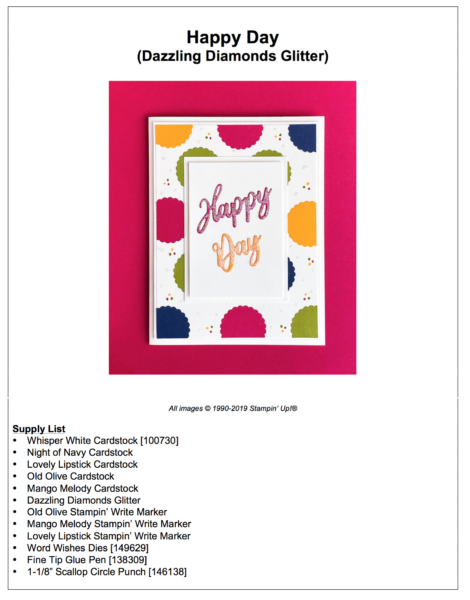
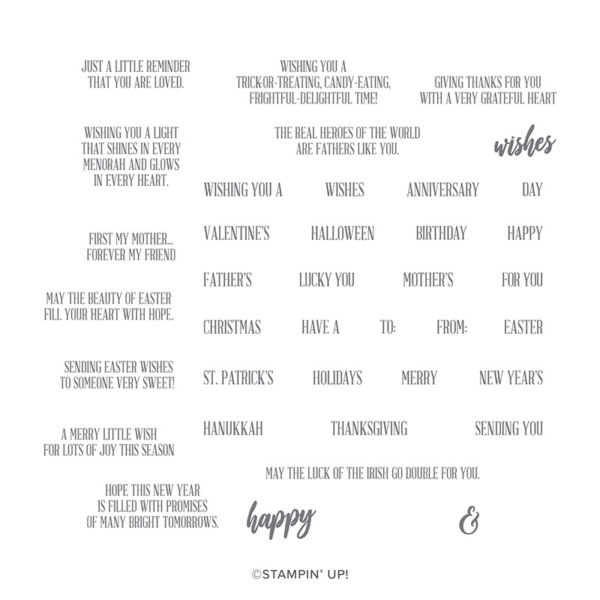
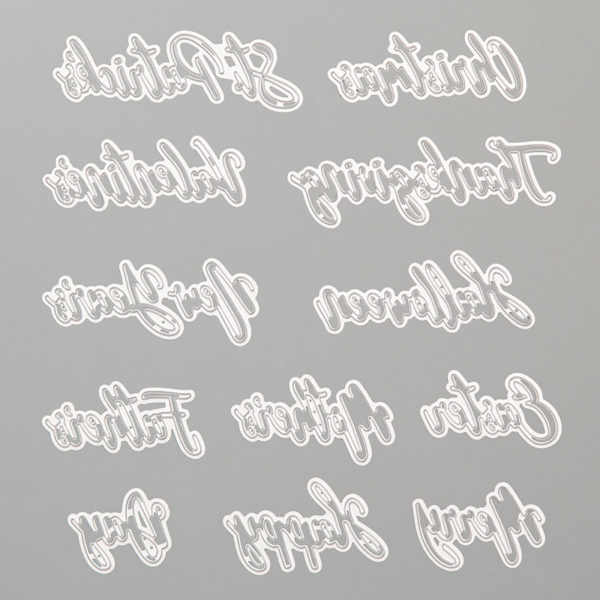
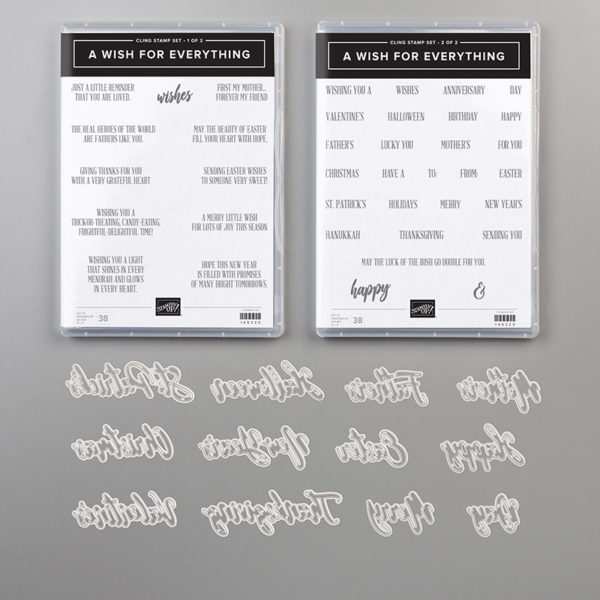
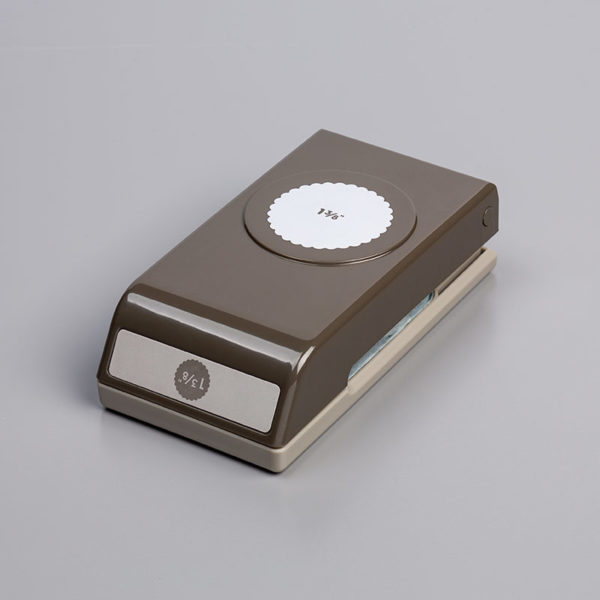
Today’s card features the Stampin’ Up! Word Wishes Dies & 1-3/8″ Scallop Punch.
Did you notice… there’s is no stamping, just a bit of die cutting. This card is bright and cheerful and is the perfect note for a quick “Hello!”
Thanks for stopping by. I hope you enjoy my card. Let me know if you need something or have any questions. I’m always glad to help! Blessings, Brandy
1. Cut a 4-1/4″ x 11″ piece of Whisper White Cardstock. Score this piece at 5-1/2″ and fold in half. This is your card base.
2. Cut a 4″ x 5-1/4″ piece of Whisper White Cardstock. This piece is to mat your background.
3. Cut a 3-7/8″ x 5-1/8″ piece of Whisper White Cardstock. This piece is for your scalloped background.
4. Punch several scalloped circles in various colors and random adhere them to your 3-7/8” x 5-1/8” Whisper White layer.
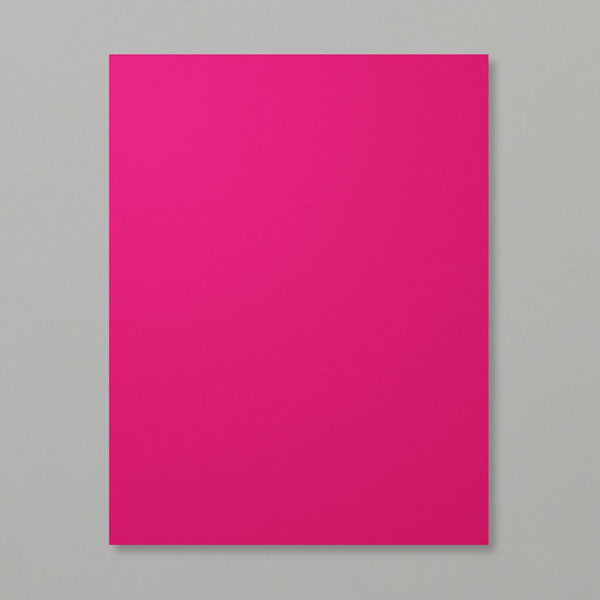
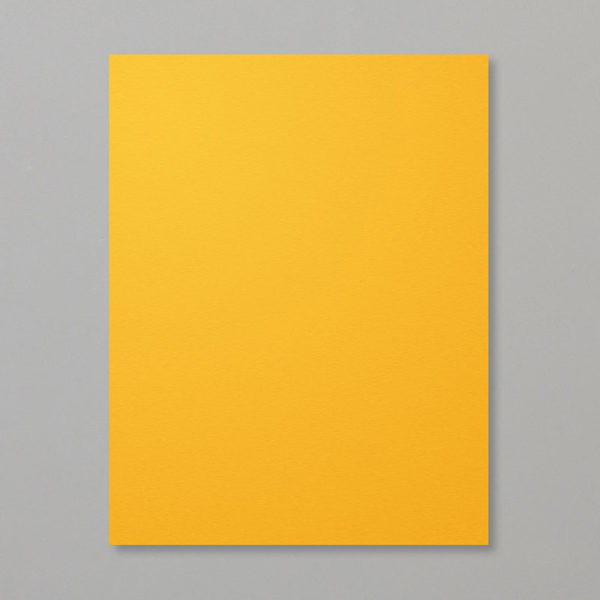
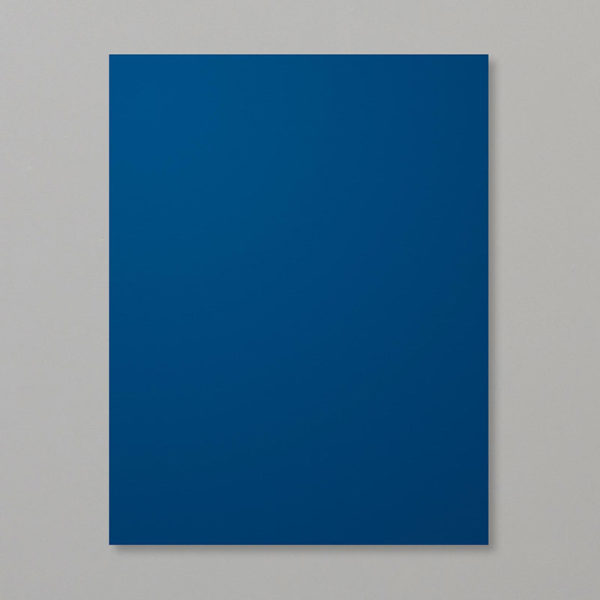
Tip: The colors used on this card include: Lovely Lipstick, Mango Melody, Old Olive and Night of Navy.
5. Once you’ve adhered your scallops, turn your cardstock over and trim along the edge of the cardstock. Trimming off the portion of scallops that are over the edge of the whisper white cardstock.
6. Center and adhere you scallop background to the Whisper White Mat Layer.
7. Add Stampin Dimensionals behind your Whisper White Cardstock and adhere it to your card base.
8. Use your Stampin’ Write Markers to add the three dots.
Tip: You can use either Stampin’ Write Markers or Stampin’ Blends. The colors used on this card include: Night of Navy, Mango Melody and Lovely Lipstick.
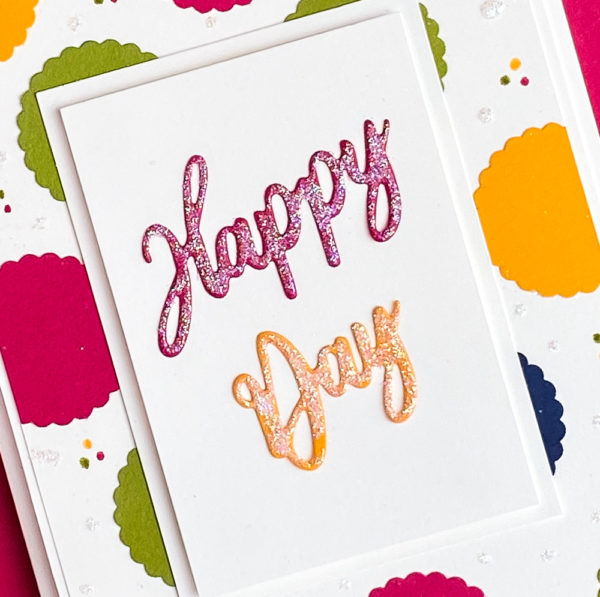
9. If you’d like to add glitter dots… use a fine tip glue pen to leave drops of glue and sprinkle on dazzling diamonds glitter. Tap excess off back into container.
10. Die cut “Happy” out of Lovely Lipstick Cardstock using the word wishes dies.
11. Die cut “Day” out of the Daffodil Delight Cardstock using the word wishes dies.
12. Cut a 2-1/2″ x 3-1/2″ piece of Whisper White Cardstock. This piece will mat your sentiment.
13. Cut a 2-1/4″ x 3″ piece of Whisper White Cardstock. This pieces is for your sentiment.
14. Center and adhere the 2-1/4″ x 3″ piece to the top of the Whisper White Mat using Stampin’ Dimensionals.
15. Then center and adhere the whole piece to the top of the card using liquid adhesive.
16. Adhere your “Happy Day” to the top of your card using either liquid adhesive or a fine tip glue pen.
#149320
#149629
Bundle #151111
#146139
#146970

#100702
#146989


I love the card it’s such a cute idea we all have so many scraps that this will be great for and also it’s a great masculine card which I think a lot of us struggle with coming up with cards for guys so this is a great option. I will be casing this card. Thank you for sharing
I have not purchase anything yet, but you are an amazing card maker and I’m thrilled I get video’s from you…. you are the best
So cute & simple. Great for kids & using in classes for facility residents. Thanks for sharing this fun card!
Love how you used the scallop punch! Such a cheery card, sure to bring a smile to the recipient. Thanks for sharing!