

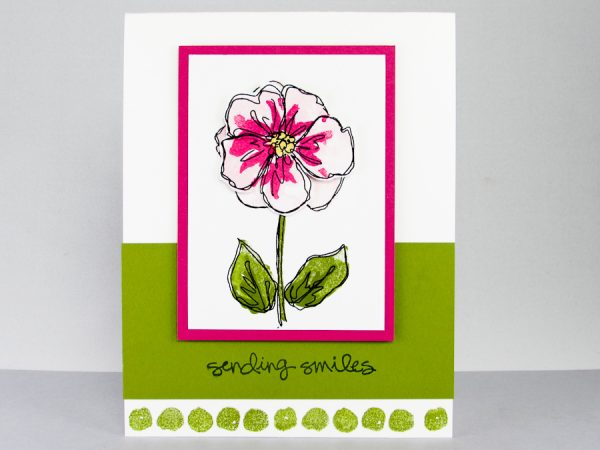
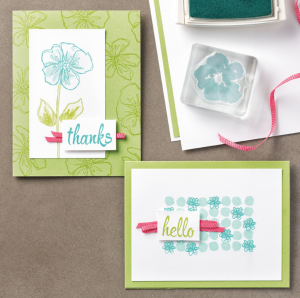
Today’s card was designed using the retiring Stampin’ Up! Penned and Painted Stamp Set.
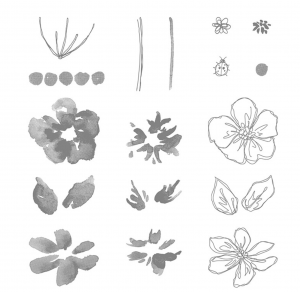
Stampin Up! Penned and Painted
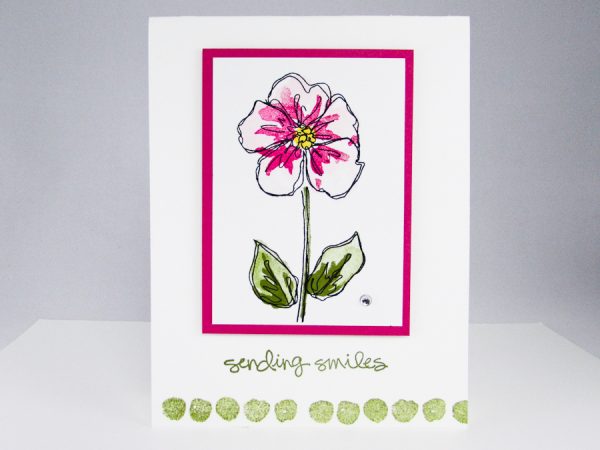
Oh, how I love this 2 step stamp set. Its amazing how every time I stamp my flowers they turn out beautifully without a tremendous amount of effort. I recently created this same card in Island Indigo. I’d love to see it in Corals. Wow!!
I decided to go with “sending smiles” for my sentiment. With the fun dots stamped along the bottom edge to the fantastic happy colors… sending smiles seem to work great!
I hope you enjoy my video tutorial. Thank you for stopping by Brandy’s Cards! Blessings, Brandy
RETIRING STAMP SET – You can still order the Stampin Up Penned and Painted Stamp Set through May 20th. Don’t delay this set will retire between May 21st and May 31st or while supplies.
 BASE
BASE
 BASE
BASE1. Cut a 4-1/4” x 11” piece of whisper white cardstock and fold it in half. This is your base.
2. Cut a 4-1/4” x 2” piece of Old Olive Cardstock. This piece will layer on the top of your card.
Tip: Stamp your sentiment before you adhere your old olive piece to the top of your card. This will give you 4 chances to stamp your sentiment straight.
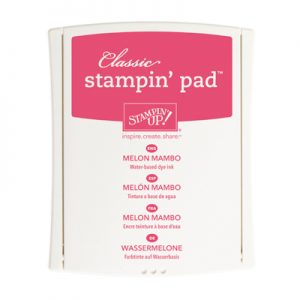
3. Cut a 3-3/4” x 2-3/4” piece of Melon Mambo Cardstock.
4. Cut a 3-1/2” x 2-1/2” piece of Whisper White Cardstock.
Tip: Stamp your flower before you center and adhere your whisper white cardstock.
FLOWER
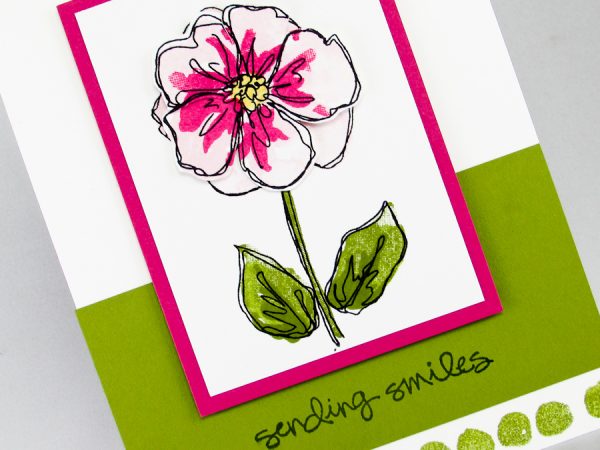
Stamp your stem, leaves and outline of flower in Archival Black.
1. Stamp the full coverage stem in Old Olive.
Tip: If you want the inside of your leaves to be a lighter shade of Old Olive you’ll want to stamp off first and then stamp inside your leaves.
2. Then ink up the detailed leave stamp and stamp it again in the center of the leaves.
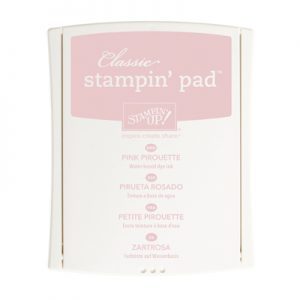
3. Stamp your full coverage flower in pink pirouette.
4. Stamp your detailed flower pieces inside your flower with Melon Mambo.
5. Center and adhere your flower image to your Melon Mambo Cardstock.
6. Use stampin dimensionals to pop your Melon Mambo Cardstock up off your card.
Tip: If you would like to add dimension to your flower. Stamp it a second time of scrap paper and cut it out. You would then use a stampin dimensional to pop it up off your flower.
7. If you’d like… add a Silver Enamel Shape or Rhinestone.
Products Used Include:
Stampin Up Sample!
Another Stampin Up Sample!


Catalog Request Form
If you are interested in receiving a Stampin’ Up catalog, please fill out the request form below. If you currently have a demonstrator, please ask your current demonstrator for the catalog, because I do have to pay for the catalogs and for shipping. However, if you don’t have a demonstrator and are interested in purchasing Stampin' Up products, I’d love the opportunity to share Stampin’ Up with you, answer any questions and earn your business.


I gave this card a try and and fell in love with it!! So many color possibilities. Thank you for sharing and inspiring others.
So, so pretty. Just beautiful. I have been quite busy lately and am only just sitting down to watch videos sitting in my in-box. What a wonderful time spent with you today. Thank you Brandy for this time well spent. And now . . . . . into my craftroom!
Love the cards.. The gift box is super cute!
Hi Brandy, Your card looks lovely. I love how you give us wonderful ideas. It’s sad that the Penned & Painted stamp is retiring. Could you please
send me the name of the stamp set you showed us with the wording you used “Sending Smiles”. I’m all the way over in Perth Western Australia so I’ll have to get it from my a distributor over here. Thank you for your time and sending us your wonderful videos. Regards Naomi.
I really enjoy the videos they do. You make it look so easy.
Brandy, you make everything look so easy, just love your videos
I so enjoy your videos. Thank you for all the wonderful ideas
Your card and soap box were just lovely (just like you are). Thank you for showing us those.
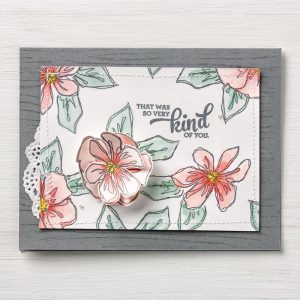
Hi Brandy! Your card is beautiful! That stamp set is so versatile. Love how you can pick and choose how many layers of the flower you want to use.