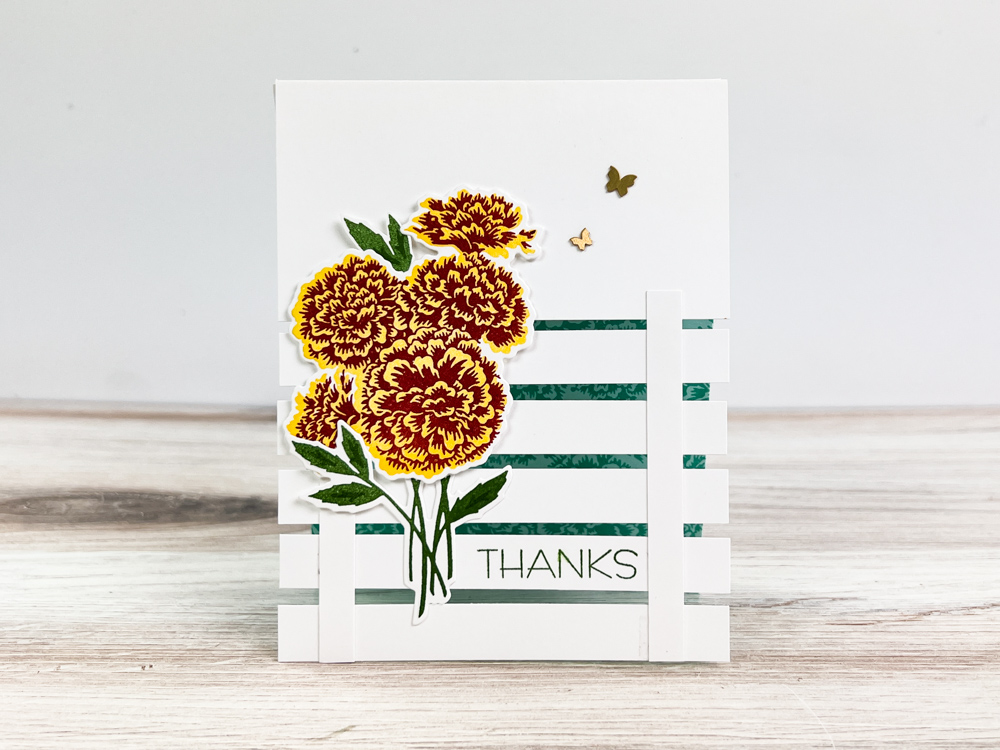
Looking to make a beautiful and unique card? Look no further than the lattice split card tutorial! Using basic card making supplies you’ll learn how to create this eye-catching card. I see so much potentials for this stunning lattice card—Mother’s Day, Wedding Anniversary, and Birthdays of course!
Which of these lattice split cards was your favorite? Each card is made a little differently and of course, features different stamp sets. I’d love to know if you’ll make this card!
- Cut a 4-1/4″ x 11″ piece of Basic White cardstock and score at 5-1/2″. This is the card base.
- Cut off 3-1/4″ from the bottom of the front panel. From this piece, cut five 1/2″ x 4-1/4″ strips. The remaining strip will be slightly wider. Cut this piece in half to create two thinner strips that will be used to secure the other five lattice strips.
- Adhere a strip of Washi Tape (approx. 4-1/4″) to the inside – top edge of the card base, so the sticky side is face up. Secure the bottom end to a clear block, as shown.
- Line up one of the strips flush with the bottom of the card base. Then, evenly space the other four strips over the Washi Tape.
- Add a dot of multipurpose glue 1/2″ from the outer edges of the lattice strips. Place the thinner strips vertically over the glue, as shown.
- Trim off excess. This is the lattice card base.
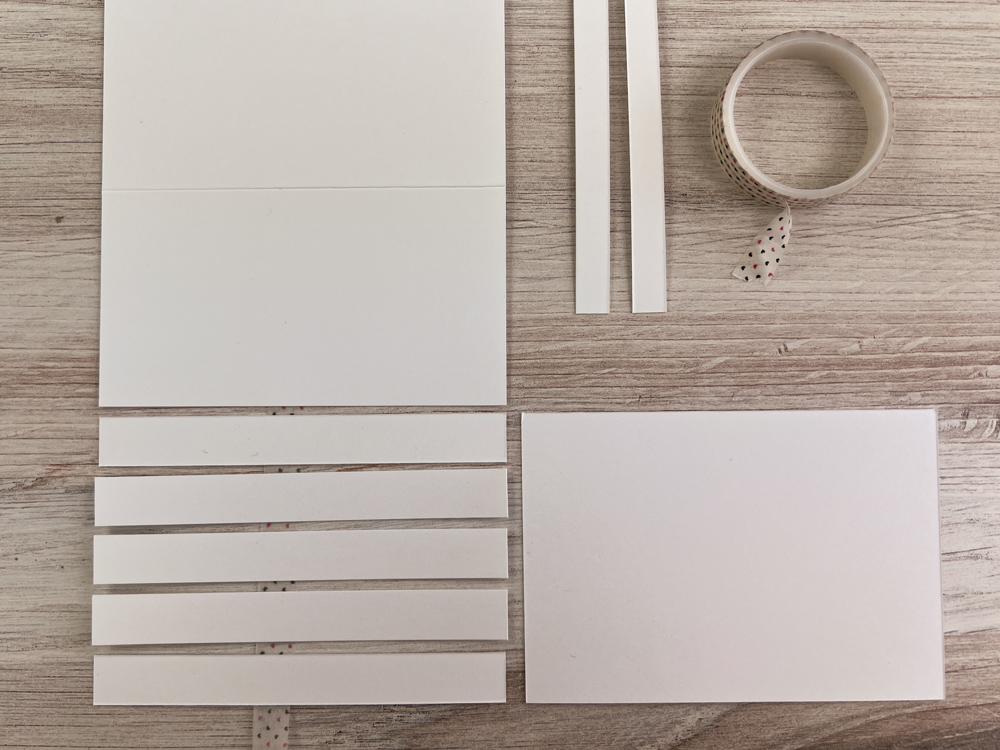
Step 1: Cut pieces to assemble the lattice card base
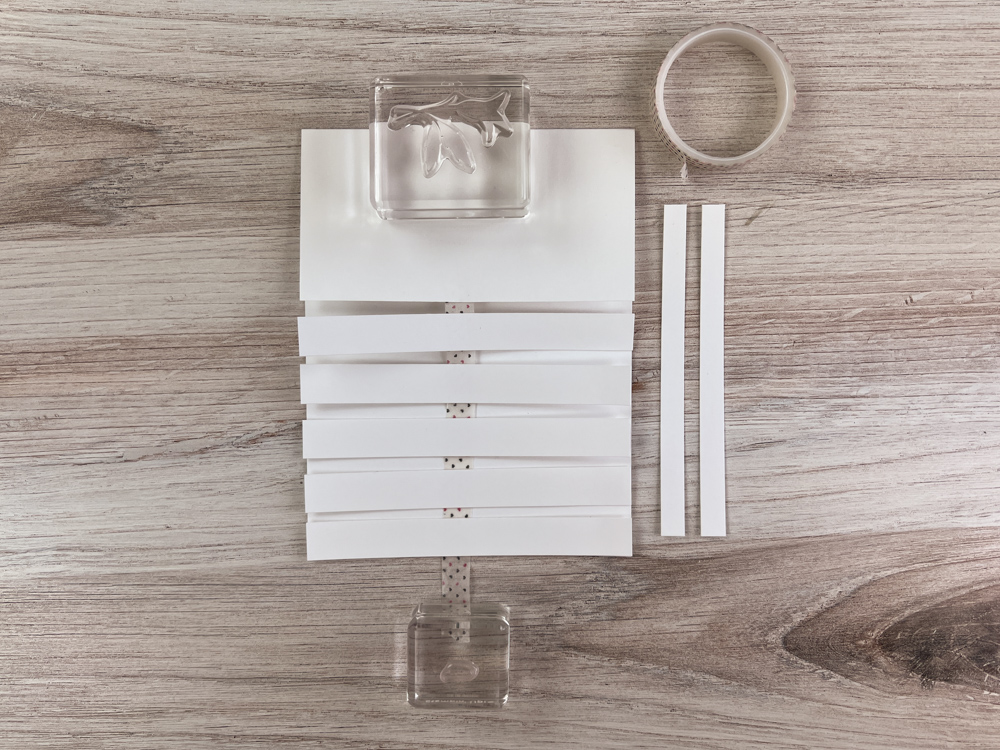
Step 2: Use Washi Tape and clear blocks to assist placement of the lattice horizontal strips (left to right)
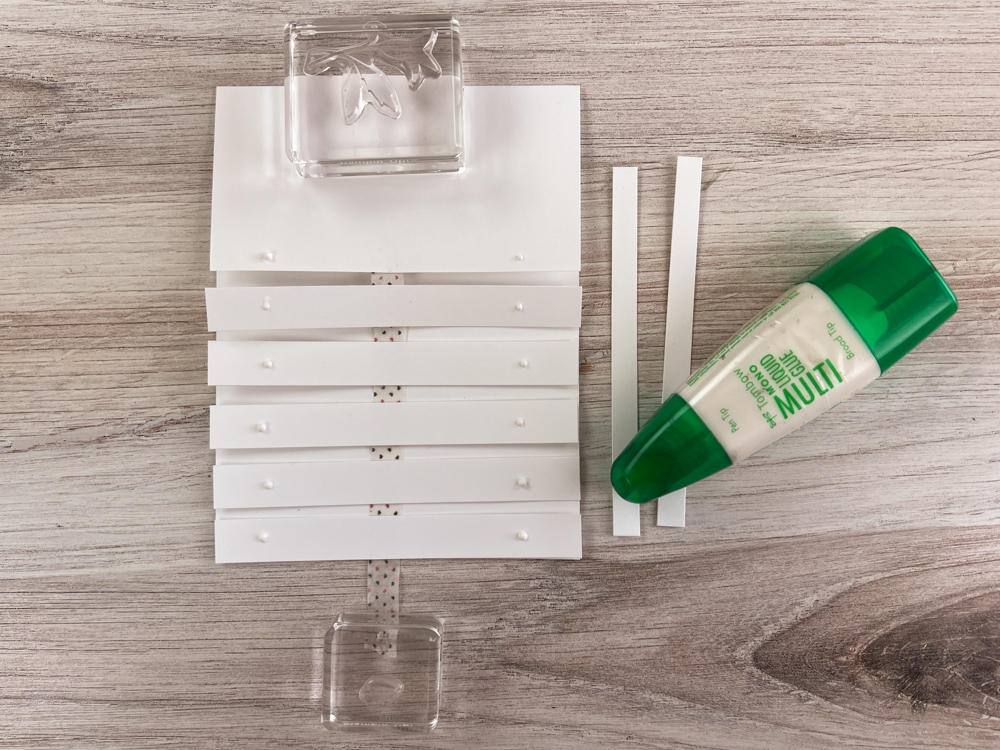
Step 3: Apply small dab of glue 1/4″-1/2″ in from the edge of each side of the horizontal lattice strips and then apply the last 2 strips of cardstock vertically to secure the card front.
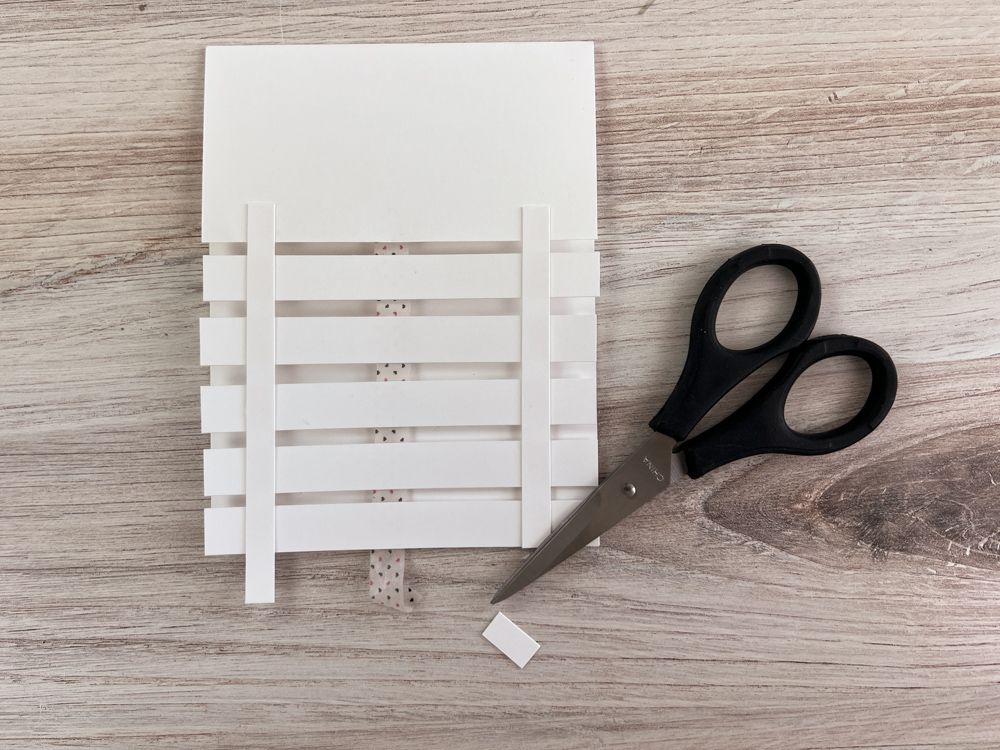
Step 4: Trim the bottom vertical strips with scissors to be flush with the bottom of the card base.
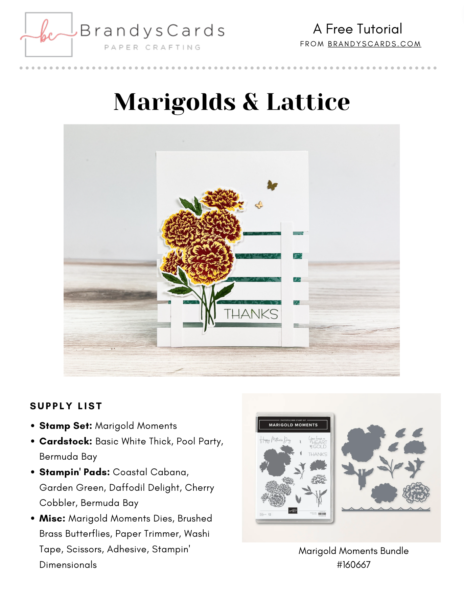
- Use Stampin’ Up! Marigold Moments stamp set
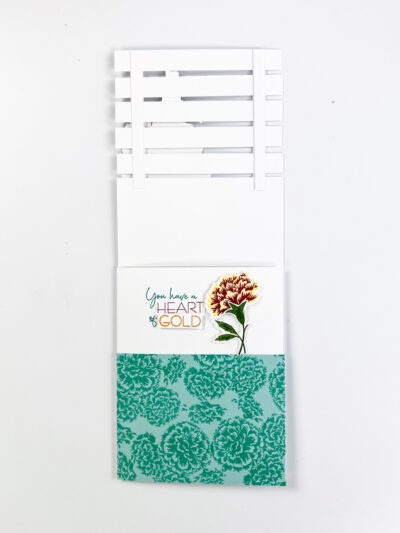
- In Garden Green ink stamp the sentiment across the front of one of the lattice strips.
- Stamp the marigolds and stems on scrap paper and die cut.
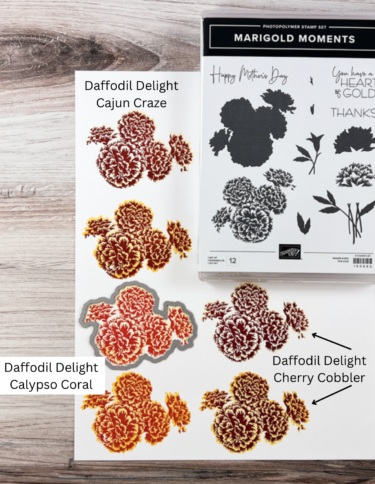
- Stamp the large full marigold image in Daffodil Delight.
- Use Cherry Cobbler to stamp the detailed marigold image over the Daffodil Delight image.
- Use Garden Green to stamp the stems.
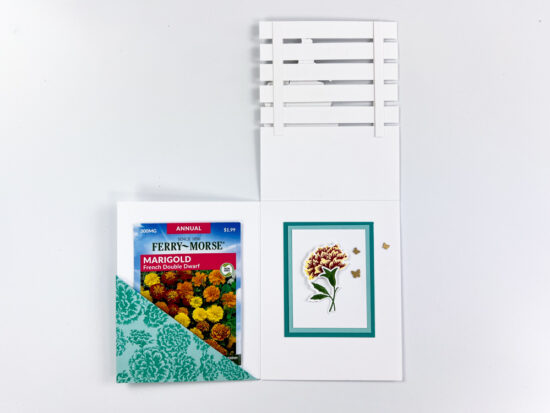
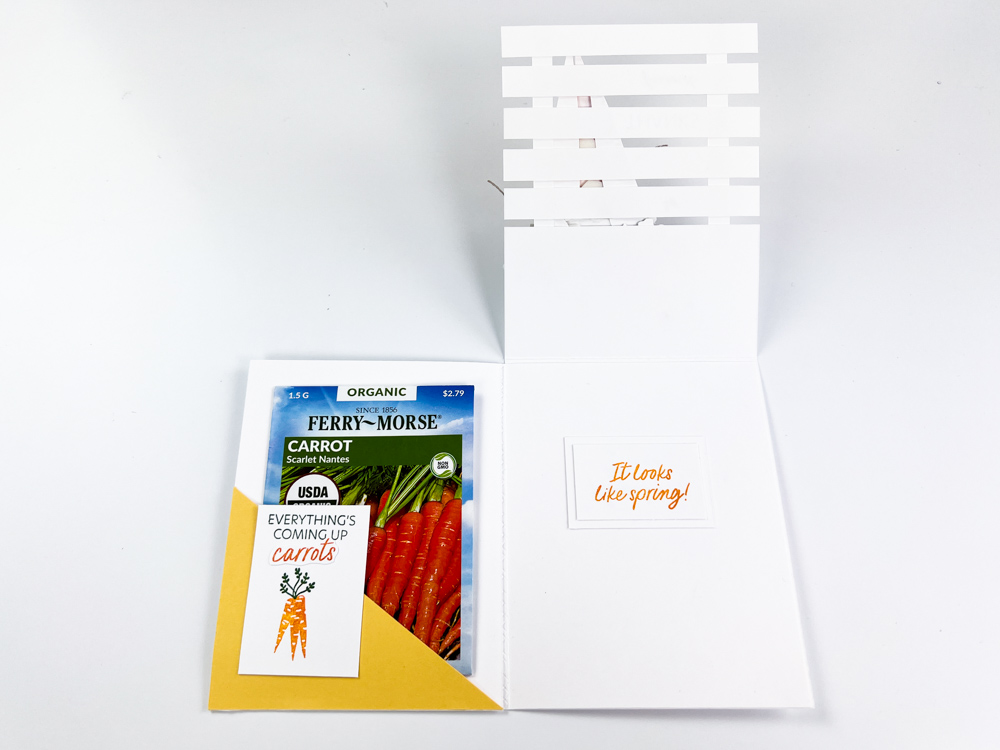
- Cut a 5-1/2″ x 8-1/2″ piece of Basic White cardstock and score it at 4-1/4″. This is for the inside pocket and seeds. Adhere the back panel to the inside of the lattice card base.
- Cut a 3-1/2″ x 8-1/2″ piece of Pool Party cardstock. Use Bermuda Bay to stamp a decorative design using the detailed marigold image. Then, score at 4-1/4″
- With the stamped Pool Party cardstock unfolded, line up the top point of the score line diagonally with the bottom right corner and cut as shown. Then, wrap and adhere to the inner card flap to make the inside pocket. On the diagonally cut portion, be sure to only place adhesive along the left and bottom edges so the seed packet can easily slide in and out.
- Stamp the sentiment in Cherry Cobbler and Daffodil Delight on scrap paper and cut out the desired words.
- Use Bermuda Bay to stamp the sentiment on the inside flap above the stamped background. Then, adhere the cut-out colored words over the Bermuda Bay sentiment.
- Stamp a small flower and stems on scrap paper and die cut.
- Cut cardstock layers for the inside of the card base.
- Bermuda Bay: 2-3/4″ x 3-1/2″
- Pool Party: 2-1/2″ x 3-1/4″
- Basic White: 2-1/4″ x 3″
- Layer cardstock and die-cut flowers, as shown, and adhere inside the card base.
- To finish, embellish with Brushed Brass Butterflies.
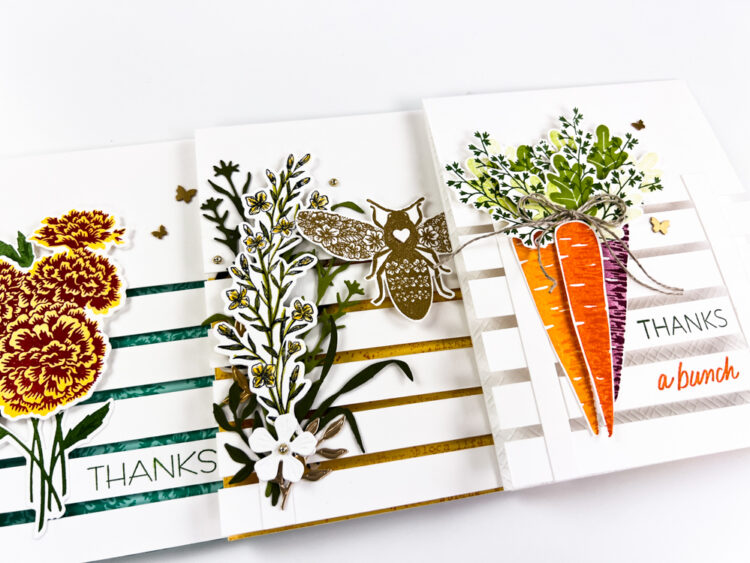
Stampin’ Up! Queen Bee Lattice Split Card (Bundle, #160485)
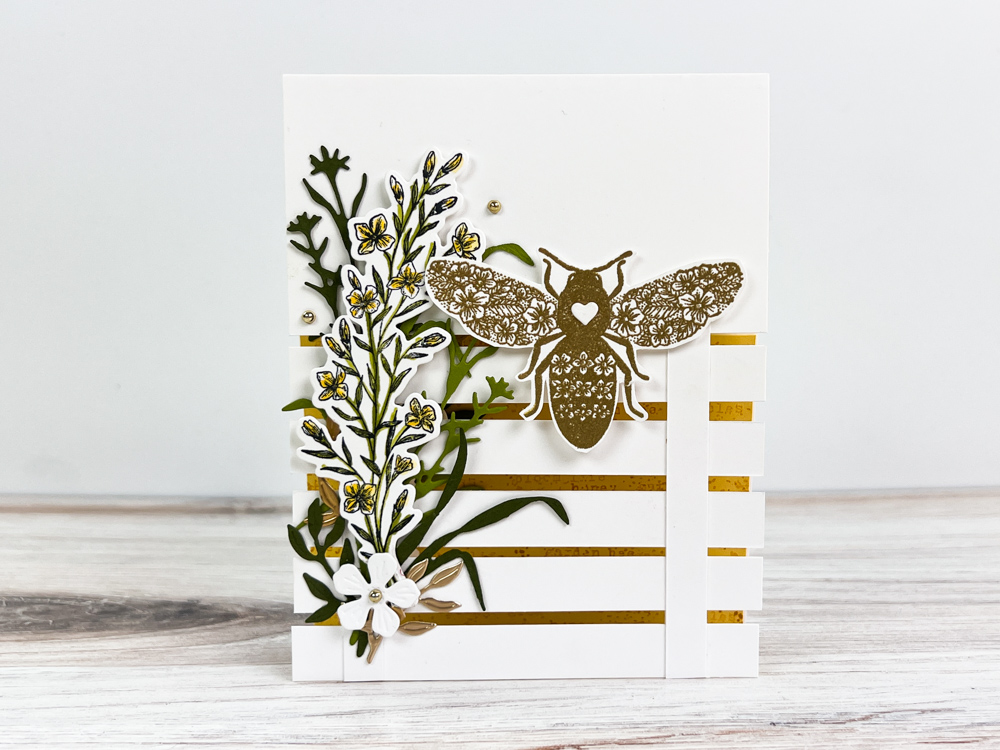
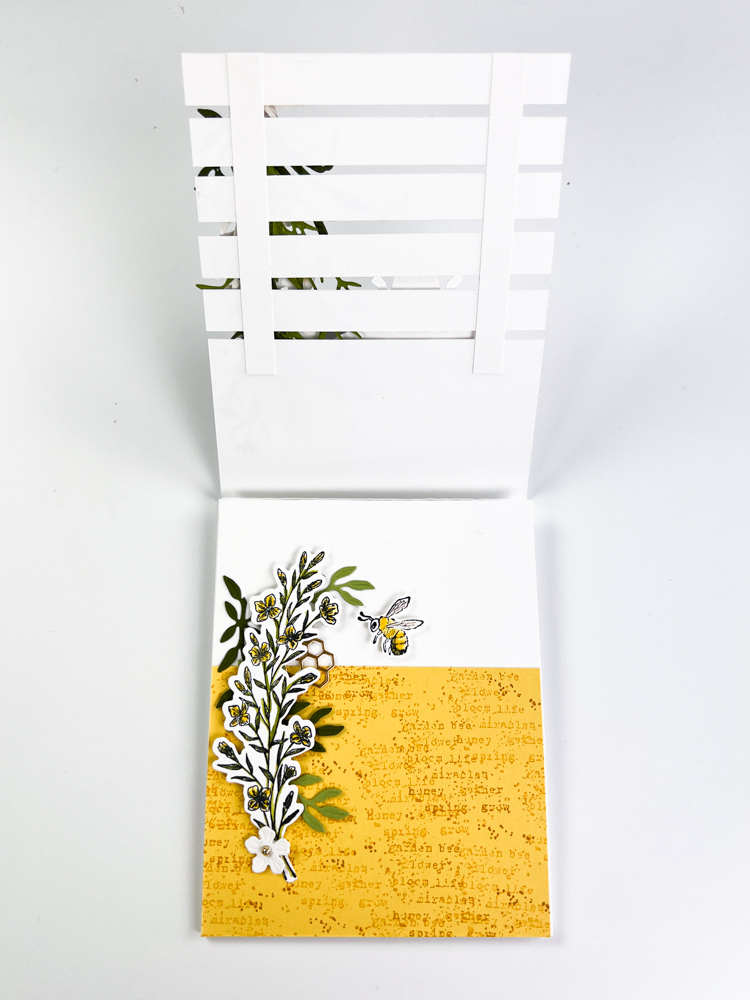
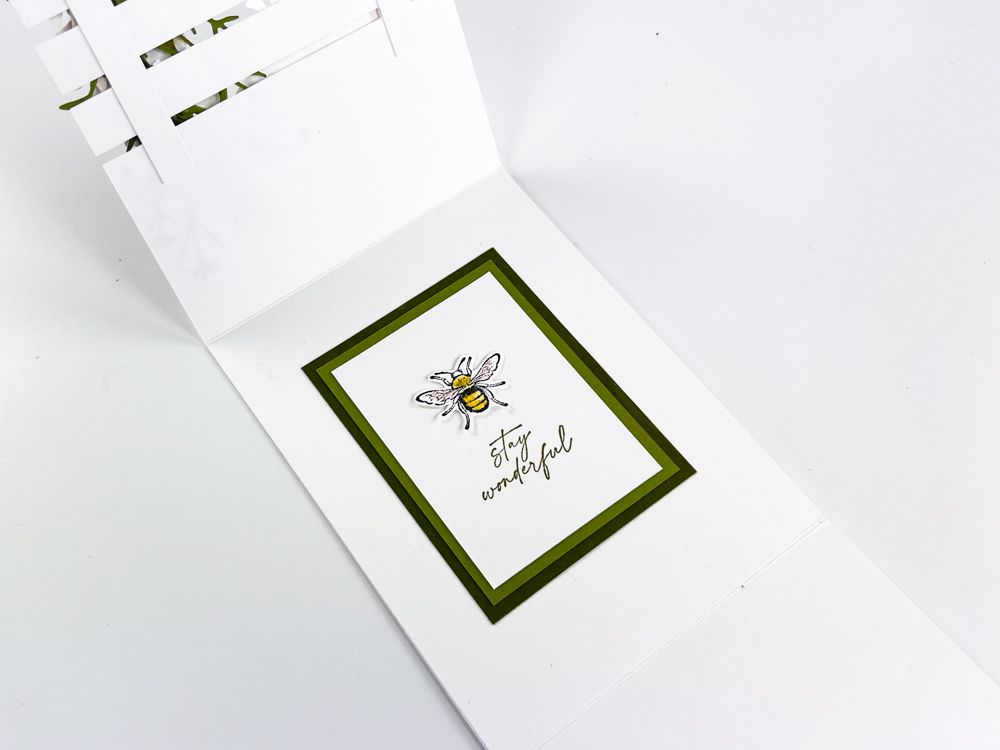
Stampin’ Up! Thanks a Bunch Lattice Card (Sale-a-bration, #160816)
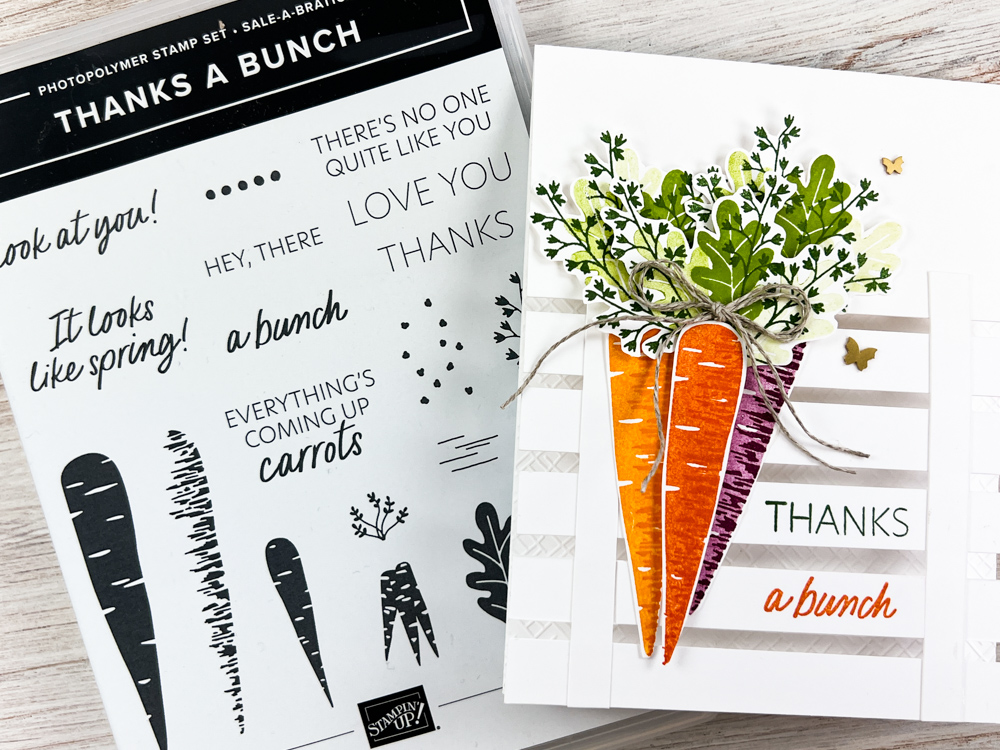
I absolutely love sharing ideas for card making with you! Don’t forget that you can easily make any of these Lattice Split cards for any occasion by simply stamping a different greeting on the front of your card.
Make sure you check out this FREE fun birthday card tutorial that features the Stampin’ Up! Best Day stamp!
Are you always looking for masculine card ideas? I’ve got you covered with plenty of inspiration there too!
If you are new to card making or need a refresher on the basics or how to use a particular craft tool, check out my Beginner’s Card Making Series.



Hi Brandy I am behind on emails but will definitely trying out these lattice cards!
I love your Carrot and bubble bee! Thank you for sharing!
Hi Brandy,
Just love the Lattice Split card. I watched your tutorial yesterday & am now going to make it. I like the marigold card.
Your blog is full of wonderful ideas. Thank you so much, June.
Will give it a try , thanks for sharing the instructions, love it!
loved the card, had never seen one like it. They are all beautiful , guess I like the Marigolds best since I love marigolds. Don’t have the stamp but may buy it.
Have watched you for years and you are always good
I love your cards, !! The Bee card is my fav ,but the carrots is pretty close! Thank you for the inspiration!
I really like all the cards, but I choose the marigold card as my favorite ..Love the lattice split card idea and will try it very soon.
I love this! Every year I make Mother’s Day for all the moms in my family and some friends (~15) I do not have the Marigold bundle but I think I shall make them with the Dainty Delight bundle and add a packet of wildflowers seeds. Thank you!!!
Hi Brandy, these cards are so cute, my favorite is the carrots.
Thanks for this video.
LB
thank you for sharing this tutoria. i am in love whit this card. i will try it out.
Greetings from the Nederlands.
Hello Brandy,
I LOVE the Carrot Card, but most especially the Lattice Split Card. I don’t remember ever seeing this before. I am getting ready to give it a go. Thanks so much!
Susan Ingersoll
Oh my gosh, Brandy, I love this card and printed the tutorial. Such a good idea and love cards that are different from everything that you see out there. Thanks so much for showing us this wonderful tutorial.
love this seed idea!
God is good! love this seed idea!
God is good!
I love all the cards, but I think I like the carrots more. What a great design. Thank you!