
1. Cut a 5-1/2″ x 8-1/2″ piece of Pool Party Cardstock. Score it at 4-1/4″. This is your card base.
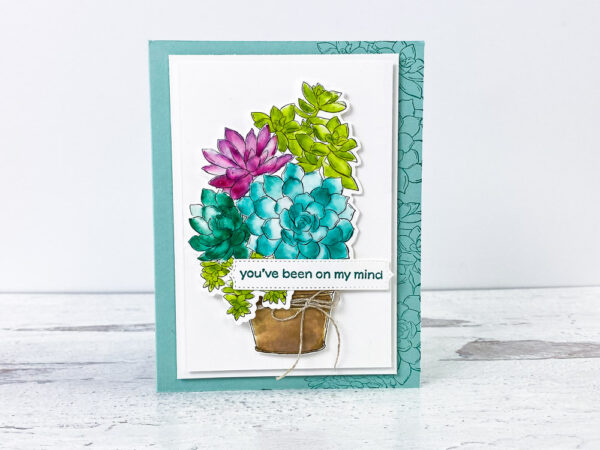
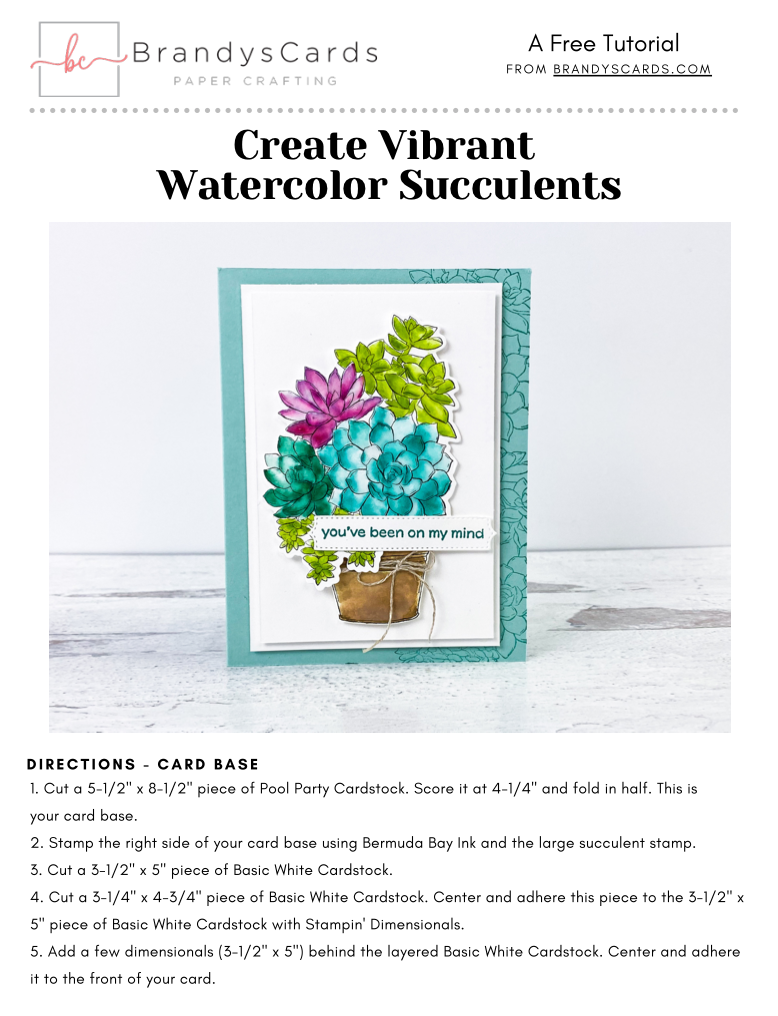
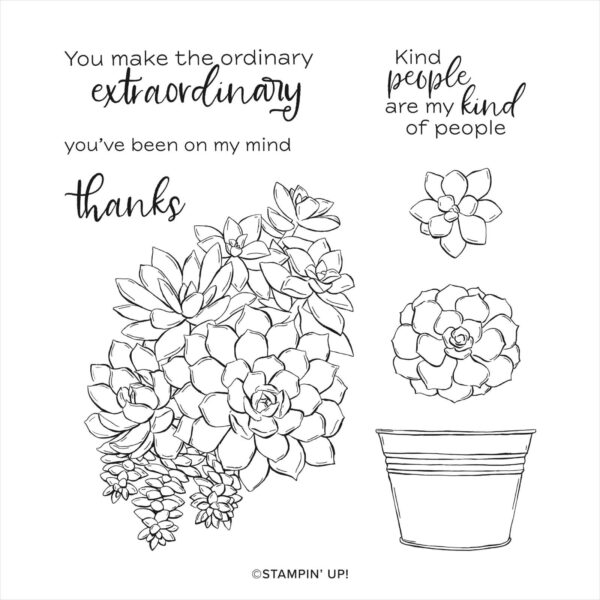
2. Stamp the right side of your card base using Bermuda Bay Ink and the large succulent stamp.
3. Cut a 3-1/2″ x 5″ piece of Basic White Cardstock.
4. Cut a 3-1/4″ x 4-3/4″ piece of Basic White Cardstock. Center and adhere this piece to the 3-1/2″ x 5″ piece of Basic White Cardstock.
5. Add a few dimensionals behind the layered Basic White Cardstock and adhere it to the front of your card.
6. Stamp you Simply Succulent image, on scrap paper, in StazOn Black.
Tip: You can use Basic White Paper or Watercolor Paper for your succulents.
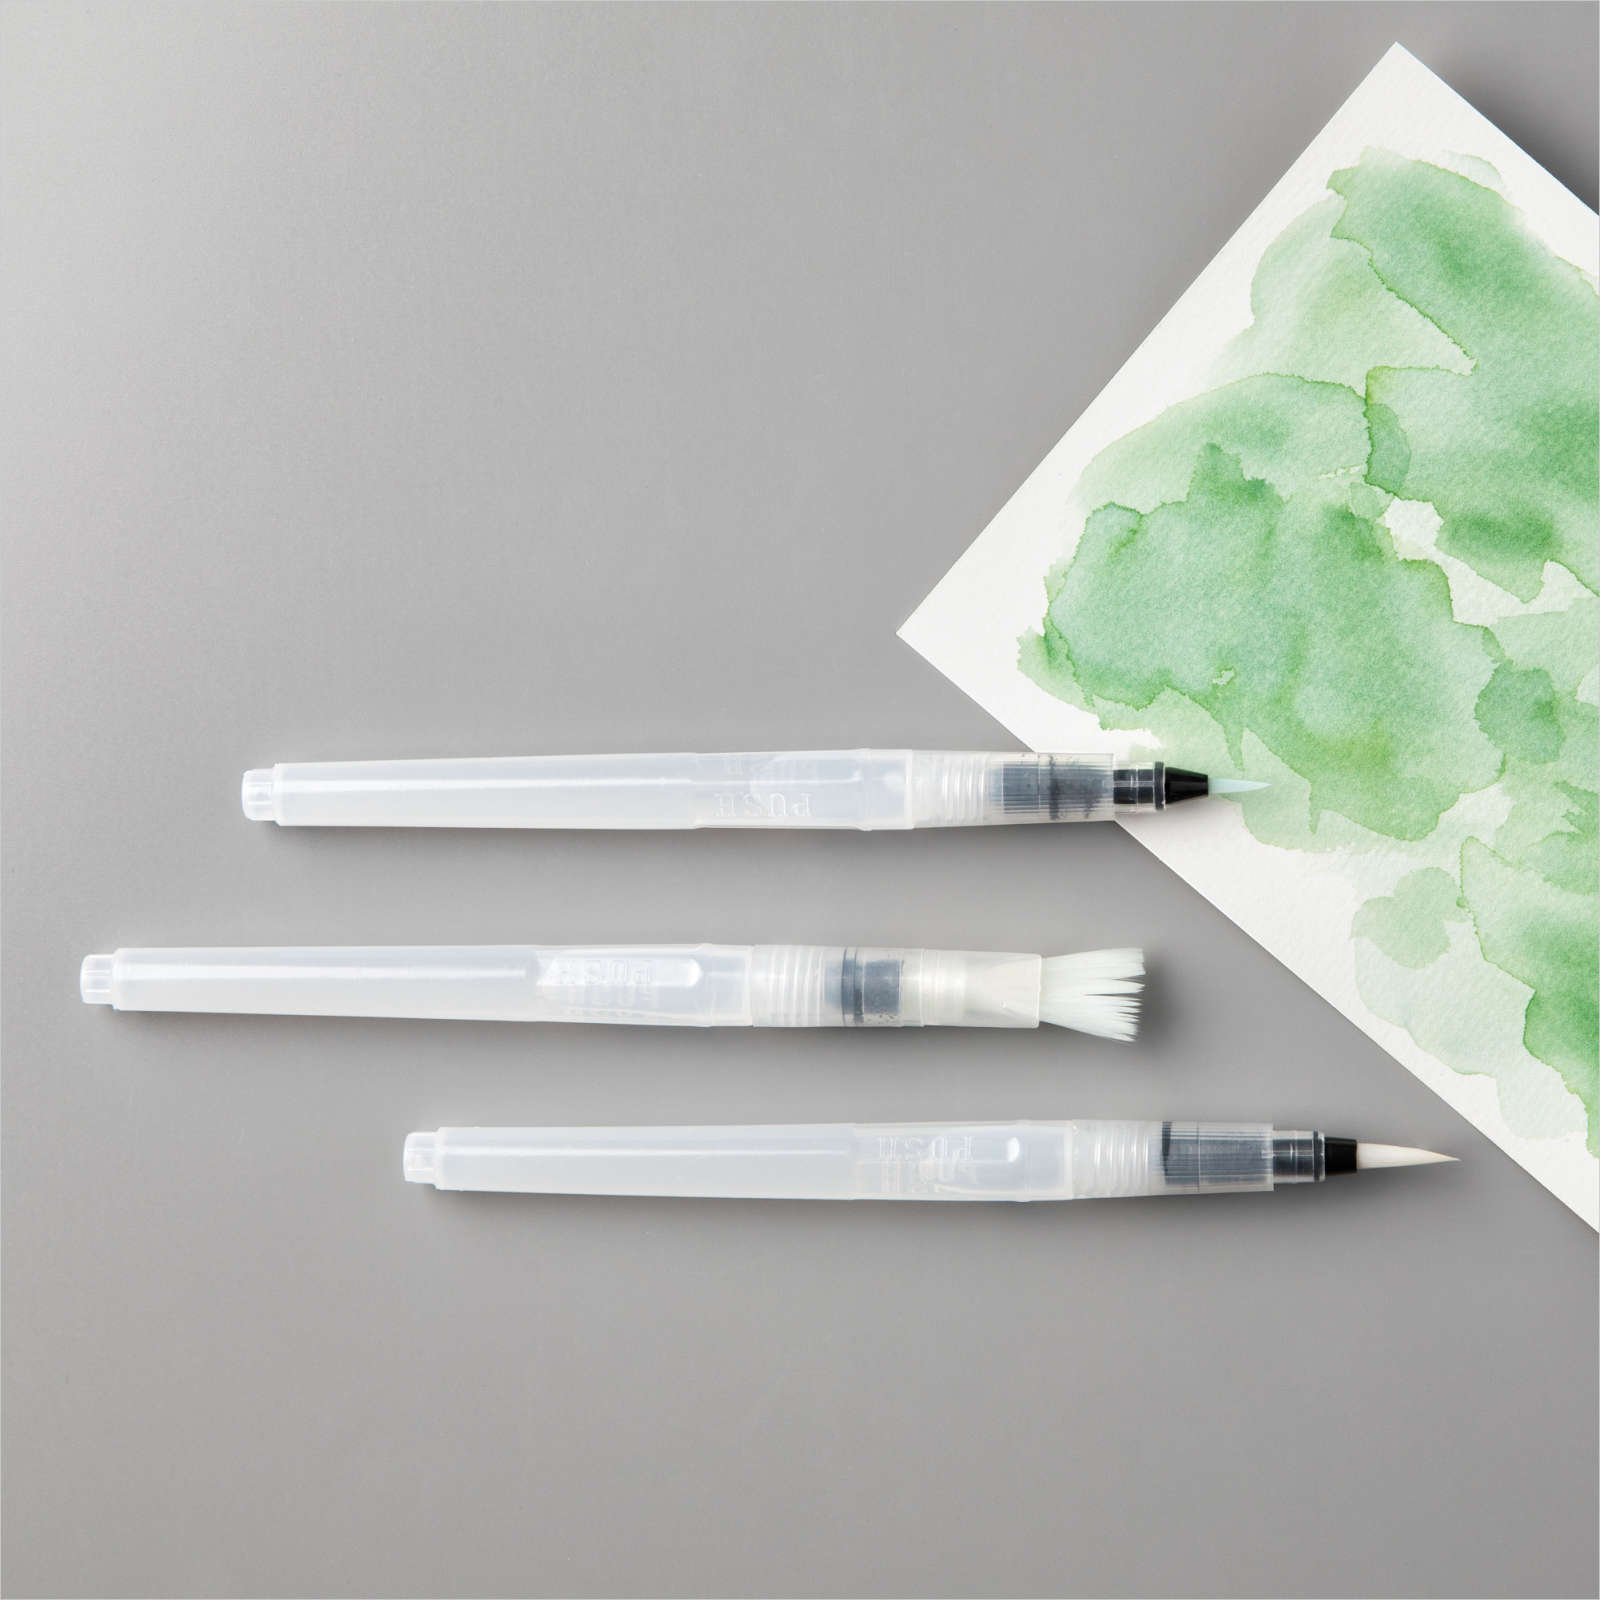
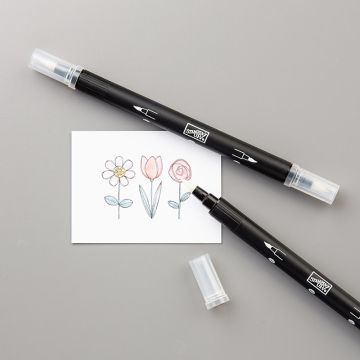
7. Color the succulents using the Water Painter and then use a Blender Pen to add more intense color.
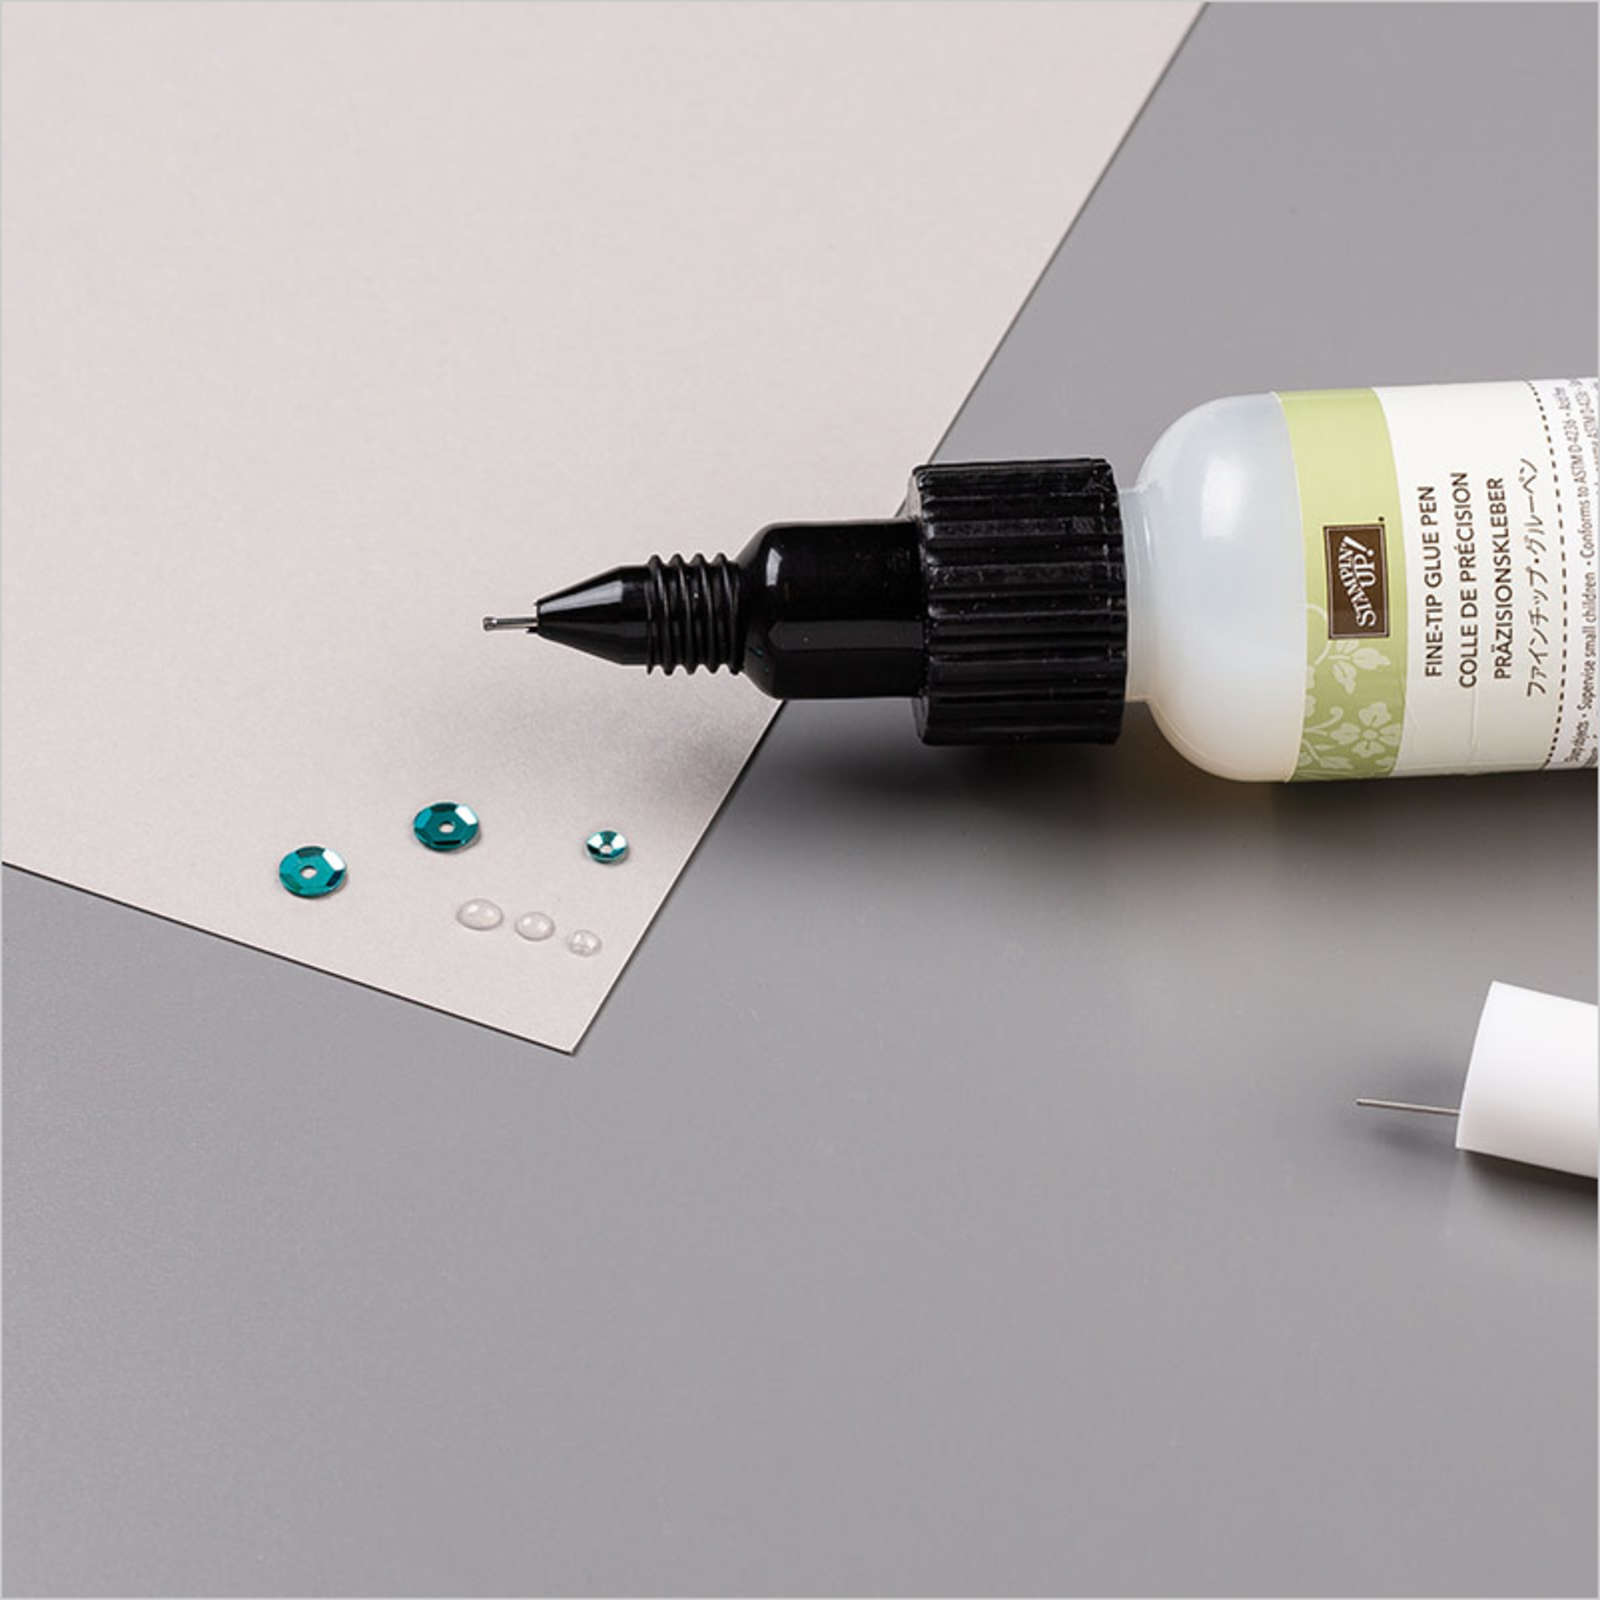
8. Use a Fine Tip Glue Pen to add glue over the top of the colored Succulents. This will saturate the color further and give them a beautiful shine or wax look.
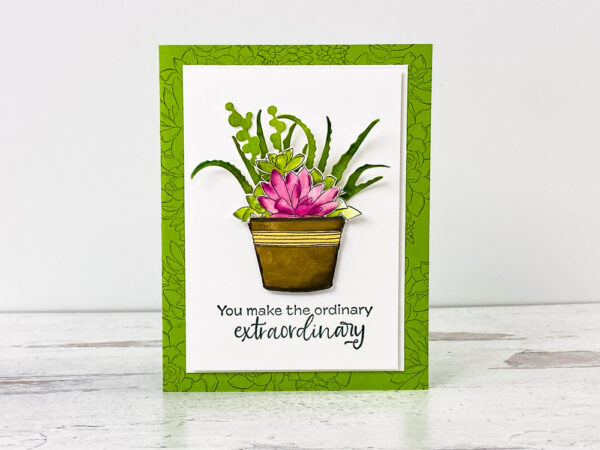
9. Next, stamp your pot on scrap paper using StazOn Ink. Color it using the Water Painter.
Tip: The color used was Soft Suede.
10. Add twine around your pot and then add dimensionals to adhere it to the front of your card.
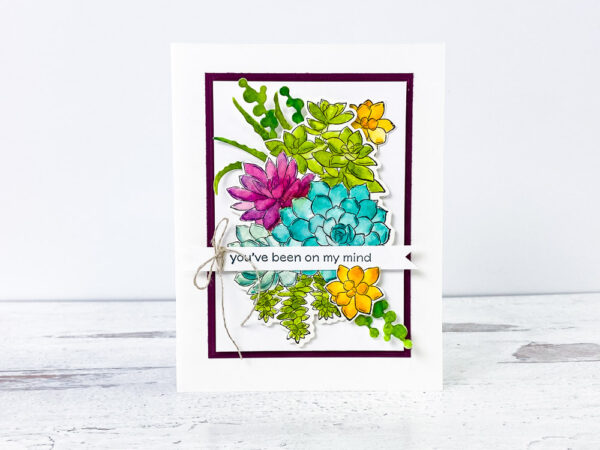
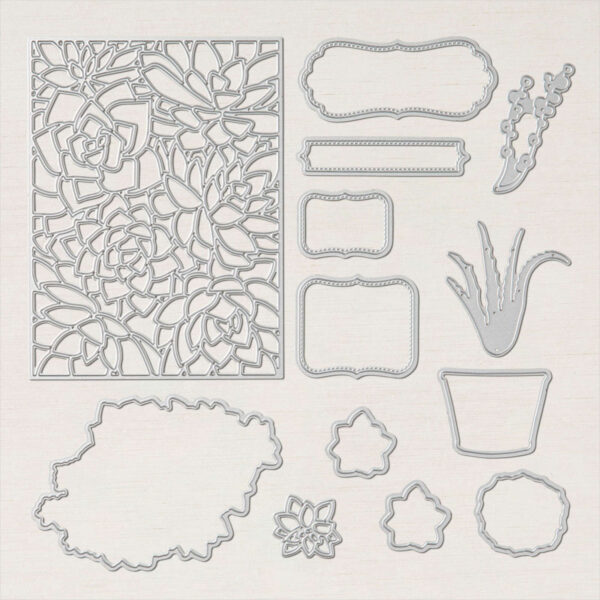
11. Stamp the sentiment in Pretty Peacock Ink and use the Stampin’ Up! Potted Succulents Dies to die cut it out.
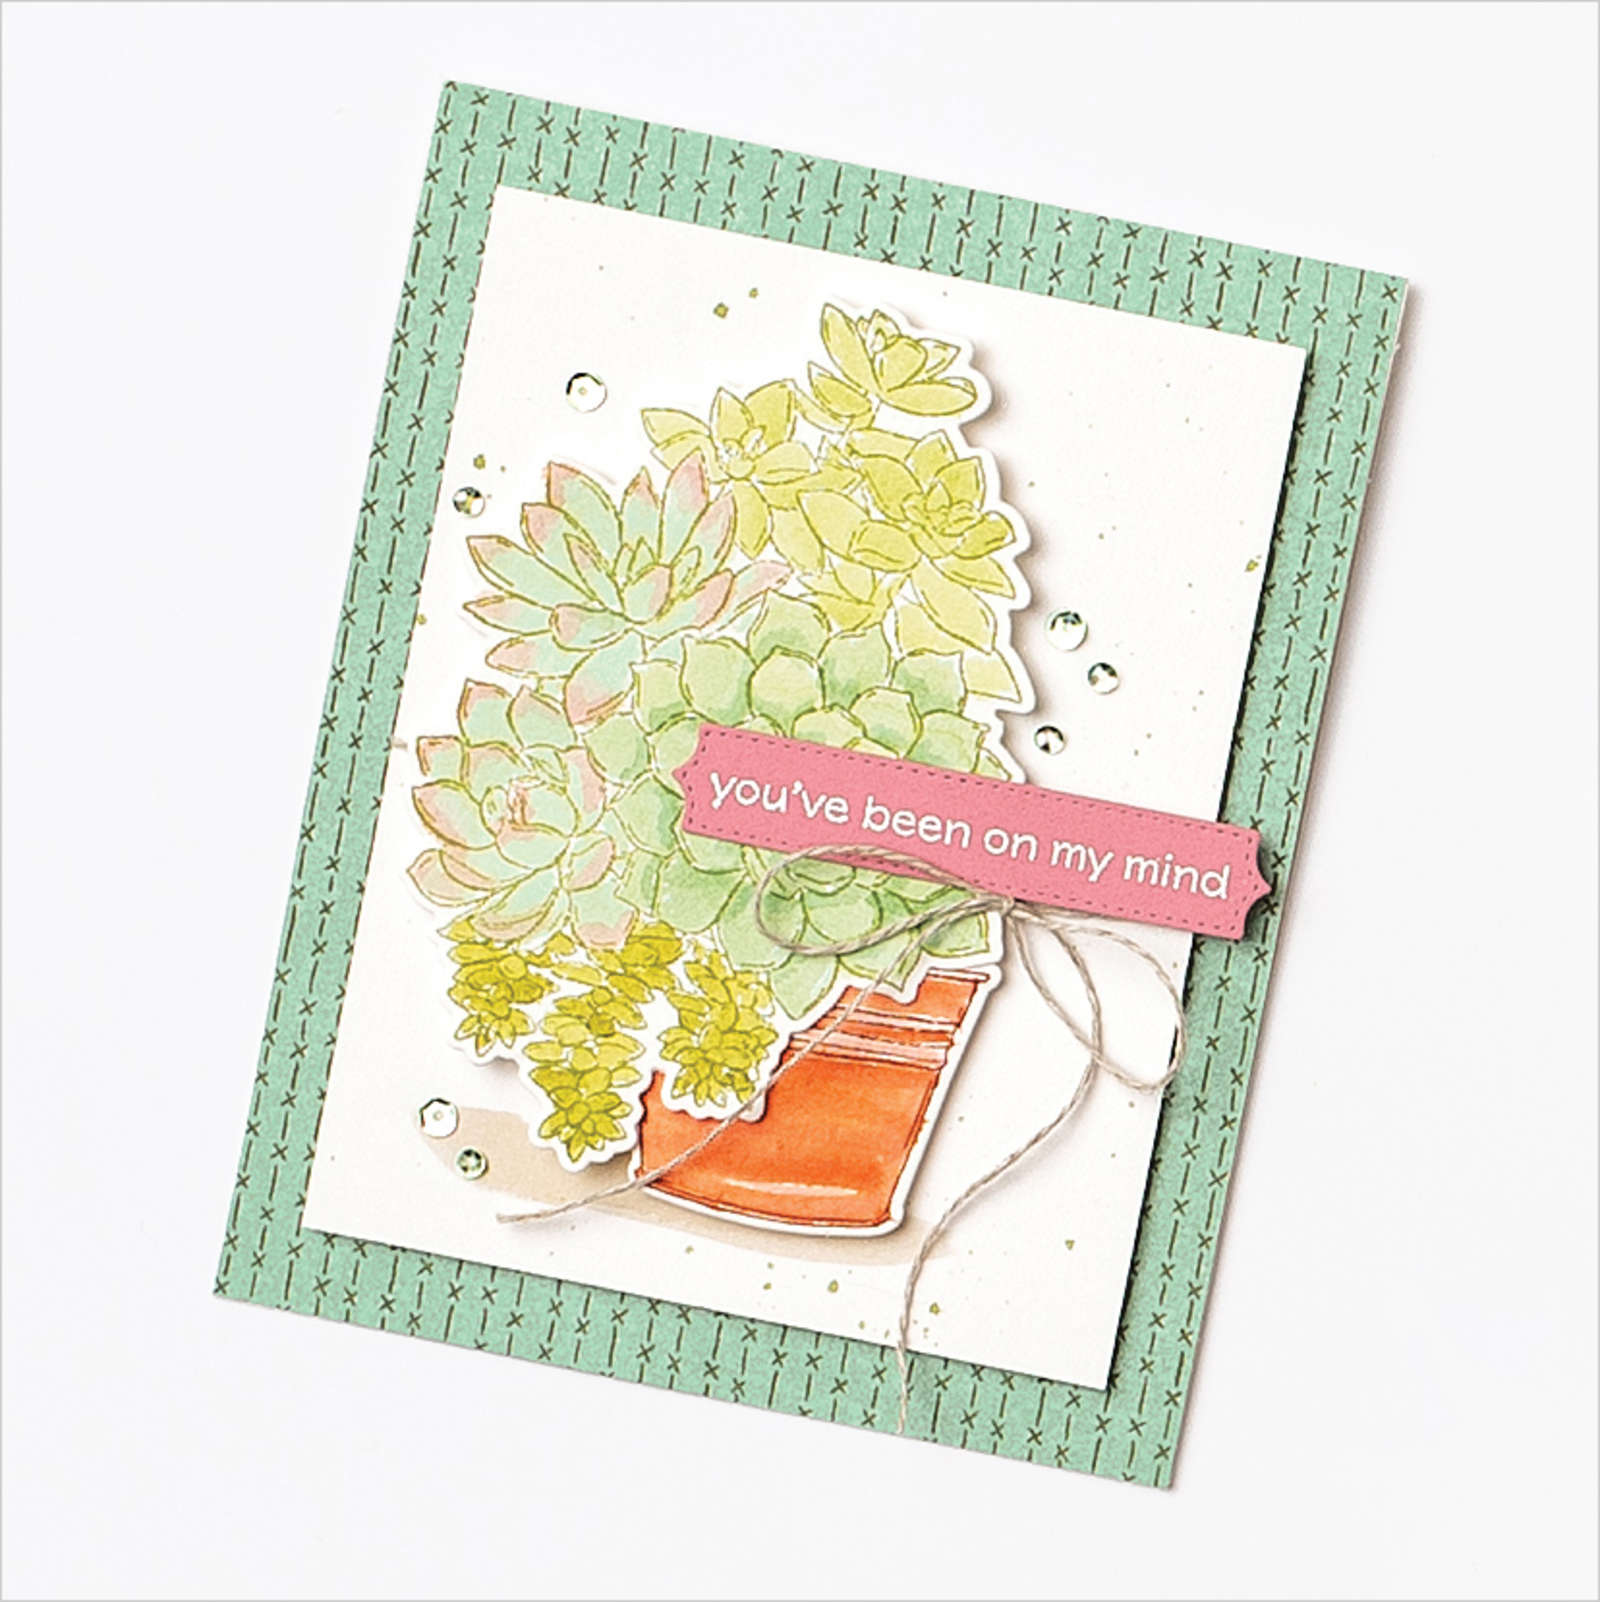
12. Adhere the watercolored Simply Succulents to the front of your card and then adhere your sentiment.
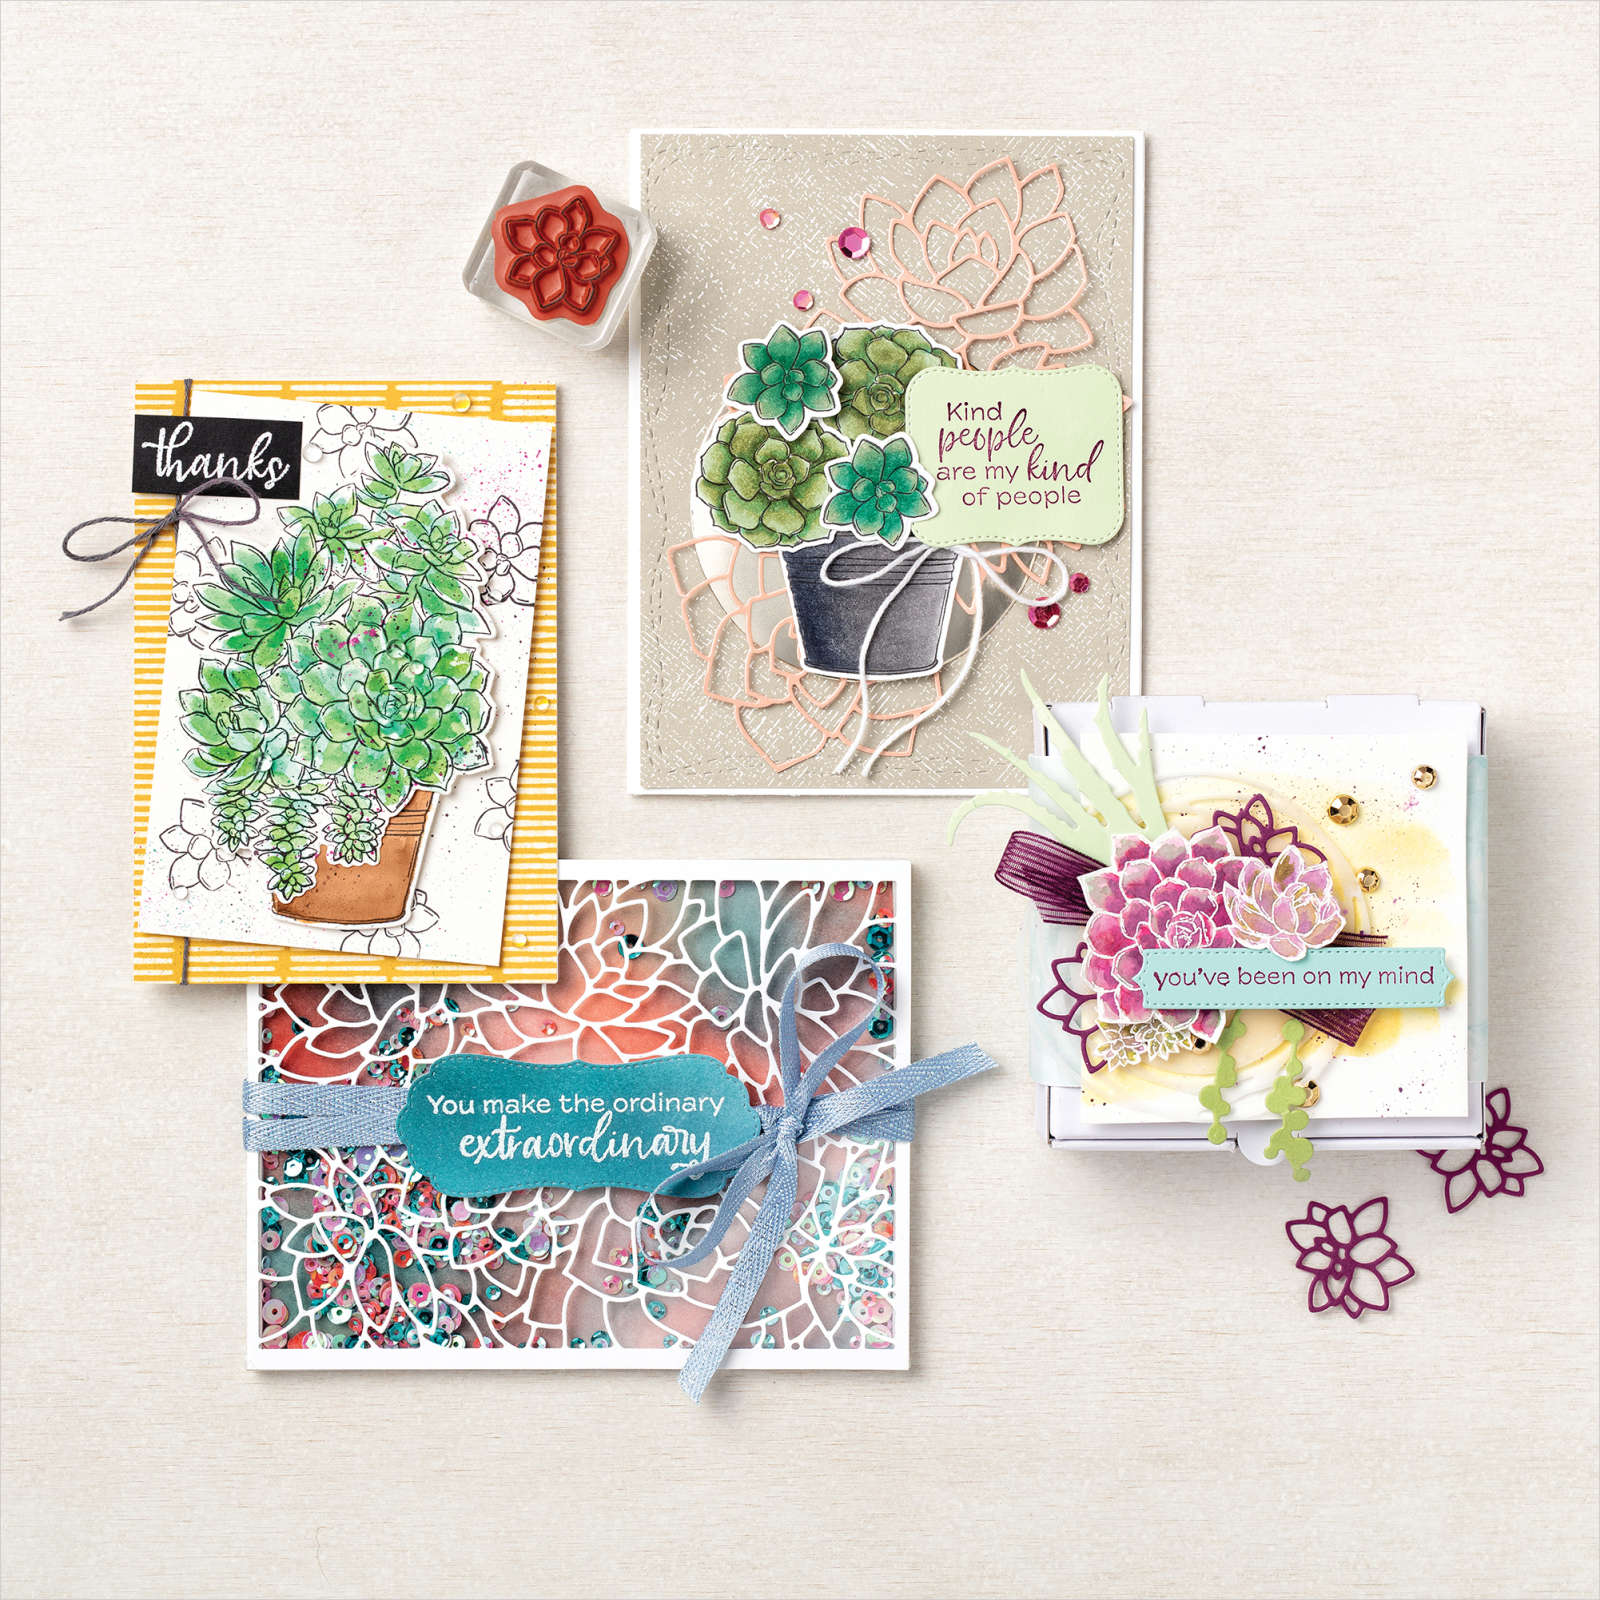
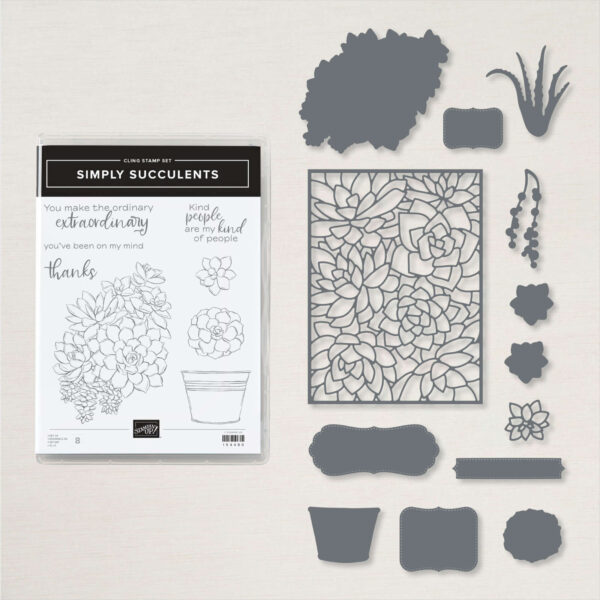
Today’s cards feature the Stampin’ Up! Simply Succulents Stamp Set and Potted Succulents Dies. This bundle is SO BEAUTIFUl!!
I’m excited to show you how I colored my succulents using the Stampin’ Up! Water Painter and Blender Pen. I love the various shades of watercolor and how vibrant they are.
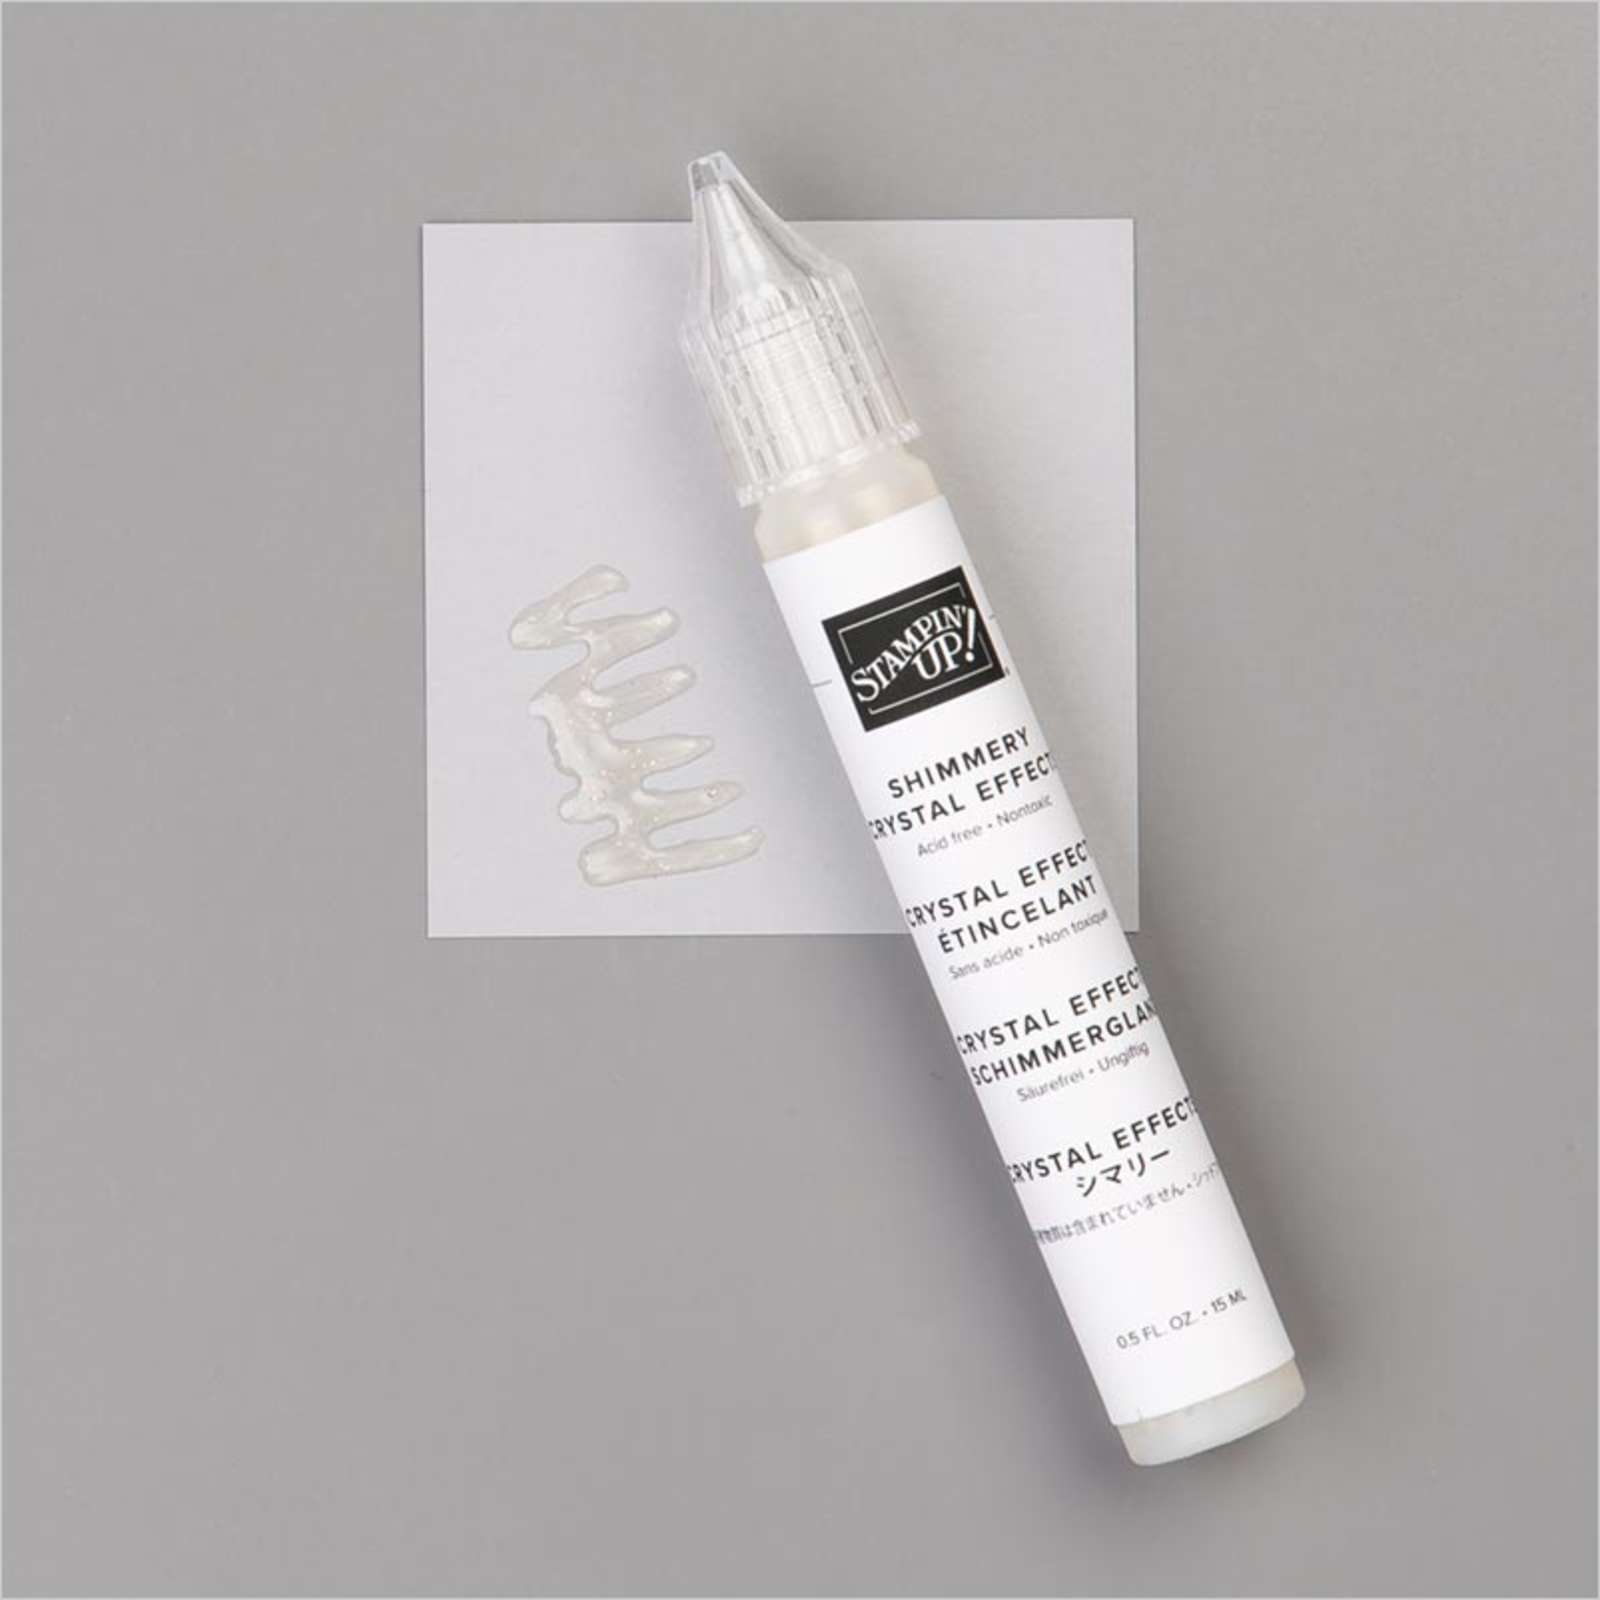
Another fun way to saturate the colors and make them more intense is by adding Crystal Effect or maybe Fine Tip Glue. Yep, that’s right!! Fine Tip Glue works great to create a shine or waxy look. I love that!!
Thanks again for stopping by. I hope you enjoy my cards and video tutorial. Let me know if you need something or have questions. I’m glad to help.
Blessings, Brandy
Need Catalogs? Click Here!
Looking for my Host Code & Gifts? Click Here!
Creativate Retreat Registration – Click Here!

#151298
#102845
#138309
#150892


I just watched this video. I love the different ways you used this bundle to make the different cards. I will be ordering this one. Thank you for sharing your wonderful talents in making cards.
Fran Hoyt
The cards were beautiful and I can’t wait to try this technique. Thank you for sharing with us.
I loved the last one! Thanks for the tip on using the fine tip glue or a glossy effect!
Beautiful cards, Brandy!!! I love them ALL ?
Love your videos!!!!!!!! Always so inspiring! Thank you. Difficult to pick just one, but will go with the cut ‘aloe’ one. Loved the shading you did. MUST go try you techniques!!!!!!!!!
Thank you Brandy for all your inspiration and beautiful creativity! I love this bundle! I didn’t get to see it live, but am watching on Saturday afternoon and enjoying it so much!
Lots of great ideas. I did make your butterfly cards by using the Stampin Up Butterfly DSP. They came out so pretty. You are the best. Hugs, Natalie Murdock. Tucson, AZ.
Just saw the reply. Love the cards also. Favorite is Pool party back ground one . LIKED. So want to get that also. Getting a large list together for you. you will be so, so happy when you see it. Going to get so much at one time you will be so busy. Sorry ahead of time. Thanks for the Friday video on Sat. Keep up the great work. Linda T.
Brandy, I just watched the video from last night. Your cards are gorgeous! The Simply Succulent Stamp Set is fabulous. Every time I see one of your creations such as this, makes me want to have it.
So thank you for sharing such beautiful cards with all of us.
Debbie Mergiotti
Who would have thought that succulents would be so pretty and interesting. Loved those techniques and plan to make some backgrounds with background dies as stencils. Great information. Thank you.