
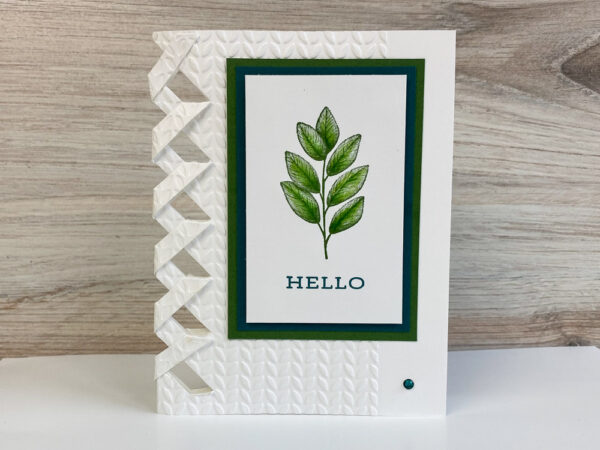
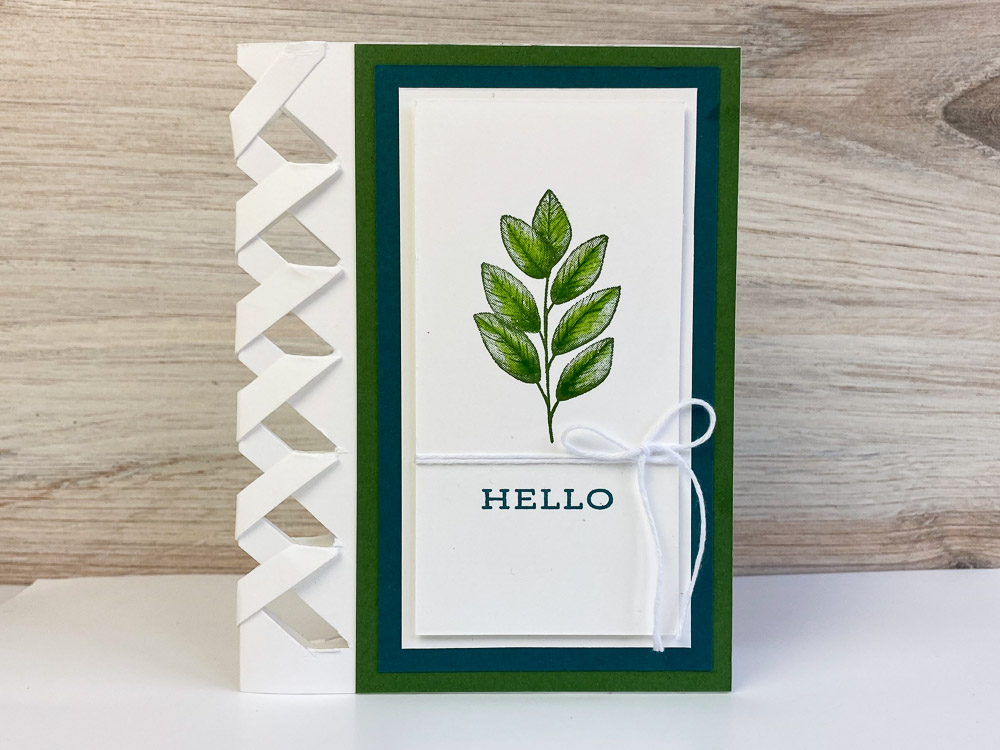
Today’s card features the Stampin’ Up! Forever Fern Stamp Set. This set is one of our “DistINKtive” sets. It’s absolutely stunning!!
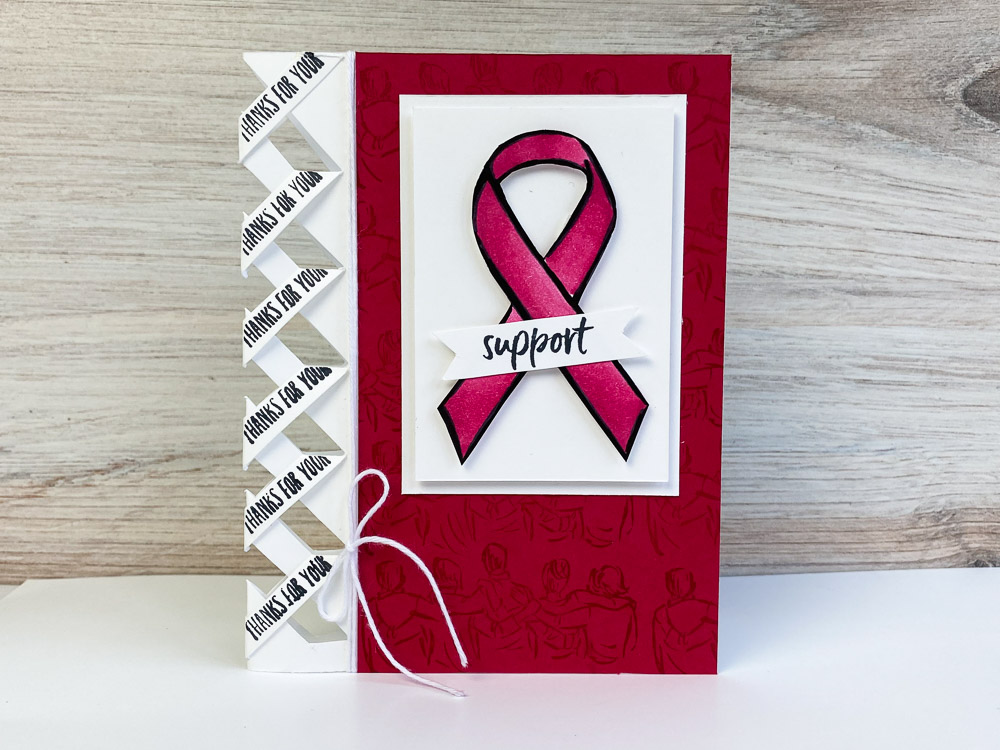
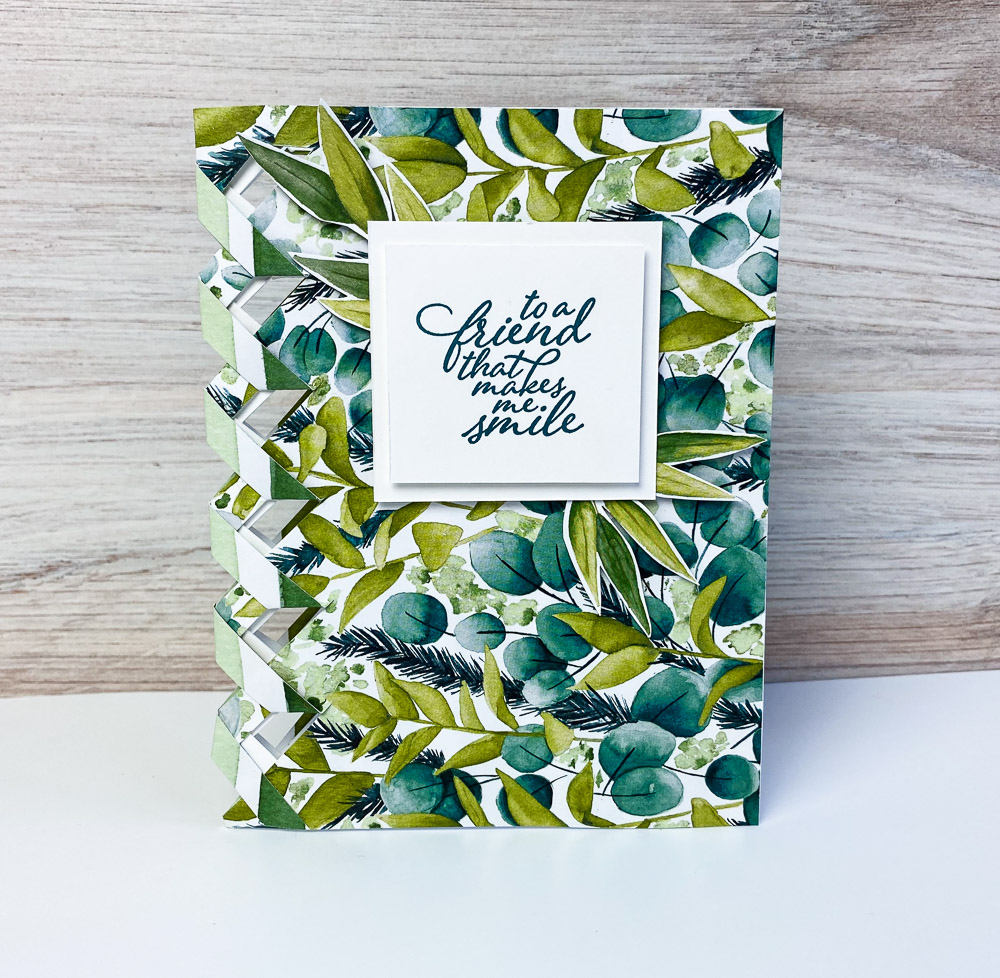
Oh, I’m so excited to share today’s tutorial with you. I shared this Braided Card Technique back in 2013. I’ve had so many requests for an updated template and some more current cards. Therefore, I was excited to share this with you Live on YouTube. I hope you enjoy my video tutorial. Let me know if you have any questions. I’m always happy to help.
Don’t forget to scroll to the bottom of the this post. You’ll find more ideas and inspiration!! Happy Stamping!! Brandy

1. Cut a 2-3/4″ x 4″ piece of Garden Green Cardstock. This piece will help mat your image.
2. Cut a 2-1/2″ x 3-3/4″ piece of Pretty Peacock Cardstock. Center and adhere this piece to the top of your garden green cardstock.
3. Cut a 2-1/4″ x 3-1/2″ piece of Whisper White Cardstock. This piece is for your image.
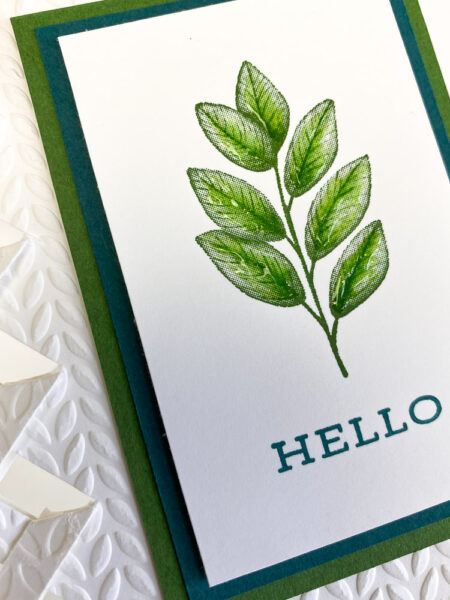
4. Stamp you Forever Fern in Garden Green Ink and your sentiment in Pretty Peacock Ink.
5. Add crystal effects if you’d like the glossy wet look!
1. Cut a 5-1/2″ x 8-1/2″ piece of Whisper White Cardstock and fold this piece in half. This is your card base.
2. Emboss a portion of the card base using the Stampin’ Up! Greenery Embossing Folder.
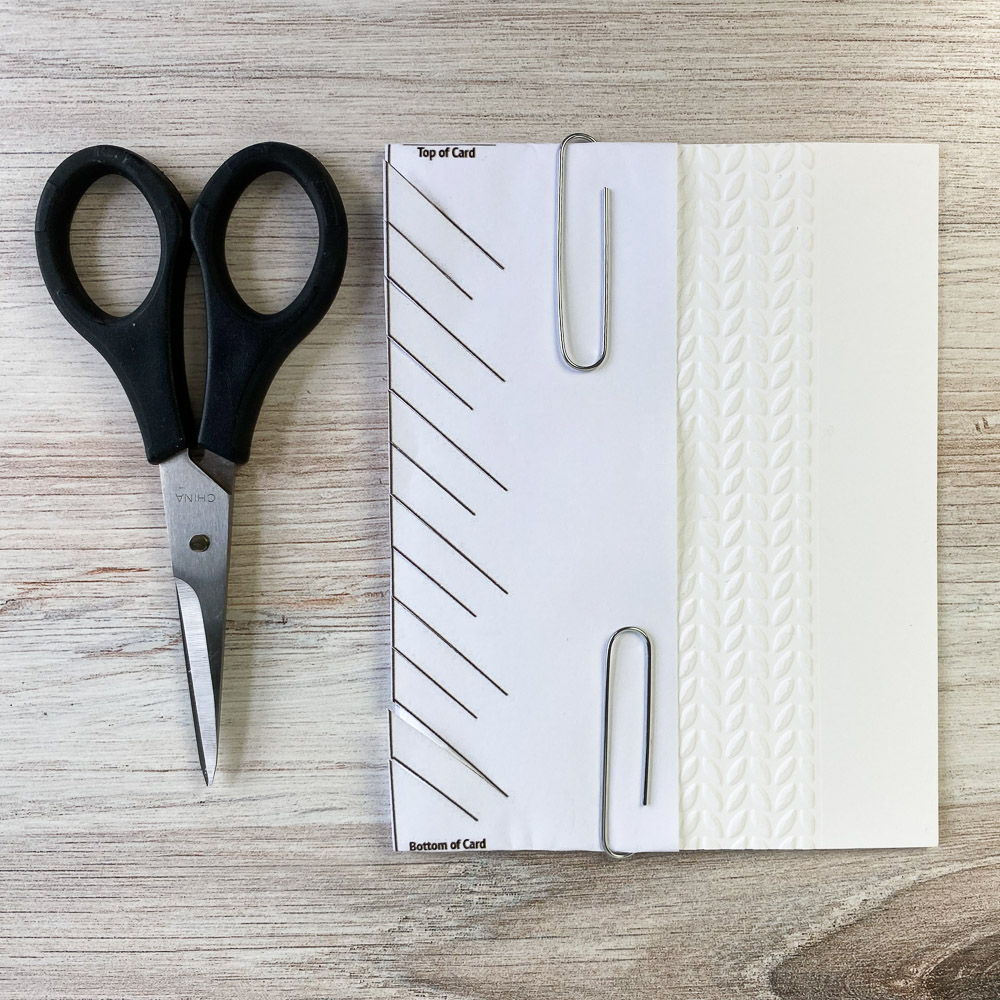
3. Cut the template along the straight line and line it up with the spine of the card. Fold the extra paper over the top and the bottom of the card. Secure your template with paper clips.
4. Cut on the lines of the template.

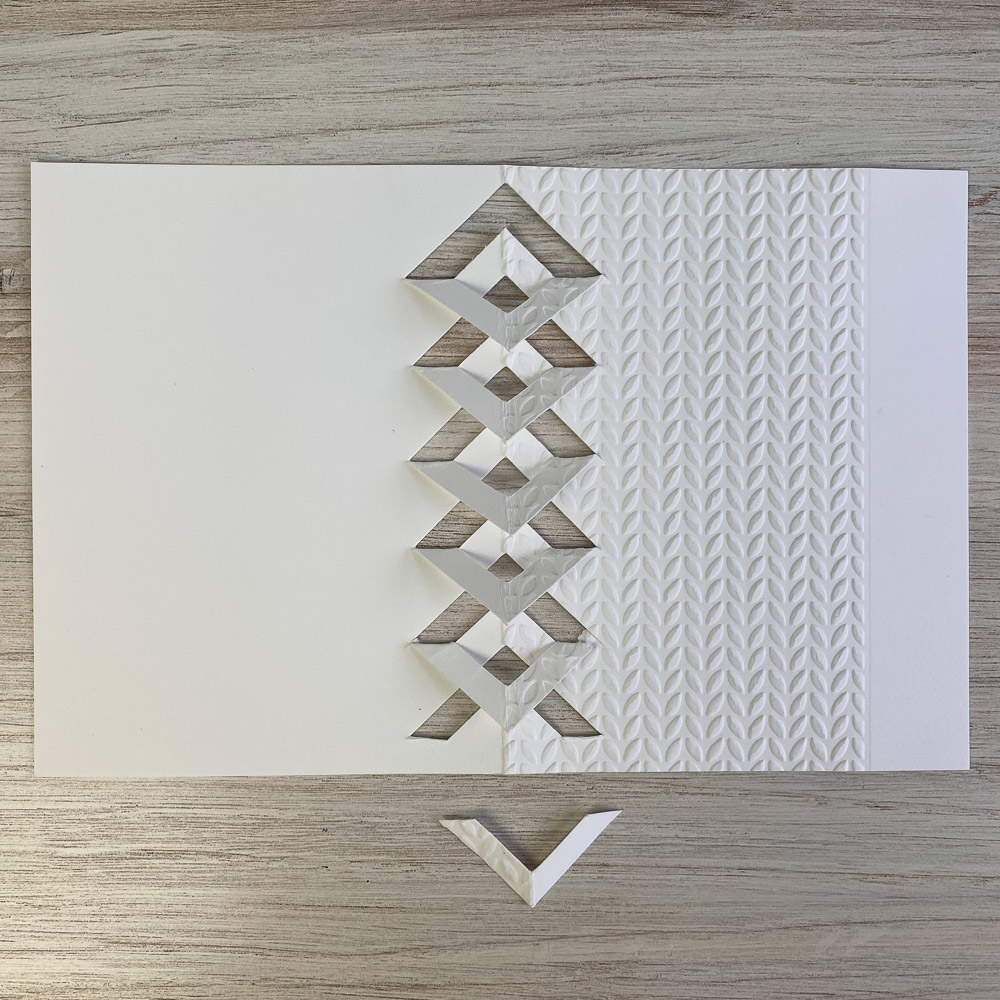
5. Turn your paper so that full triangle (small cut) is at the bottom of your card.
6. Fold over your first cut and carefully snip it off. Hang on to it… you’ll be adding it to the top of your card braid.
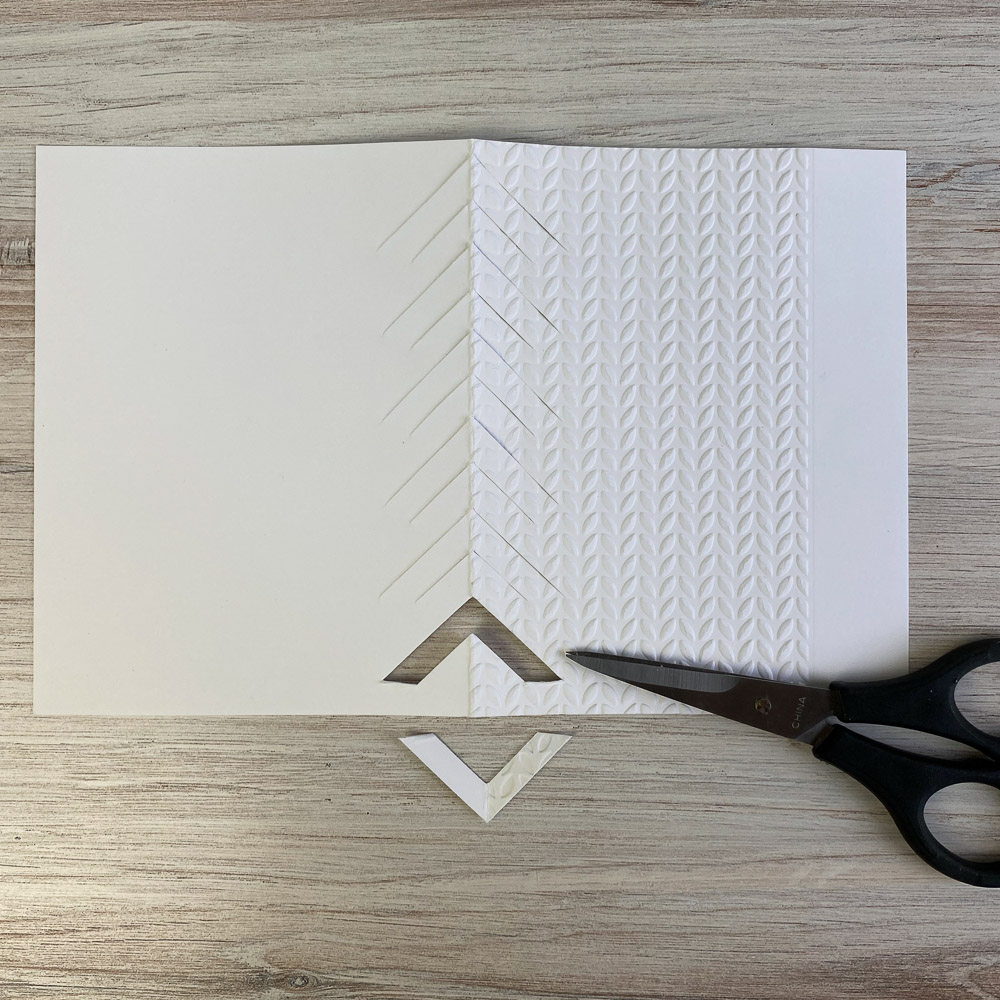
7. Fold over your first cut and carefully snip it off. Hang on to it… you’ll be adding it to the top of your card braid.
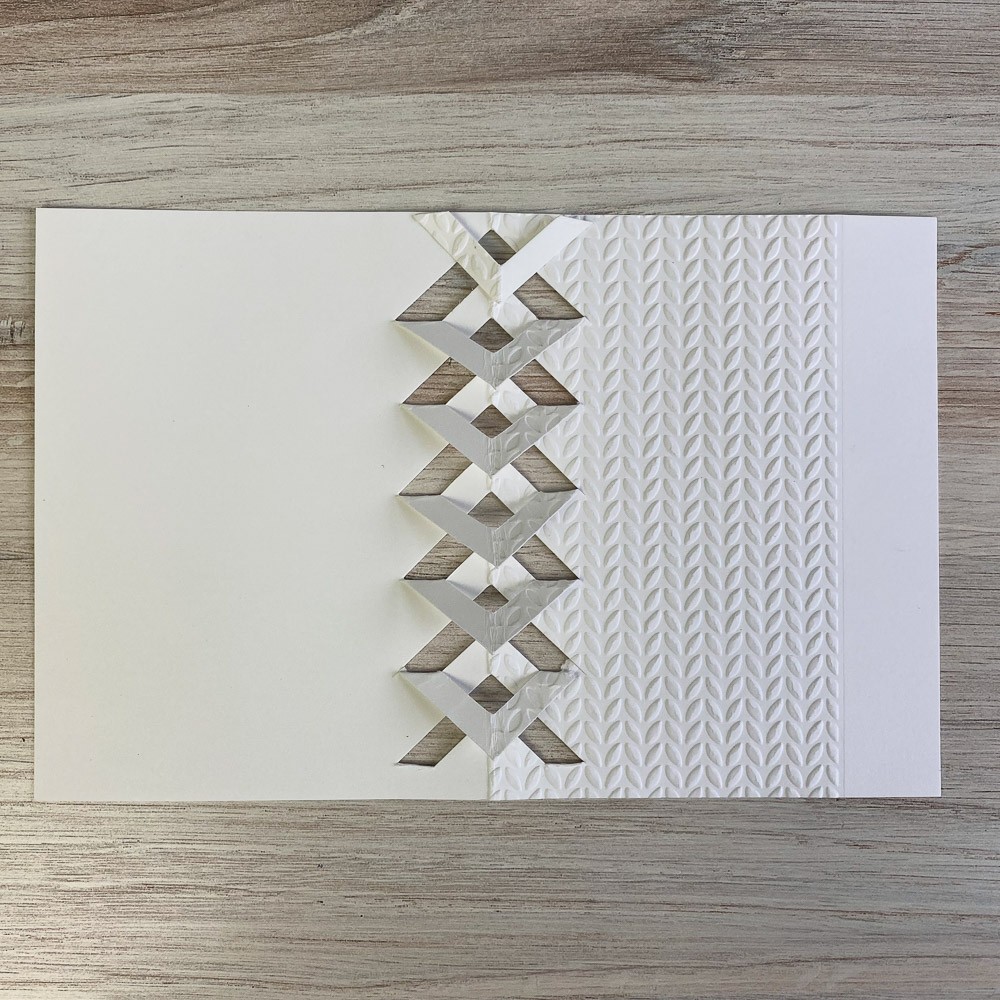
8. Start at the bottom of the card and work your way up the spine by folding over one triangle at a time.
9. This picture shows the where the pieces goes that you cut off. Notice the top of the card braid.
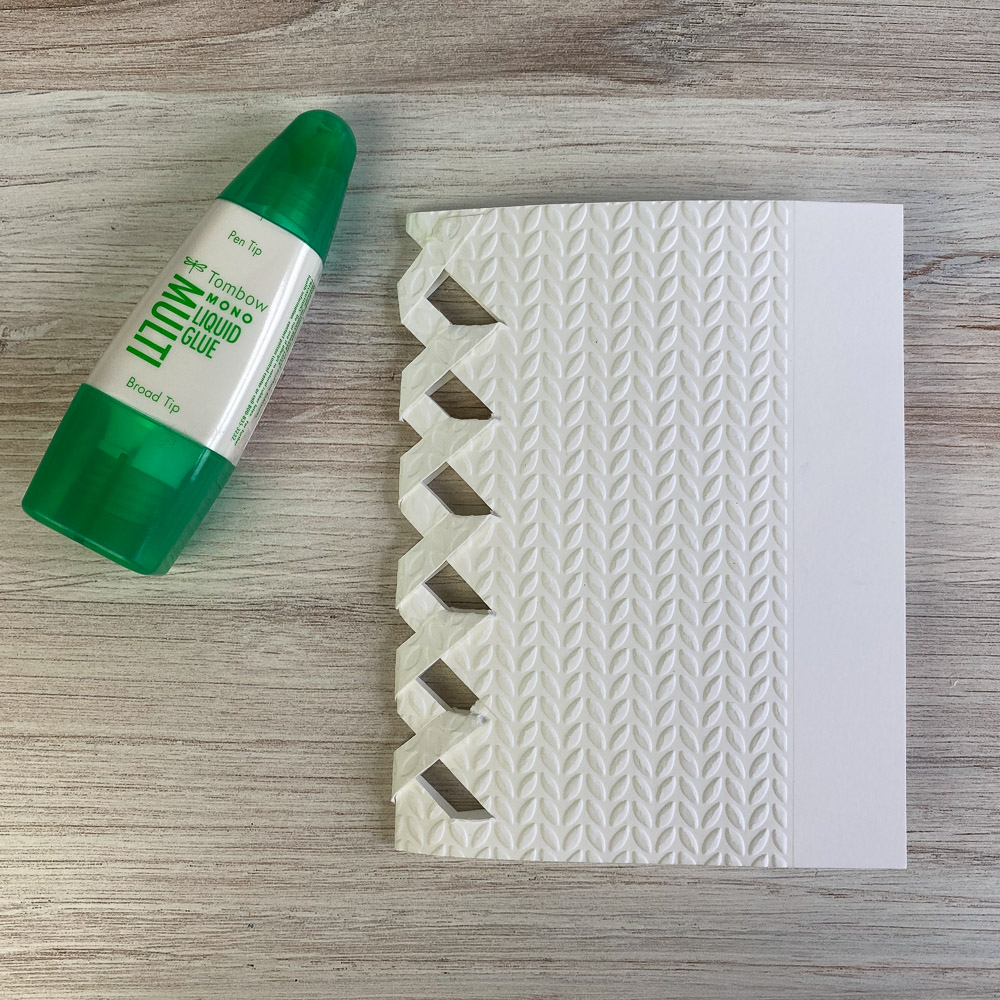
10. Adhere your cut triangle to the top of your card braid using liquid adhesive. You don’t need much!
Artfully Aware Stamp Set, #149447 – Retiring
Support Ribbon Framelits, #143749 – Retiring
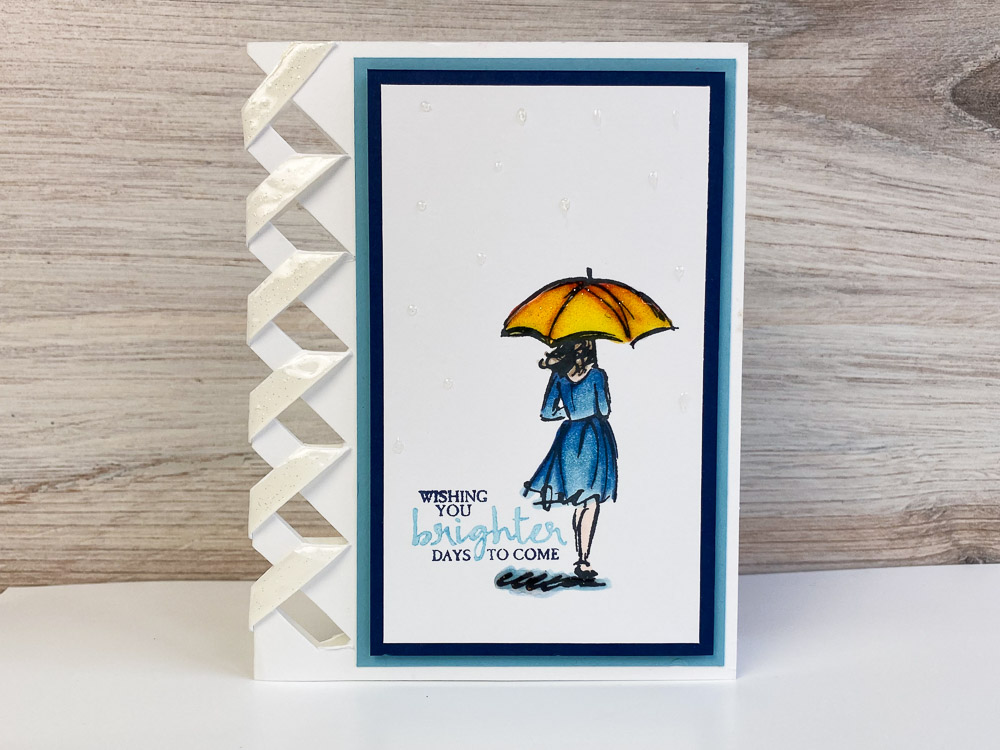
Beautiful You Stamp Set, #151412
Crystal Effect, #150892
#152559


Love, love this braided card. I want to use it for my masculine cards!
Thanks for the template, cant wait to make the braid card. Have a fabulous day.
Oh, my goodness, Brandy. So incredibly easy, quick and dramatic. I love it. I’m gonna teach it at my next workshop. I absolutely love this. Anybody can do it and it’s easy.
Thank you for sharing with us this beautiful card, I will try to make some for Christmas.
Love this card. I made several already. So simple and cool! Thanks!
I loved your show on U Tube Thursday night– Kathi Olson
Beautiful! Thanks for the template!
Brandy,
Thank you for the awesome tutorial this evening. I can’t wait to try this braided card.