
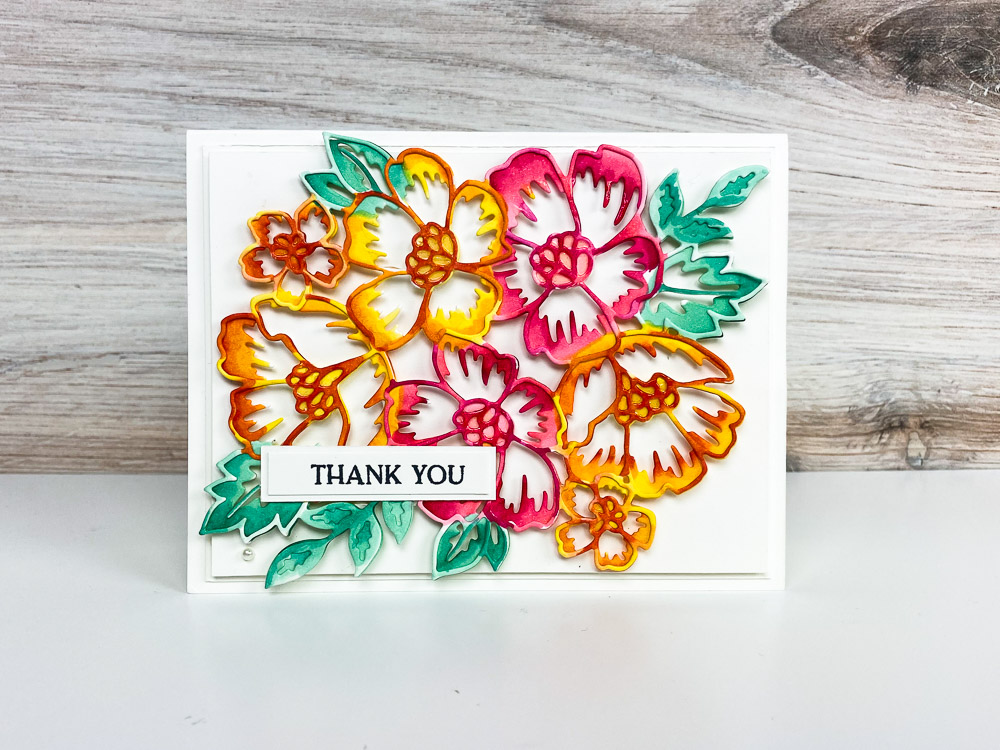
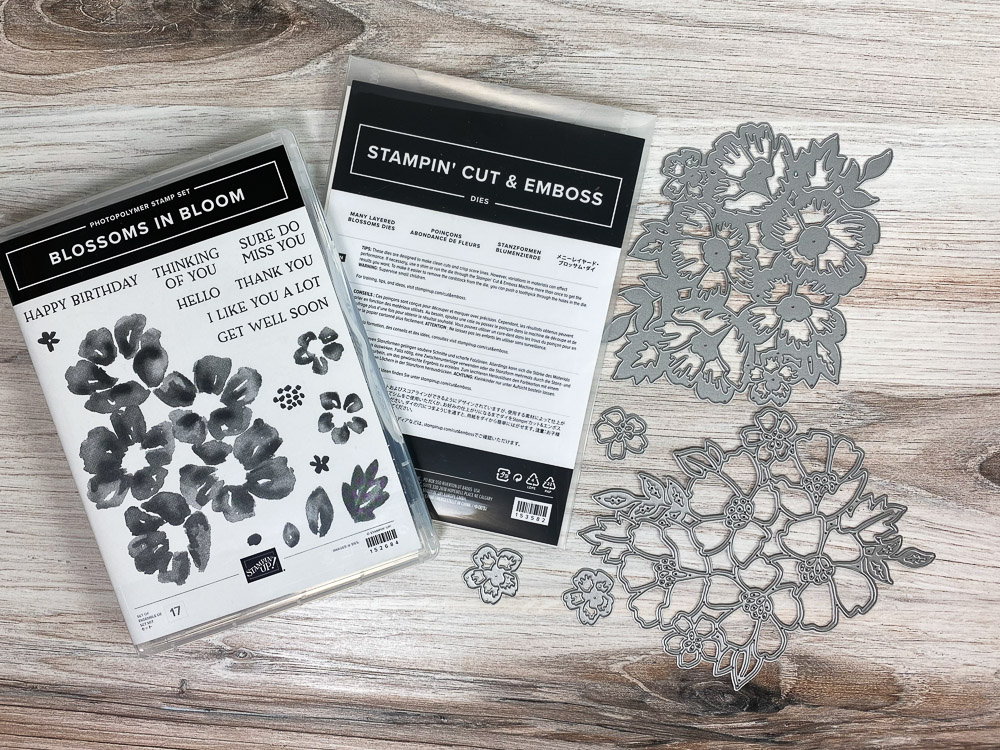
Today’s card was created using the Stampin’ Up! Blossoms In Bloom Stamp Set and coordinating Many Layered Blossoms Dies. This set can be found in our New 2020 Annual Catalog, on pg. 51.
Oh, I had so much fun use Stampin’ Blends to add color to these Blooming Blossoms. I was so excited to share with you how I created this card.
I hope you enjoy my video tutorial and be sure to let me know if you need something or have any questions. I’m grateful you stopped by and appreciate the opportunity to continue to earn your business.
Happy Stamping!! Brandy
1. Cut a 5-1/2″ x 8-1/2″ piece of Whisper White Cardstock and fold it in half. This is your card base.
2. Cut a 4″ x 5-1/4″ piece of Whisper White Cardstock. Center and adhere this piece on top of your card base.
3. Cut a 3-3/4″ x 5″ piece of Whisper White Cardstock. Center and adhere this piece to the top of your mat piece.
4. Using the Stampin’ Up! Many Layered Blossom Dies to die cut both the outline flower as well as the inside flowers.
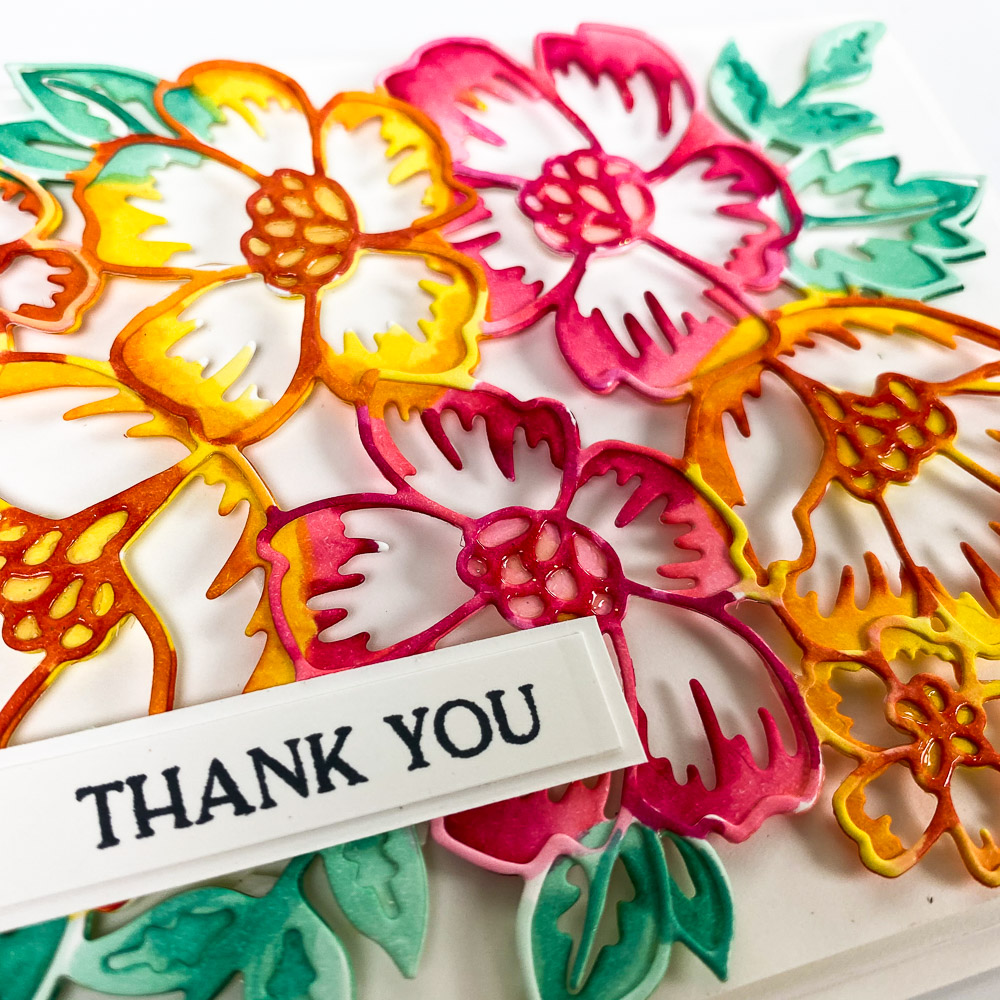
5. Use your Stampin’ Blends to add color to both dies cut blossoms.
6. When you’re finished coloring your blossoms then layer them on top of your card.
7. Cut a piece of Whisper White Cardstock. This piece will frame your sentiment.
8. Cut a for your sentiment. Stamp your sentiment in Memento Black. Center and adhere this piece to the mat piece.
9. Adhere your layered sentiment to the top of your card.
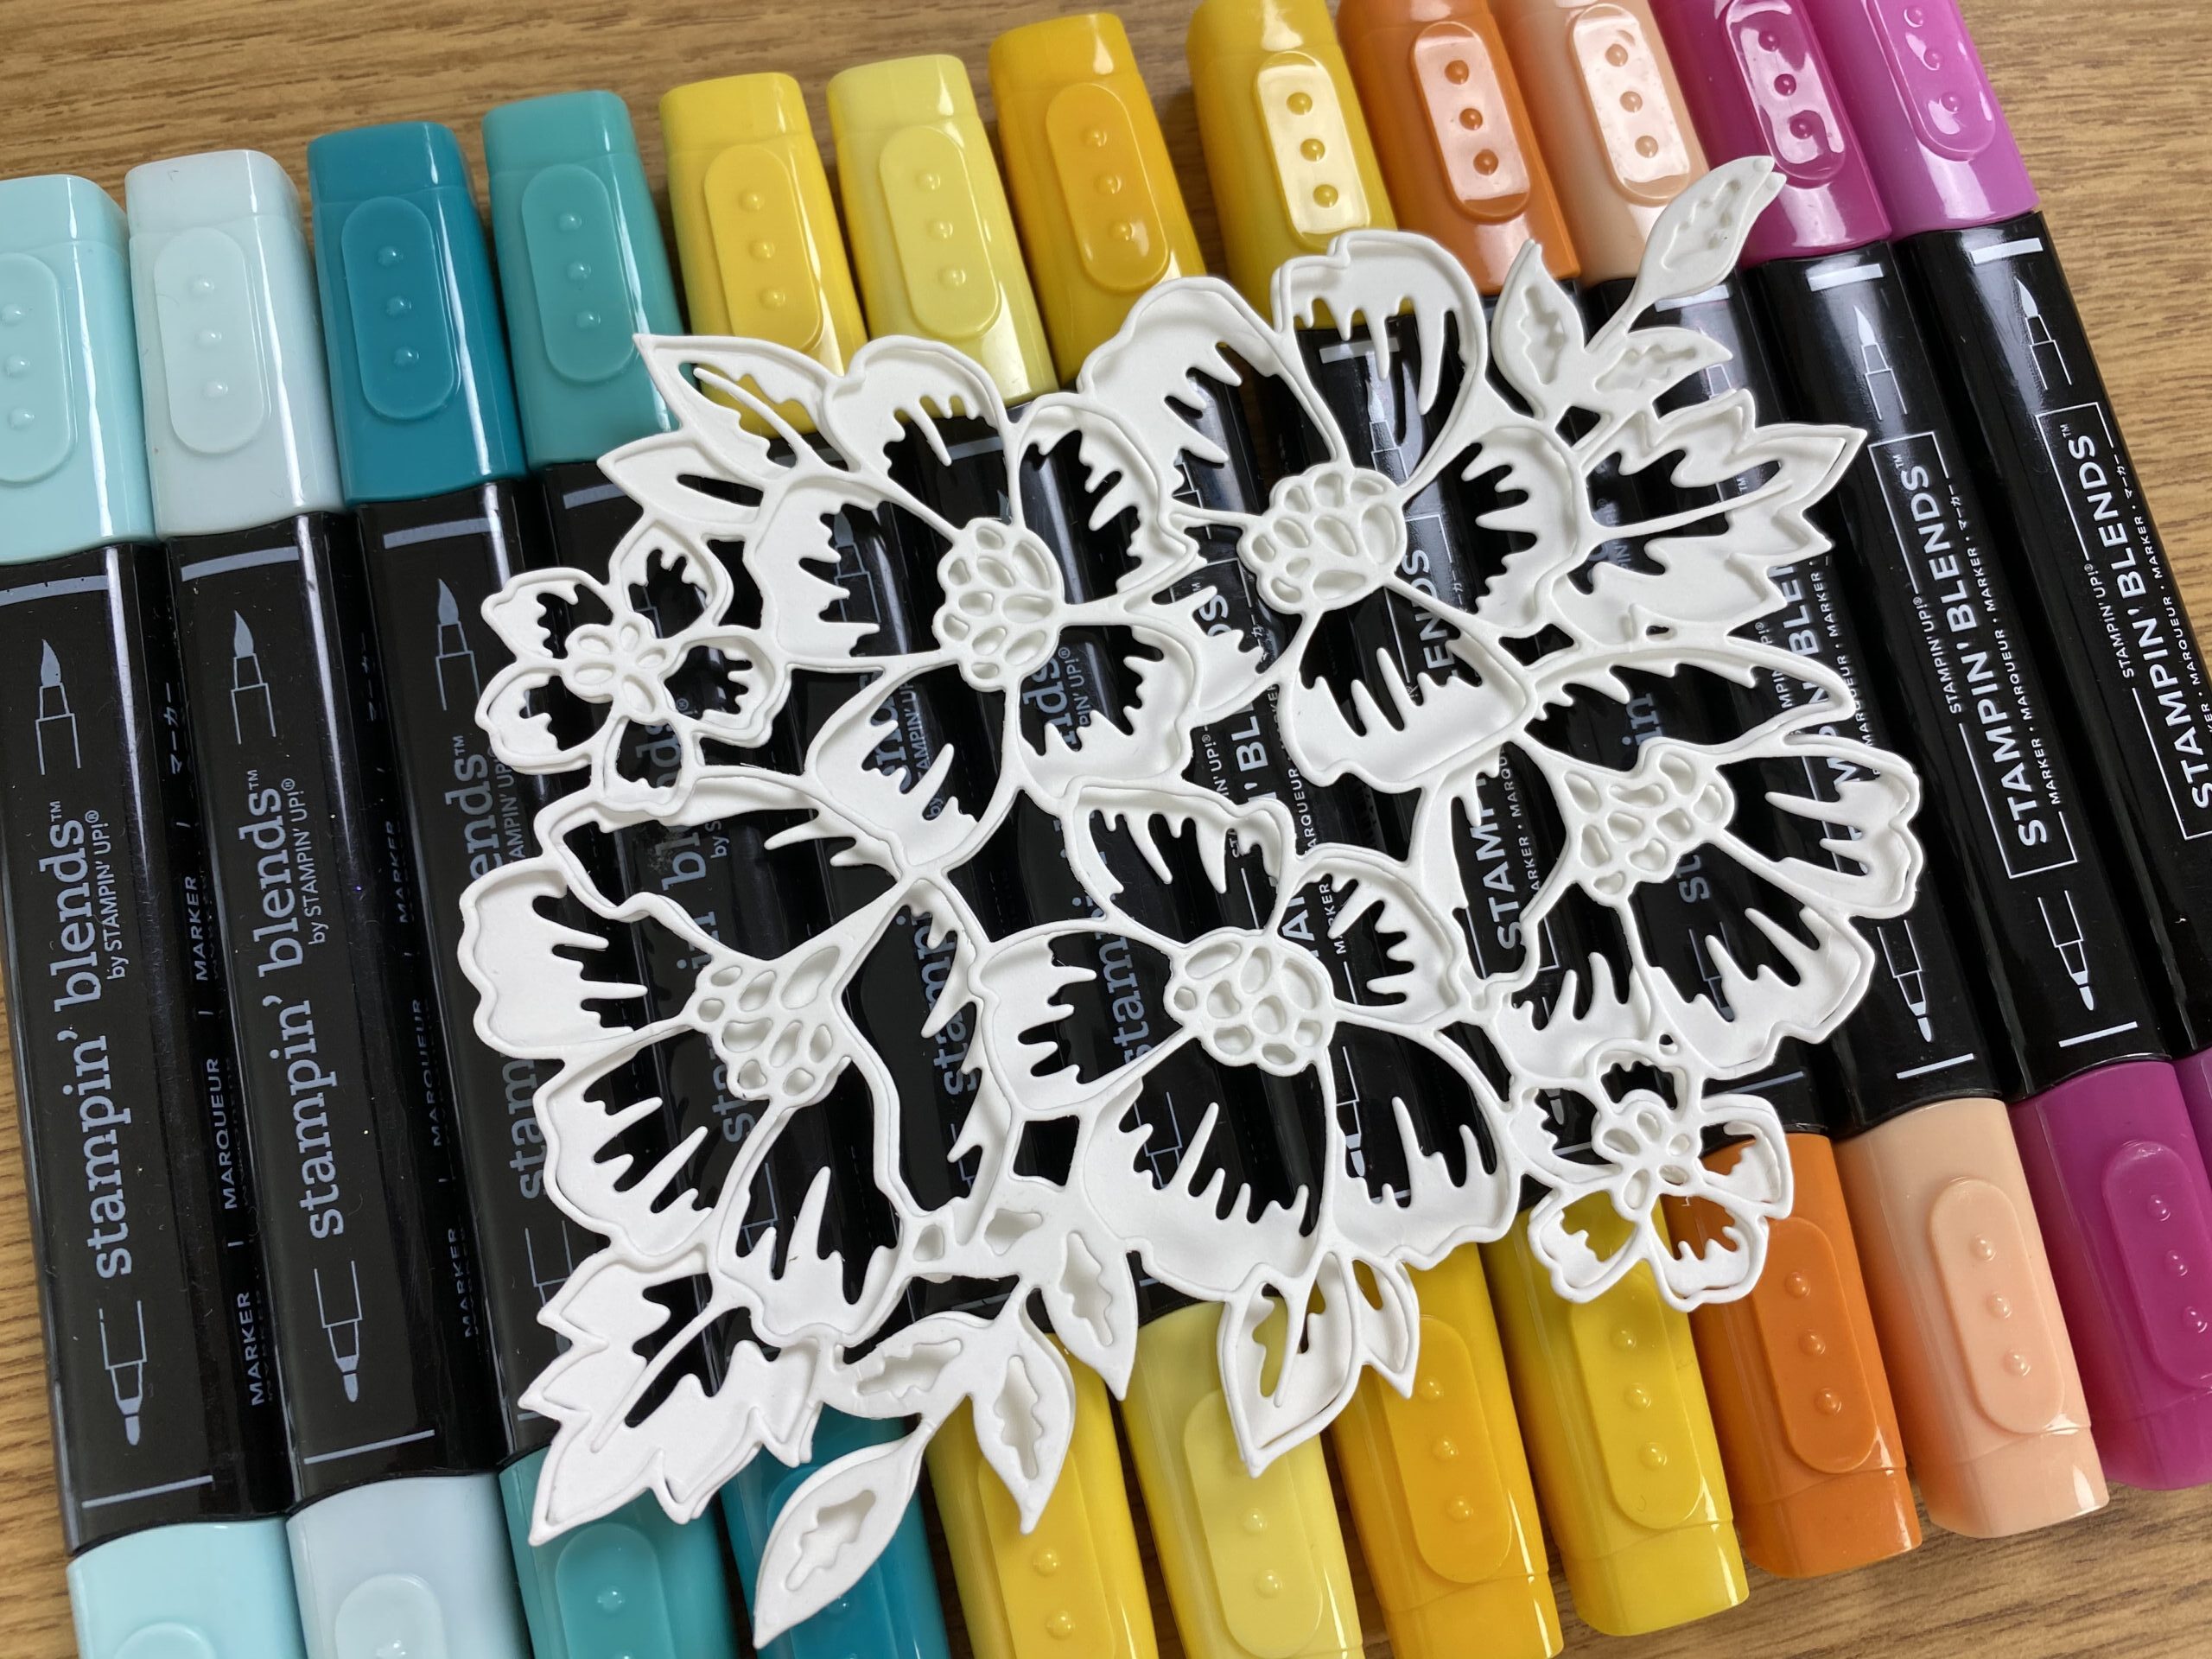
- Pool Party
- Bermuda Bay
- Mango Melody
- Daffodil Delight
- Melon Mambo
- Flirty Flamingo
- Calypso Coral


I really enjoyed your many combinations! You inspired me to think out of the box with how I too can get creative with this awesome set! Thanks! Roxanne